Blog Layout

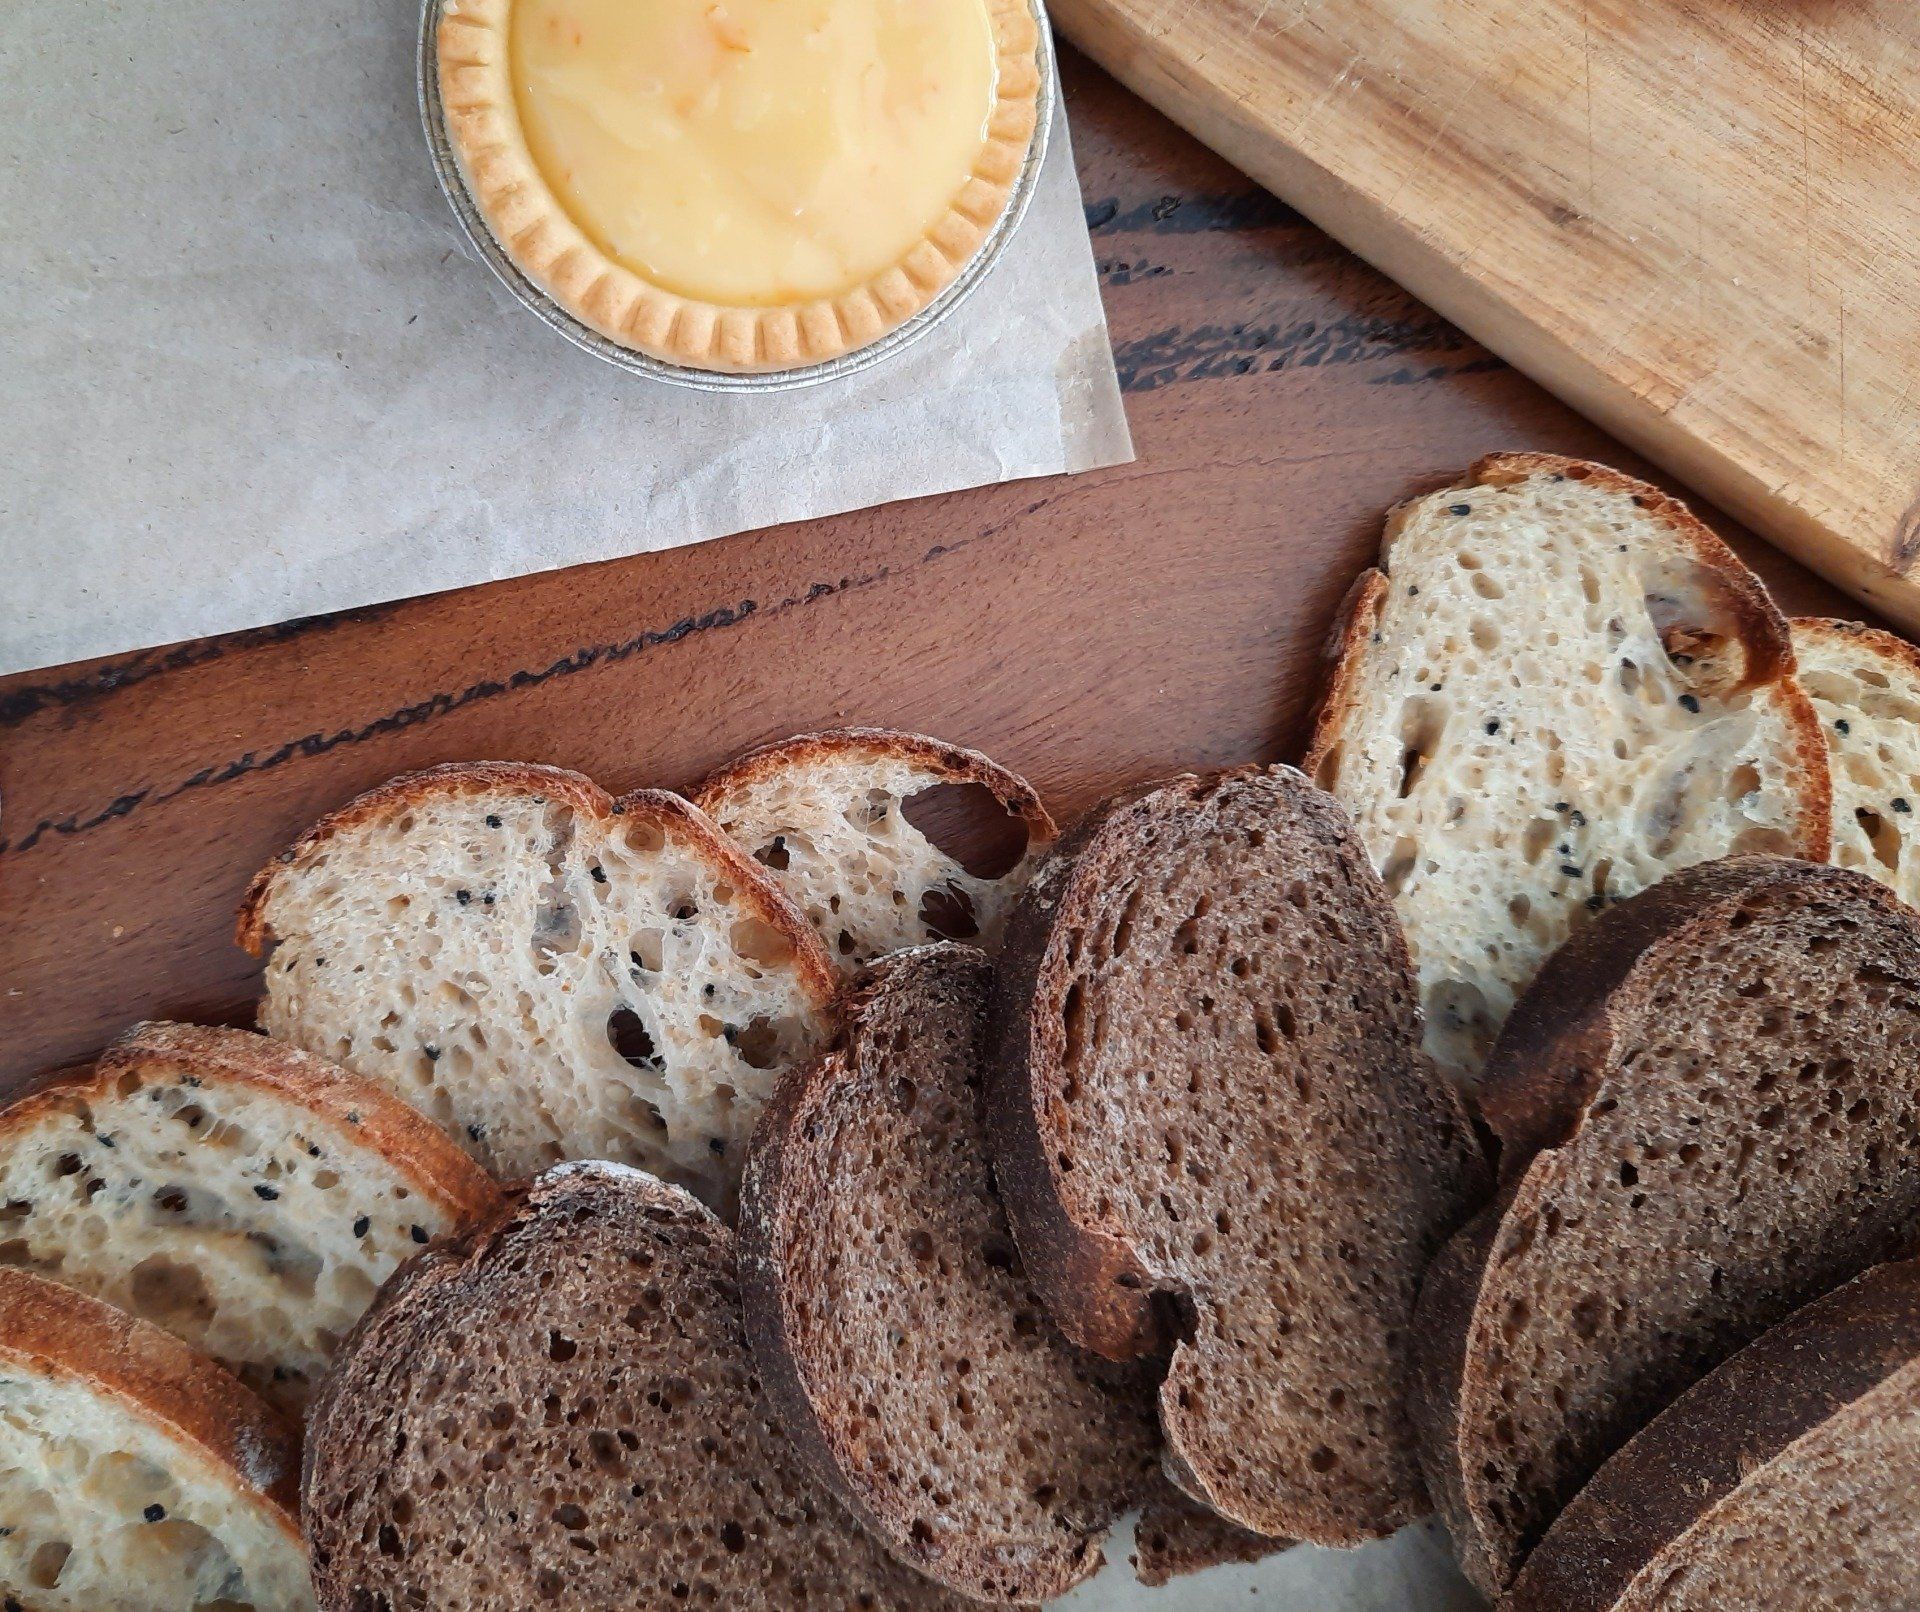
Sourdough - Re-hydrating your Risen Flour Starter & recipe

Jan • March 6, 2025

rehydrating your risen flour starter or mother as some call it

Rehydrating your sourdough starter


What you will need:


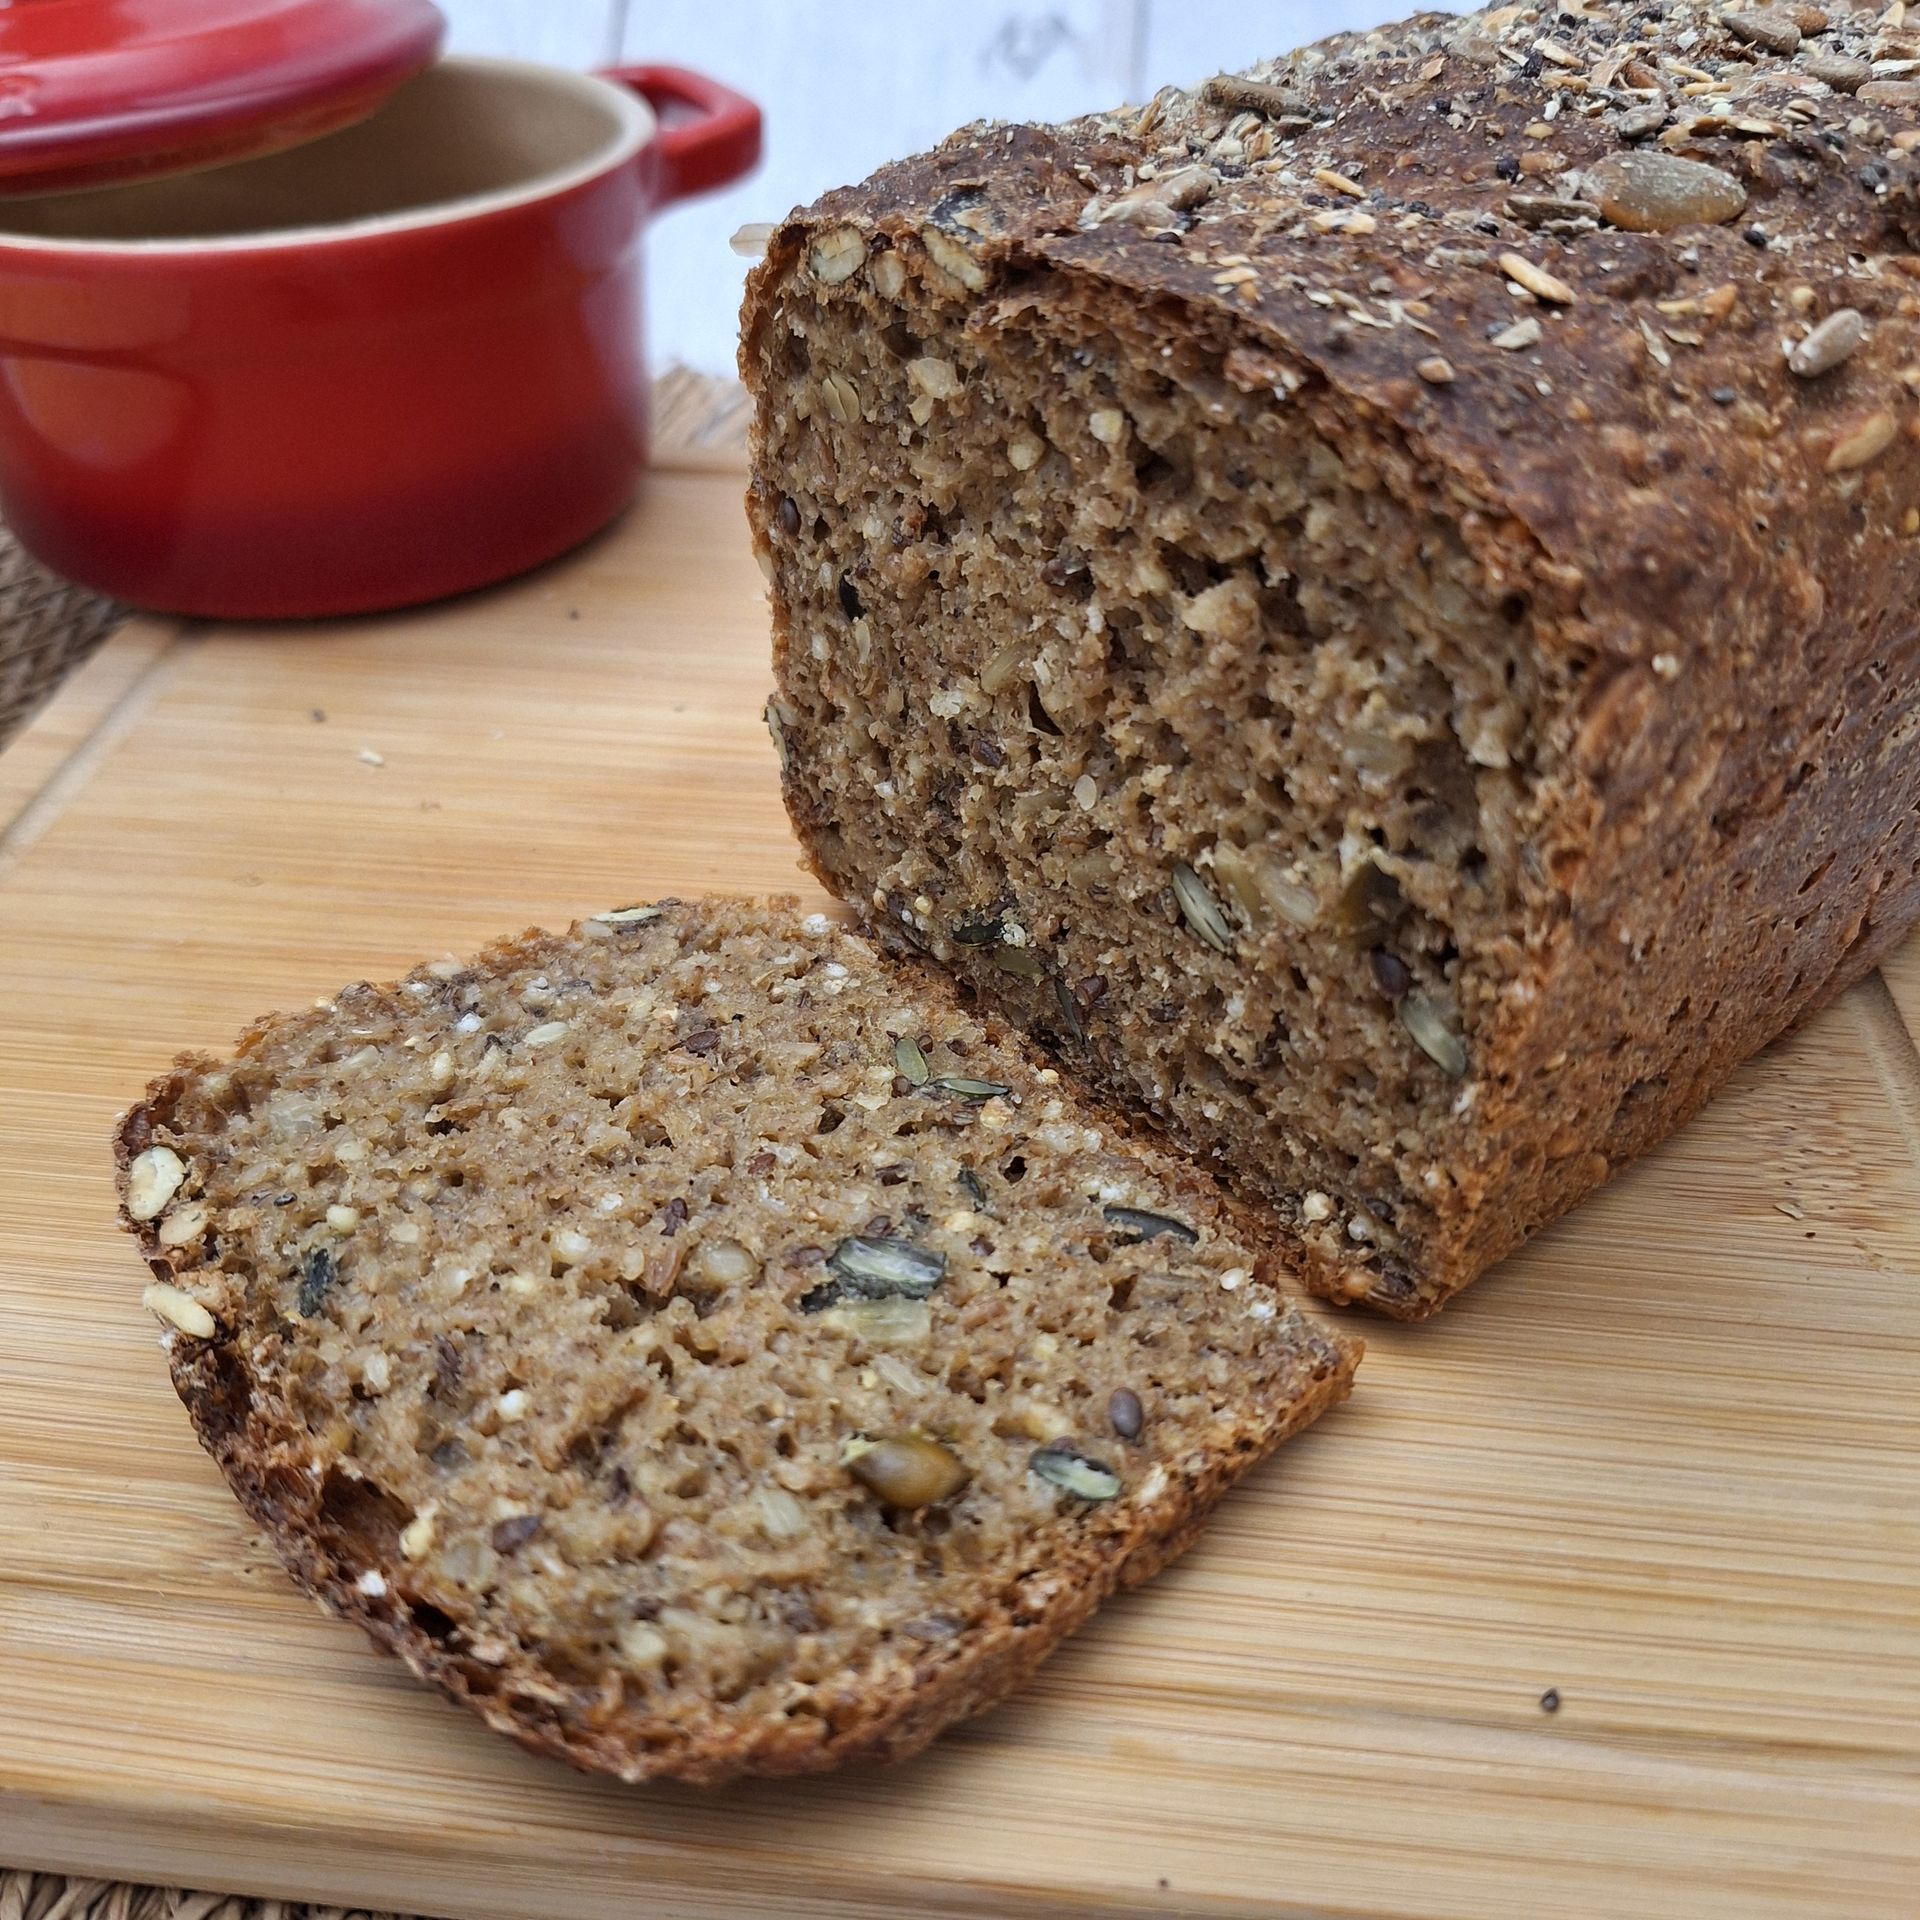
Risen Flour’s Sourdough Starter

1x small jar with lid

1 x medium (weck is good) jar (to be used on day 3 in the process)

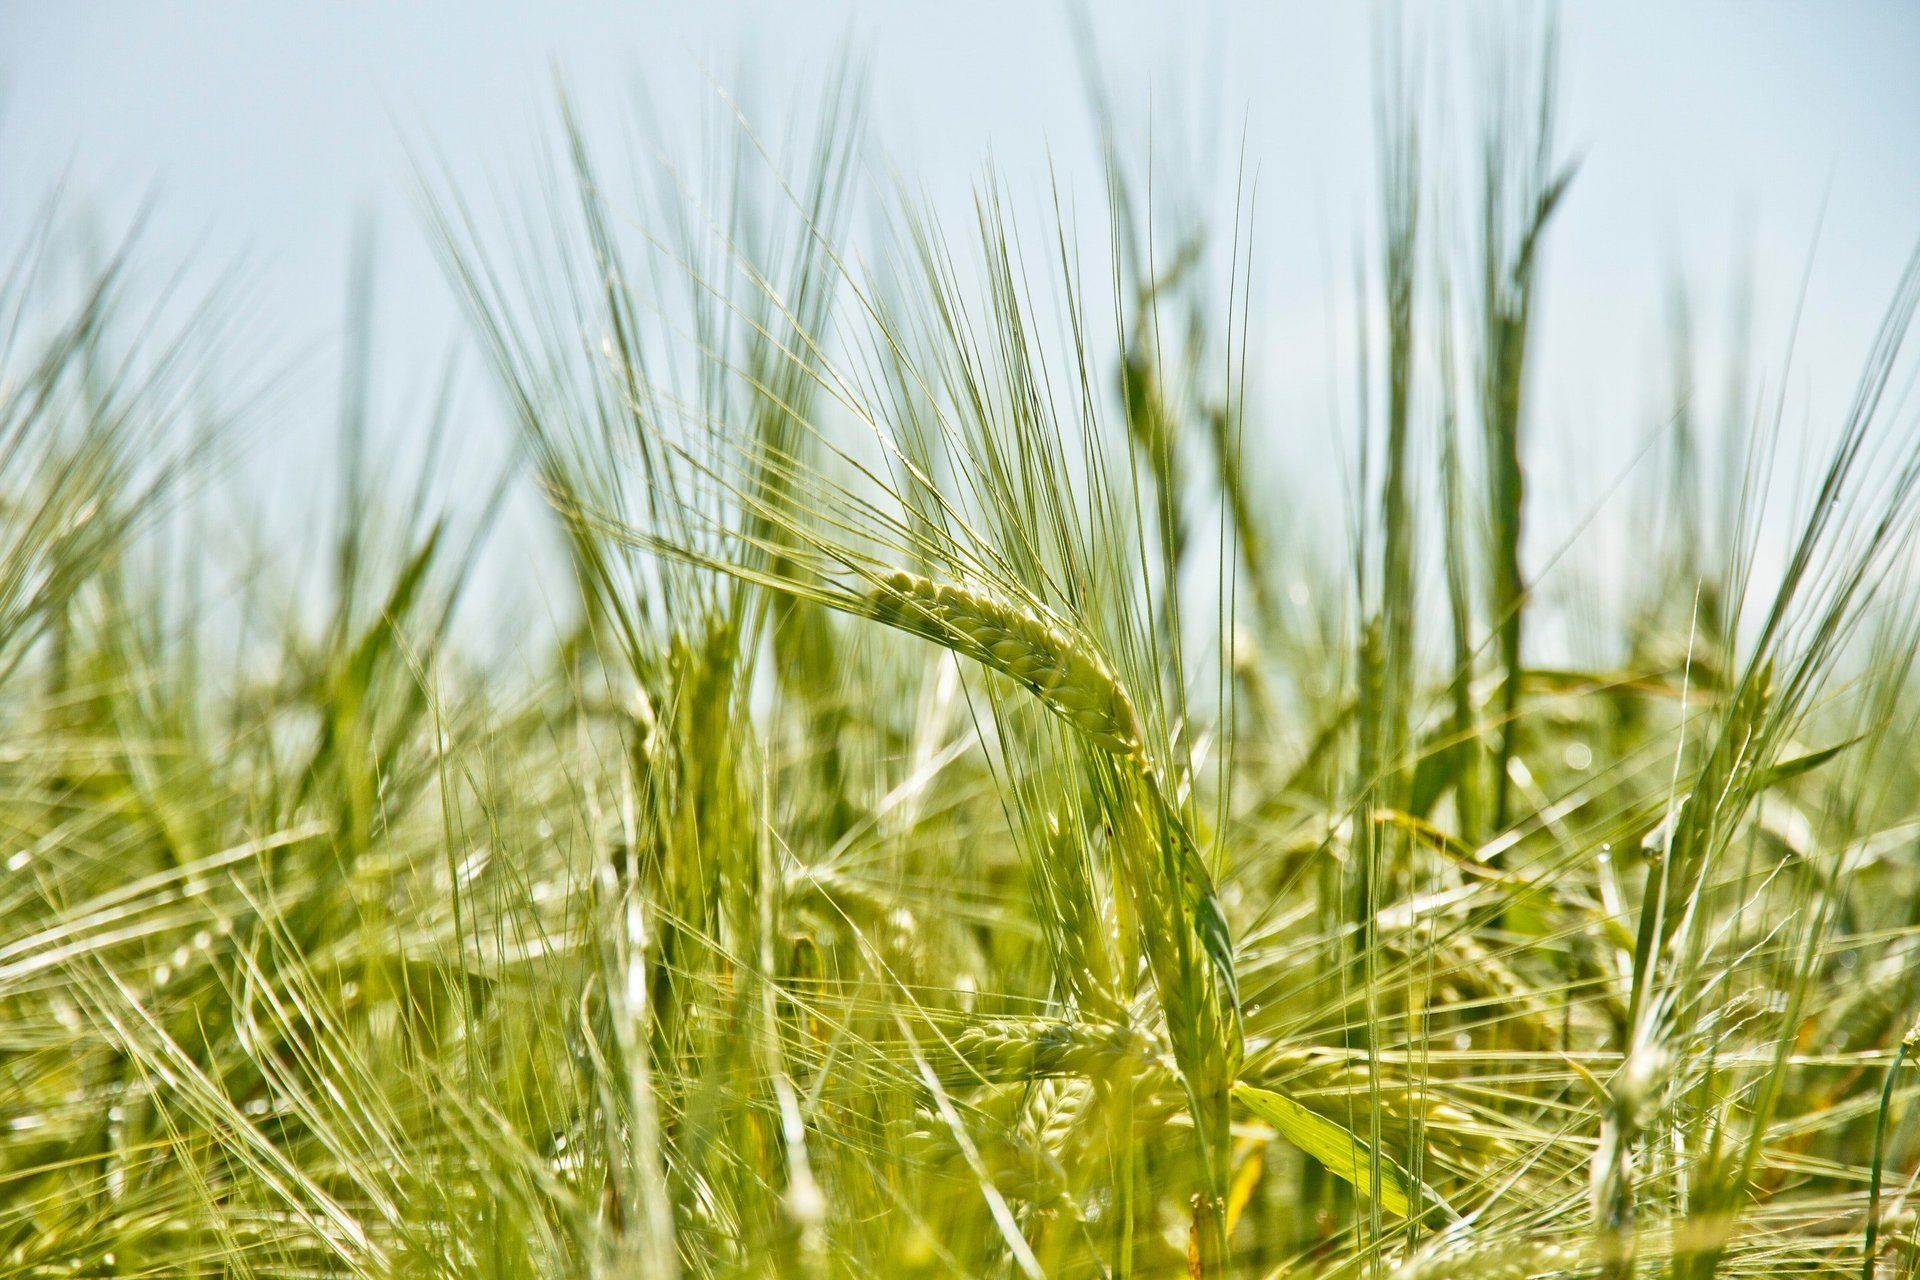
Risen Flour’s Australian wholemeal  Rye Flour OR

Risen Flours Premium White flour

Water

Spatula


Day 1

10g Risen Flour dehydrated starter (Rye or White)

Add 20g warm (not hot) water

Stir to mix and leave in a warm spot for 24hrs ( in the oven with your light on or on top of your fridge) around 26decC is a good temp, but a degree either side of that isn’t a problem - there will not be much activity after this time, maybe a few bubbles but be patient it will happen if you continue to follow these steps.


Day 2

Feed with 20 g water and 20g strong bread flour, stir well

Rest for 18 to 24 hours with a loose lid fitted at around 26deg C


Day 3  in the early morning:

After around 18hrs you will note that your starter is looking  more active and there may be a few more bubbles than previously and it smells a bit on the sour side.


Transfer 10g to a clean jar. Feed it 1:2:2 – 10g sourdough starter, 20g water, 20g flour


Add your water first to the jar and mix your starter into the water, then add your 20g flour – this way you will know that the starter has mixed in well with the new flour.


Rest for another 8hrs, until around mid afternoon, after this period you should notice further activity and the starter would have risen with lots of bubbles. If there is not much activity then leave it for longer - even overnight.  Then You need to feed it again –  discard – discard all but 10g starter, feed with 20g water and 20g flour.

Once  it has risen,  and reached its peak , give it another feed, but this time you will increase the amount of flour and water:


Discard all but 10g active starter

Add 50g water and 50g flour – mix well and leave overnight for around 10 hours. 

After that period it  should be  revived and active.  It will take aound 10 days of active feeding to become robust and strong , although you will be able to use it prior to then.  If it is at least doubling in height then it is good to use.


You will need to feed this starter on a daily basis in order to keep it active, on a 1:2:2 basis


You are now ready to build your levain.


To build your levain from an active starter


  • Transfer 20g active starter to a clean jar
  • Add 40g water and 40g flour - mix
  • Mark the level with a rubber band or make a mark on the jar with a permanent marker
  • 6 to 8hrs later it will be at its peak have risen well and ready to use in your recipe.


You can store your starter in the fridge if you are not going to be making any sourdough for a few days, I don’t like leaving it in the fridge for longer than a week though without taking it out and reviving it again for  few days out of the fridge even if you not going to use it.


If you have stored it in the fridge you should feed it for a good 2 days prior to making your sourdough and make sure its really active before using it again, it should double or triple in volume.  I find my rye sourdough fed on a 1:2:2 basis doubles in volume and its also a thick starter, where my white starter can often triple in volume and its also quite stretchy and pour-able, whereby the rye one is thick and doesn't pour.


Different sourdough starters

A rye sourdough starter will not have the same consistency as a white flour starter. Many videos show you how elastic they sourdough starter is, but because of the reduced gluten content of rye it doesn’t get stretchy like the white higher gluten flours do. 

You will find that the white starter tends to rise faster than then rye starter. They are at their peak when they are concurve. This is the ideal time to use them, but don’t stress if it has flattened out, you can still use the starter and it will work fine. If it has sunken just a little then it is past its peak, can be used but you may not get quite the same results as you would have whilst using a starter at its peak. 

If you have totally forgotten about the starter and it has deflated quite substantially then I wouldn’t use it but feed it again and wait for it to rise before using it.

In summer here in Perth I have to feed my starter twice a day, and sometimes even 3 times a day depending on how hot it is. I do this when I get up in the morning and then when it is at its peak during the day and then sometimes just before I go to bed.

In the winter months I find I only have to feed it once a day, try and feed it at around the same time, I like to do mine when I get up in the morning, that way I don’t get distracted.


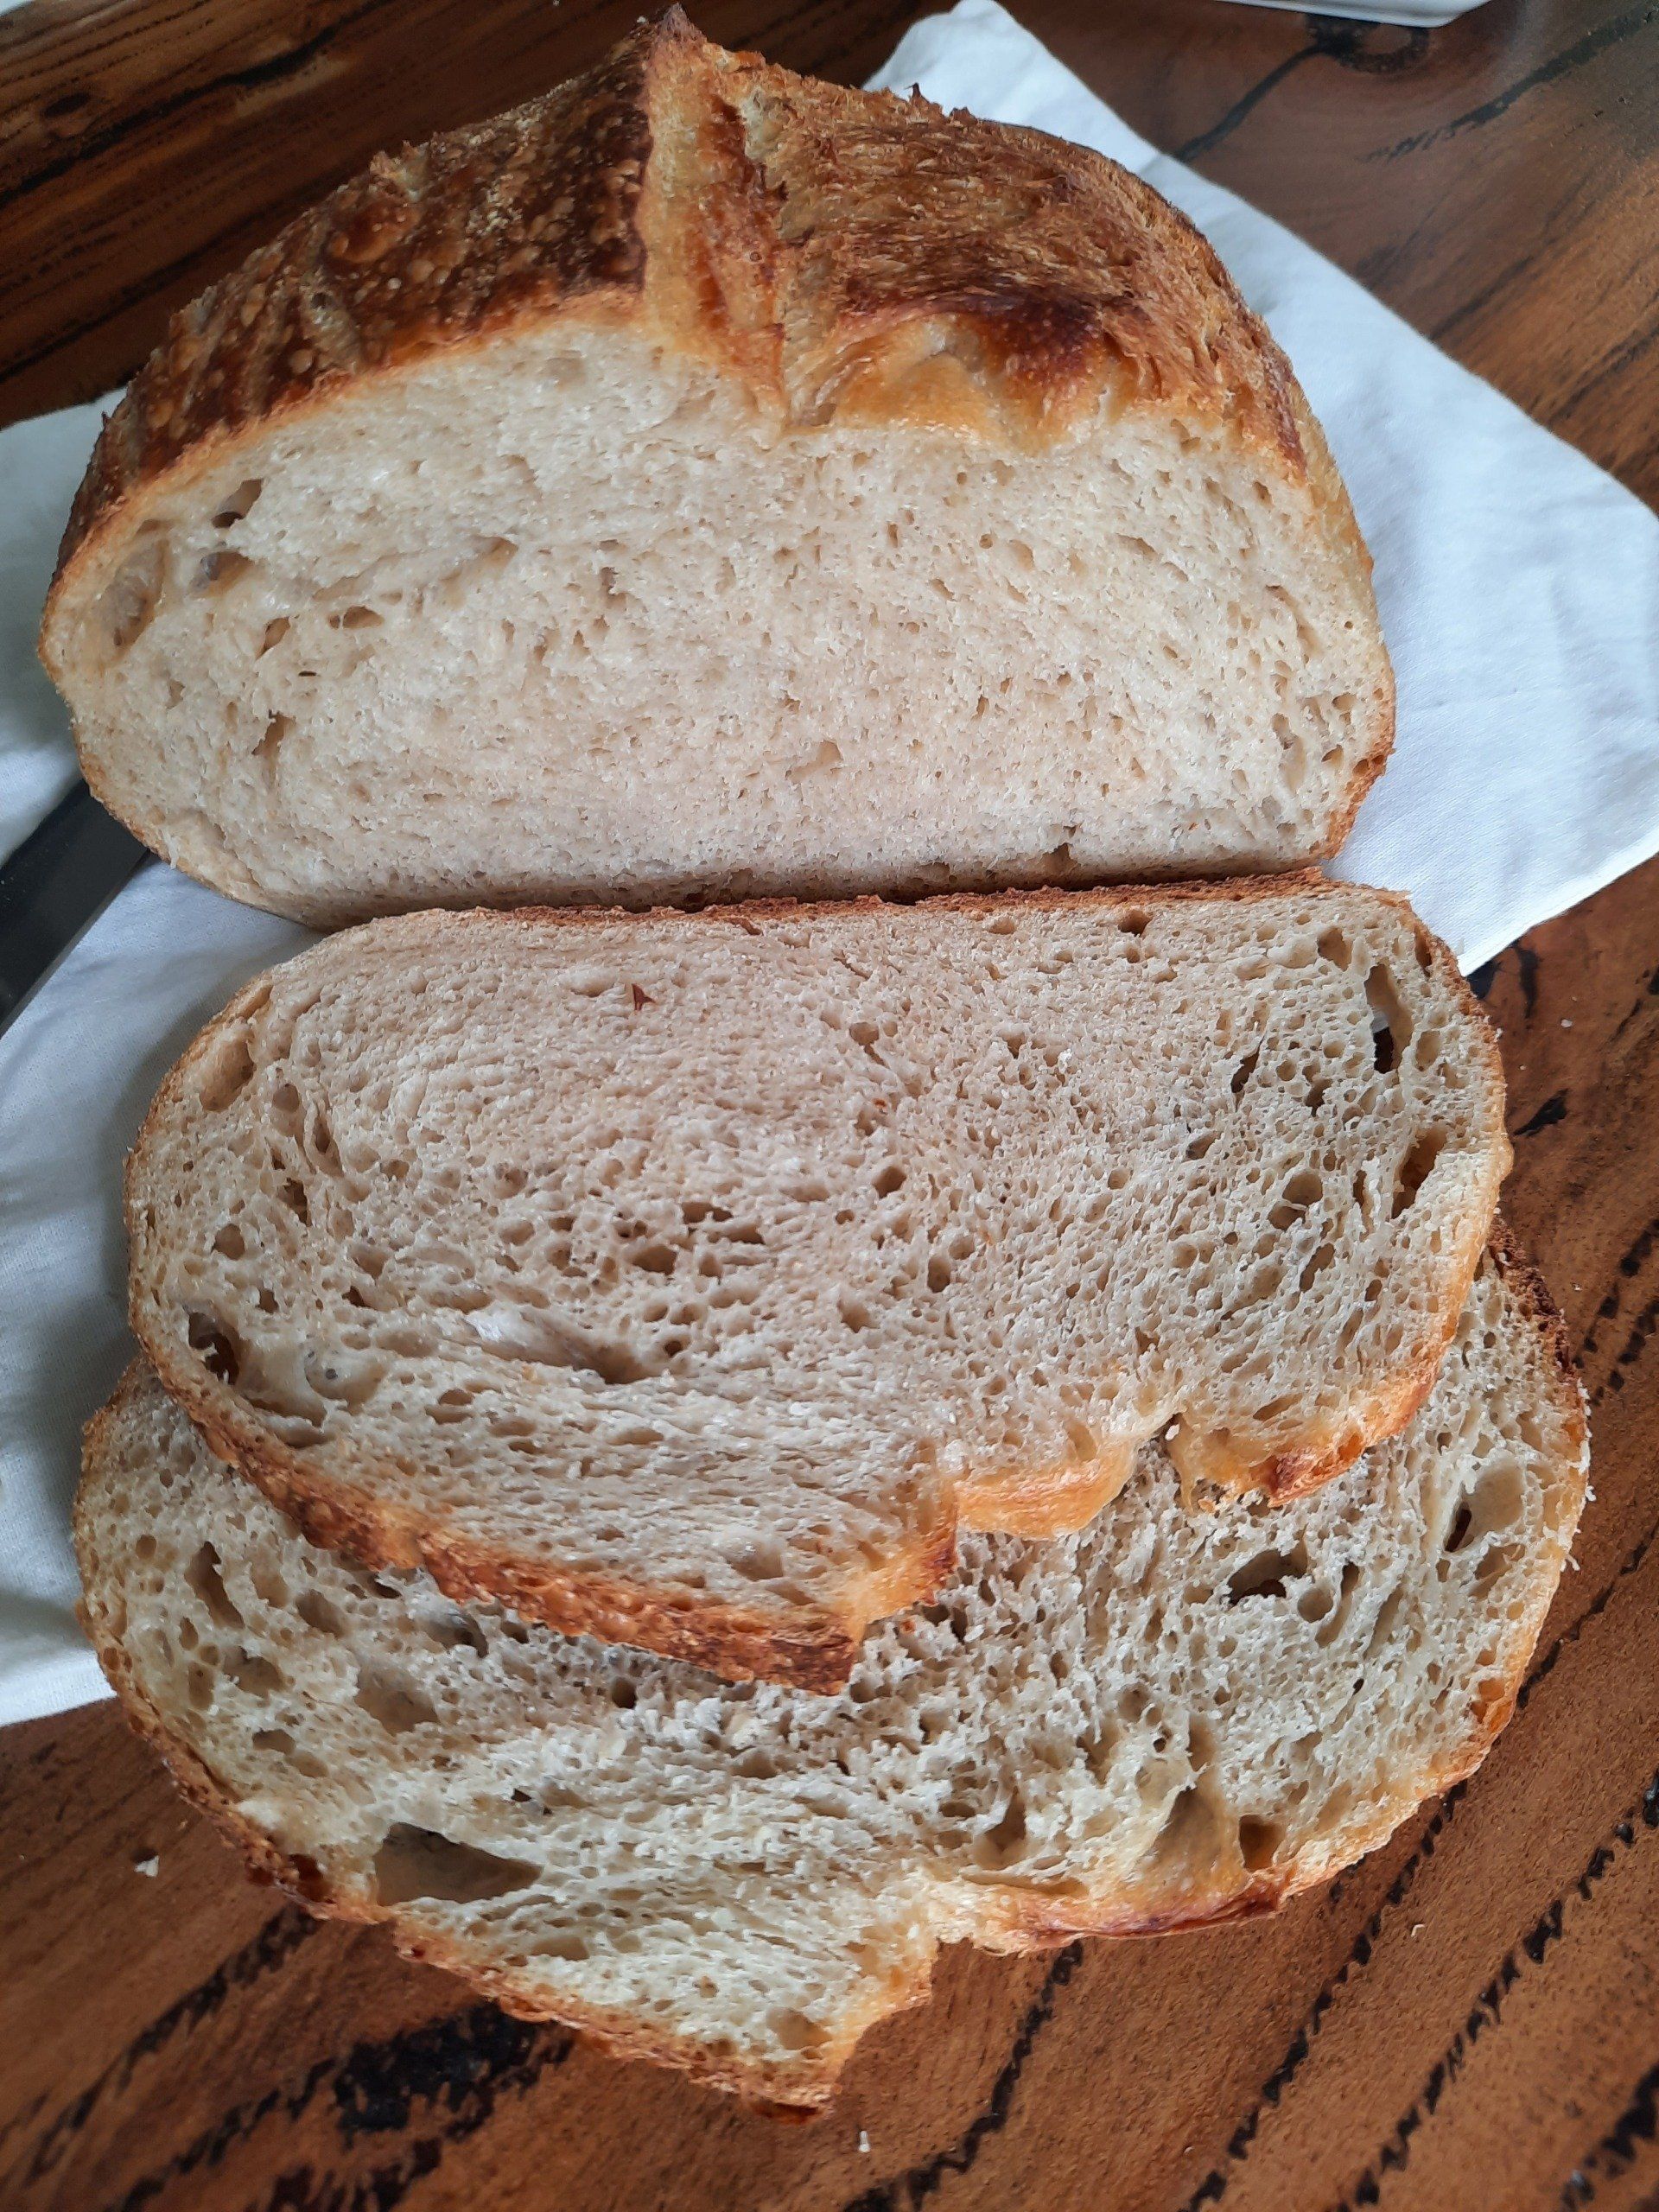
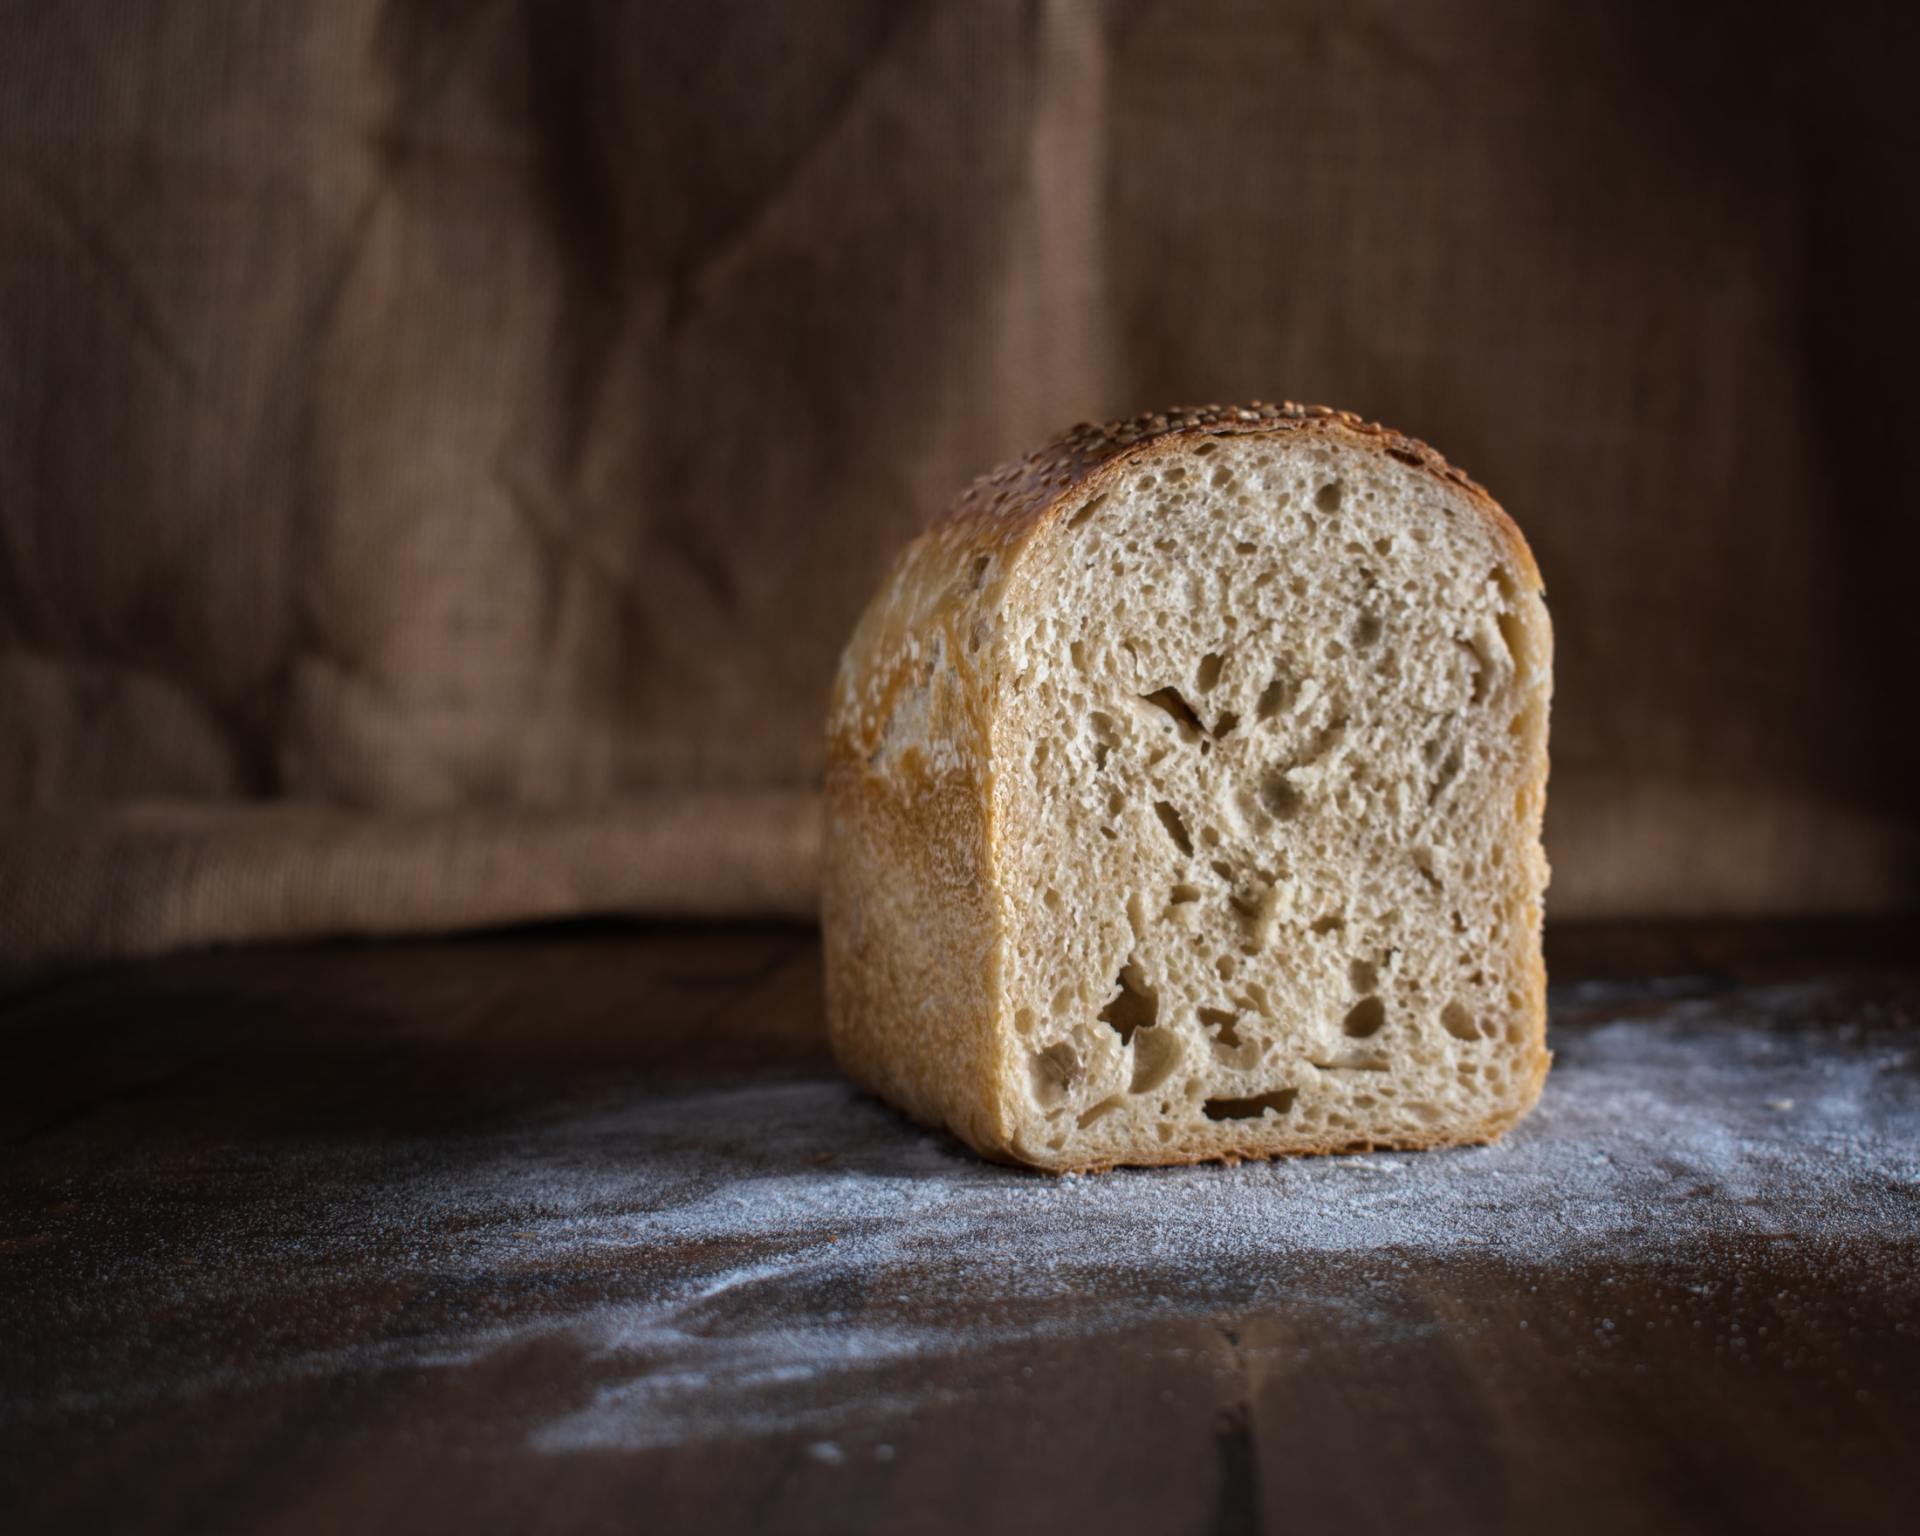
THE SOURDOUGH PROCESS

The art of making sourdough is exciting and interesting and can be daunting but don't let it scare you.  I have tried to keep it simple I will use my go to basic recipe that I started off with when I first learn't how to make sourdough with Bonnie who is an expert!

REMEMBER IF YOU HAVE ANY QUESTIONS, PLEASE  EMAIL US AND WE WILL ENDEAVOUR TO HELP YOU WHERE WE CAN!
 

The day before make the Levain around 12 - 24hrs prior to making the dough

Make it with the 1:2:2 method (40g starter 80g flour, 80g water)

Recipe:
500g of any of  Risen Flour's WHITE bread flours - My favourites are the organic white flour, Premium Strong White Flour and our Artisan single origin flour which is grown here in Dalwallinu!
350g water
11g fine salt
82g starter

Method

  • Measure out your water.
  • Add your starter and mix with a whisk to ensure even distribution
  • Tare your scale and now add 500g flour - you need to be accurate with the flour measurements
  • Draw the ingredients together and mix to a shaggy dough,
  • Leave for around 30 min to 1hr covered in the bowl

  • Wet your hands and measure out the salt - sprinkle 1/2 the salt onto the dough and pinch it into the dough.  Stretch the dough and fold it              onto itself.
  • Turn the dough over and do the same to the other side - Stretch and fold the dough onto itself - turn the bowl as you do this so that you get          around the entire mound of dough - be gentle but pull the dough as far as you can without breaking it.
  • Leave to rest covered for 30 min.

You can perform lamination at this point if you wish but its optional  - I don't always do this process and actually find that my crumb is better sometimes without this step.

  • Lightly spray the counter with water
  • Gentle put the dough on the counter and stretch it as far as you can into a rectangle without breaking it.
  • Now fold up the two short ends into the middle of the dough, then the two long ends,
  • Roll the dough into itself to form a sausage.
  • Leave to rest for 30min covered.

Coil Folding:
This is a key process in strengthening the dough.

  • Wet your hands
  • Pick up the dough in the centre of the log and lift it up - the two ends will stretch - fold the top half underneath the dough,
  • Turn the dough 180deg and repeat the process.
  • Now to it to the other sides.

  • Leave to rest for 30min and repeat the process

  • Leave to rest again for 30 min and repeat the coil fold

  • Leave again to rest for 30 min and perform the last coil fold.

  • Leave to rest for 30 - 40 min and now you are ready for the final shaping.

  • Lightly sprinkle flour onto your work surface and very gently pour dough dough onto the surface, you can give it some help from sticking to the bowl with a dough scraper, but try and not break the dough.
  • With flour on  your hands gently stretch the dough out a bit (do not knock back harshly as you would a normal instant yeast bread)
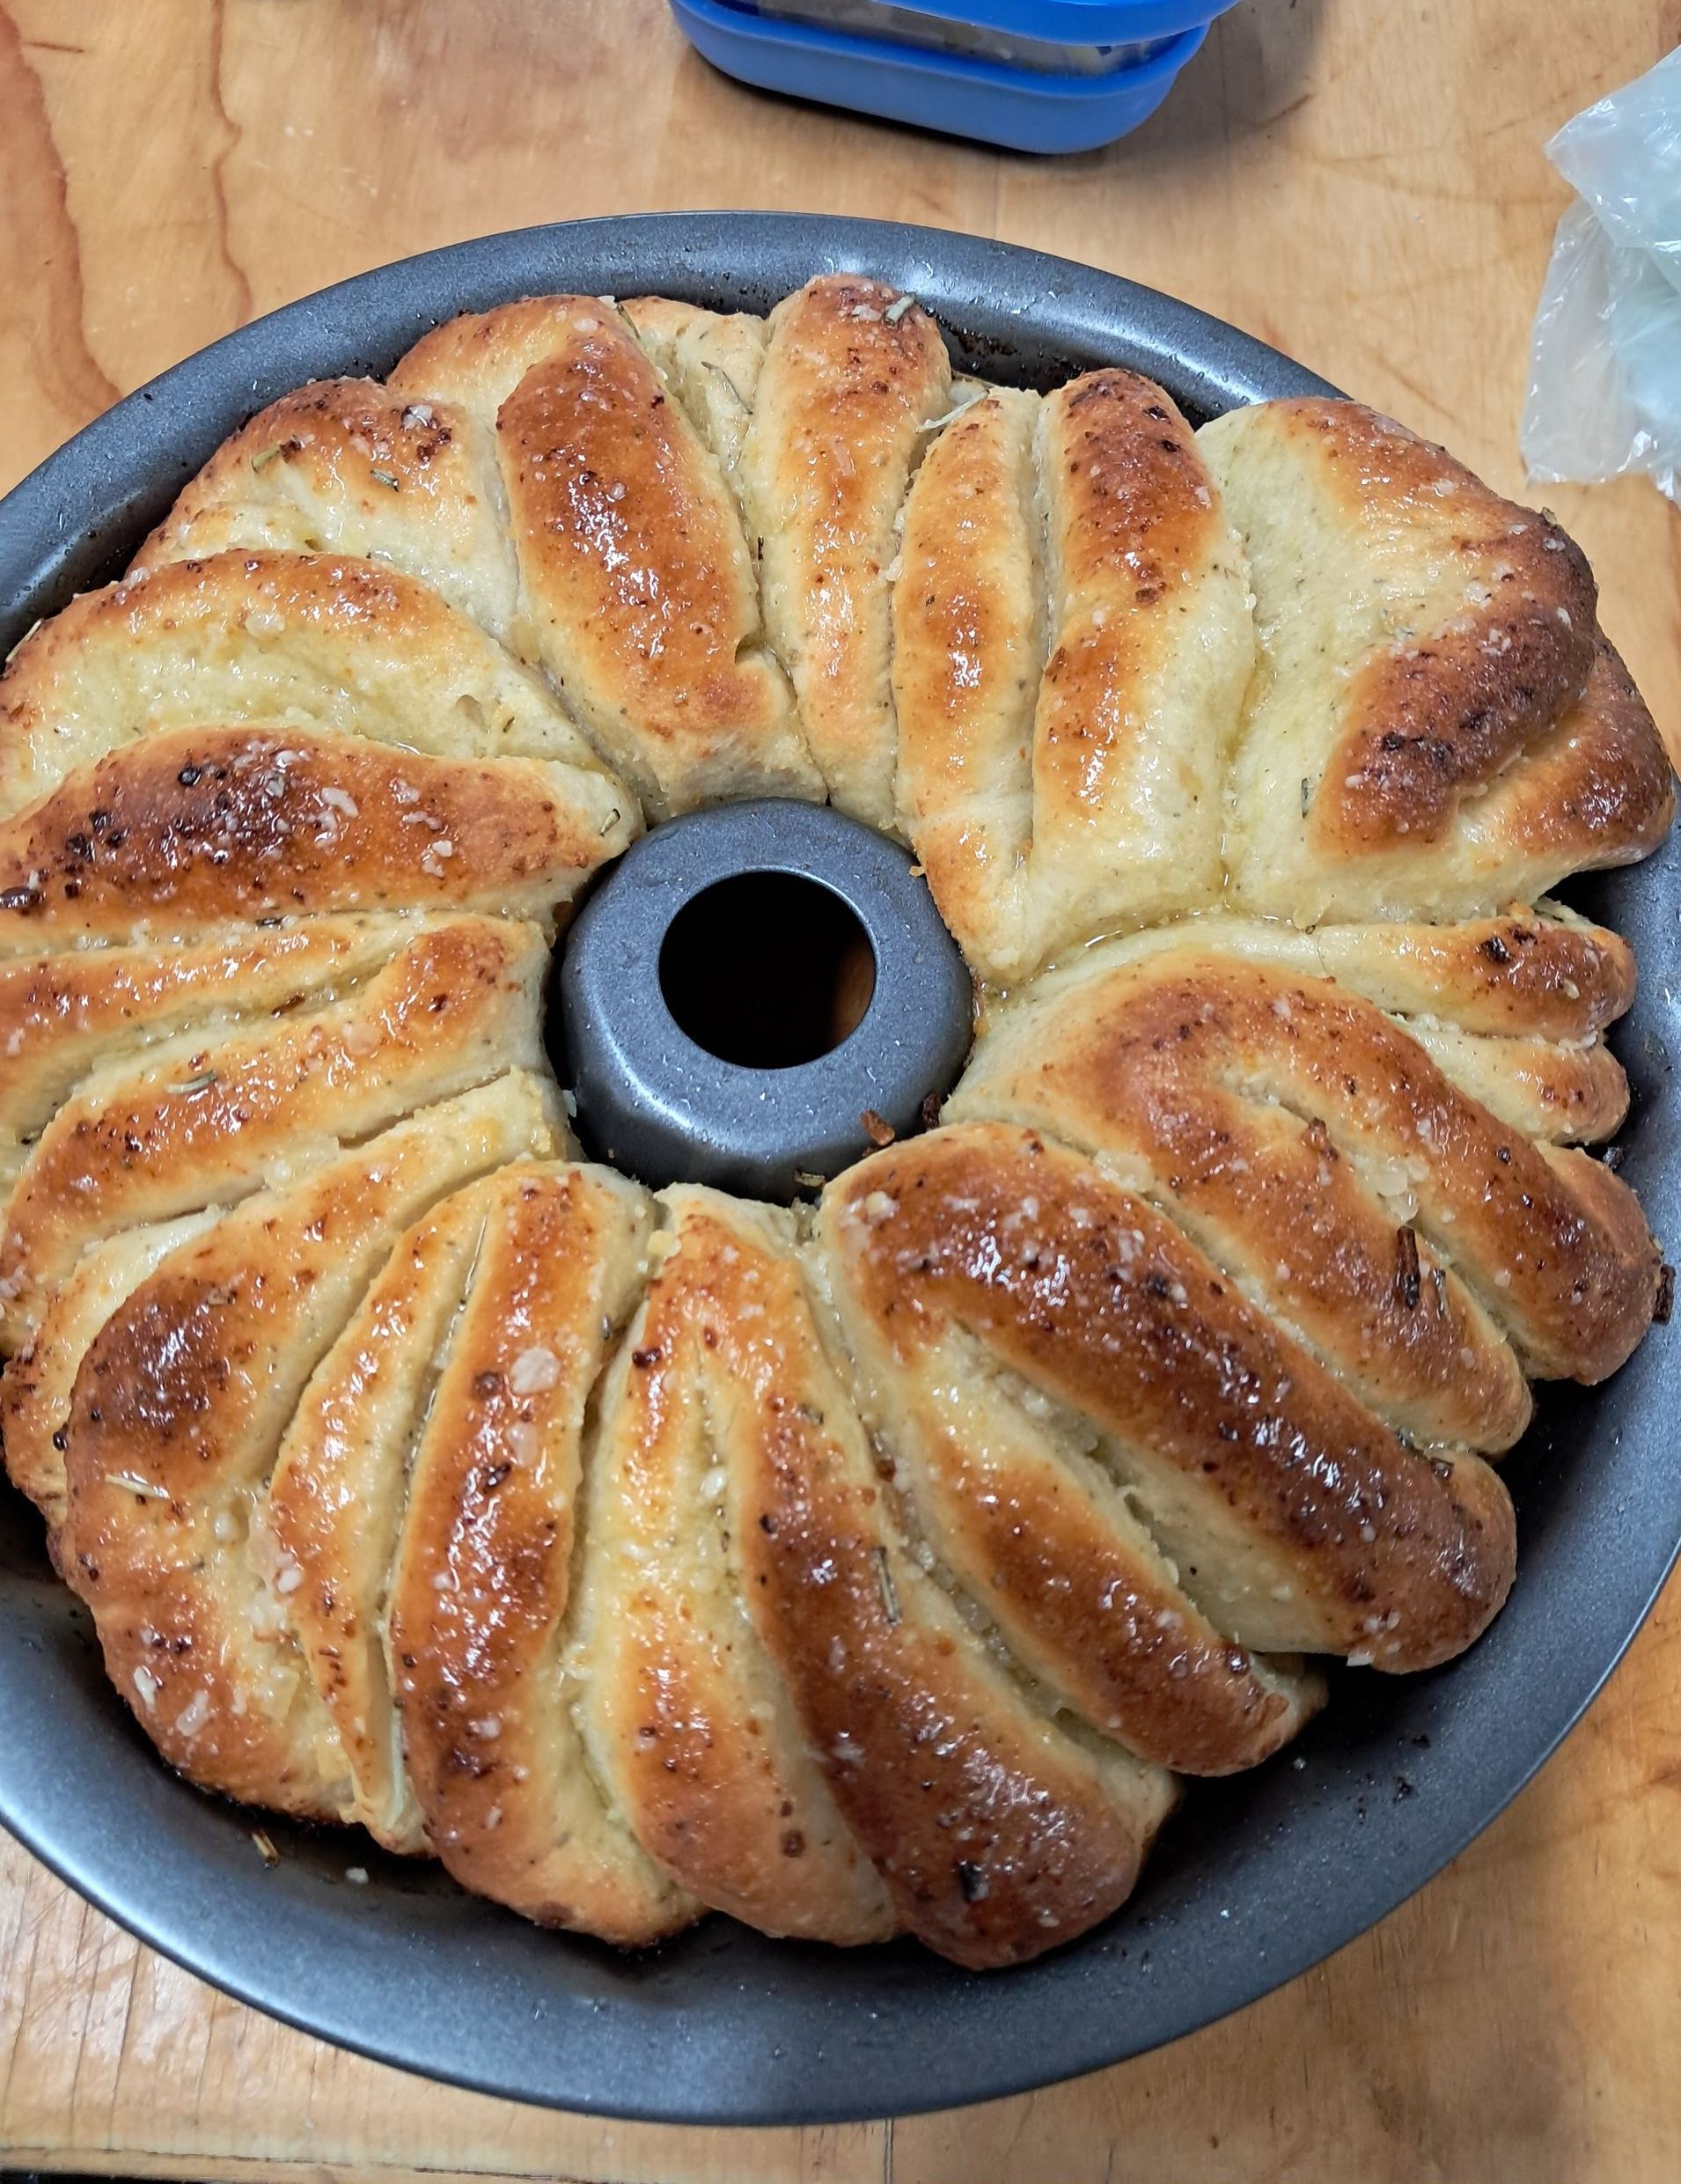
  • Pull the bottom of the dough closest to you down and then up over itself to the centre of the dough mixture, then fold the left and right                  hand sides.
  • Now take the top and start to roll the dough up into a tight log.  
  • Have your prepared bannaton dusted with flour / rice flour ready
  • Gently lift the dough up and place it with the seam side up facing you 
  • Pinch the edges closed and put in a plastic bag tied up in the fridge at between 1 - 4deg C  If you don't seal the bag the dough will dry out and        you don't want that happening.

  • Leave for around 12 - 16 hours.

  • Preheat your oven with the dutch oven inside on preheating to 250deg C

  • Once oven has come to temperature take a large piece of baking paper and sprinkle a little flour on it.
  • Take the dough out of the fridge (you will notice that it has risen) and gently tip it onto the baking paper.
  • Score the dough at an angle along the surface in whatever pattern you like - 2 or 3 short stripes or one long line - there are endless videos            on scoring.
  • Now take the dutch oven out your oven and carefully put the dough into the pot and put the lid on.

  • Reduce the temperature to 220dec C and quickly transfer the pot back into the oven and bake for around 23 min, then take the lid off and            bake for another 11 min.  If you notice that the crust is burning reduce the temp a little more.
  • I normally bake my bread on fan bake and then when it comes to the final 11 min I change to standard bake (without the fan) and I find my         crust doesn't get too dark and burnt.


Ancient Grains - Sourdough Starter Rehydration and Recipe

Grain growing in field
By Jan Schluter March 6, 2025
A brief description and explanation of Ancient Grains and how they perform in bread
By Jan Schluter February 20, 2025
MOIST HEARTY GRAIN LOAF
soft fluffy tortilla
By Jan Schluter February 20, 2025
Delightfully soft fluffy flour tortilla the family will adore!
sourdough bread basic bread
By Jan Schluter February 14, 2025
Sourdough and Basic Bread making workshops
Soft and Fluffy garlic and herb bread festive wreath on blue round plate
By Jan Schluter November 28, 2024
Soft and Fluffy garlic and herb bread festive wreath on blue round plate
nuts and dried fruit in a dish
By Jan Schluter September 24, 2024
PUmpkin seed and nut bars
soft wholemeal loaf with knob of buttter on slice
By Helium Marketing August 28, 2024
Wholemeal bread recipe from scratch
blueberry loaf with white icing and lemon
By Jan Schluter August 27, 2024
blueberry loaf with white icing and lemon
melting moment biscuits sandwiched together with gluten free flour product bag in background
By Jan Schluter May 30, 2024
GLUTEN FREE MELTING MOMENTS
dough in tin
By Jan Schluter May 21, 2024
the most frustrating part of sourdough baking.... when is bulk fermentation complete?
photo showing the difference between a  tangzhong and Yudane
By Jan Schluter May 21, 2024
A bowl of tangzhong is like a roux, thick paste. A Yudane is a stiff ball of scorched flour
two types of sourdough bread North African
By Jan Schluter April 5, 2024
Recipe explaining how to bake the North African and Chilli bread mixes
Hot cross buns, soft fluffy
By Jan Schluter March 13, 2024
Soft fluffy hot cross buns filled with dried fruit and packed with flavour
weighing tin with water to calculate loaf tin capacity for dough
By Jan Schluter March 8, 2024
How to calculate the loaf tin capacity for bread dough
Gluten Free Banana Bread Mix - The best Ever!
By Jan February 6, 2024
This Gluten Free Banana bread mix is versatile and tastes devine - use overripe bananas for the best flavour
Lamingtons, light sponge coated in decident chocolate and coconut
By Jan Schluter January 23, 2024
Lamingtons baked from scratch - light sponge coated in chocolate and coconut
German Rogbrot or Rye Bread
By Jan Schluter October 27, 2023
Wholesome wholegrain rye bread made with cracked rye, sunflower seeds and caraway
Stacked Sourdough loaves
By Jan Schluter October 16, 2023
Explaining what diastatic Malt is and how to use it in your bread making process, to use or not to use.
Baguettes
By Jan Schluter December 7, 2022
An unbelievably flavourful Baguette is produced from this recipe and it enables you to make baguettes daily.
Wholemeal Bread; Bread
By Jan Schluter December 1, 2022
WHOLE RYE & PURPLE WHOLEWHEAT BREAD WITH ANCIENT GRAIN SOAKER This is a beautifully moist wholesome loaf of bread you will fall in love with!!
ciabatta bread held up sliced
By Jan Schluter October 17, 2022
INGREDIENTS: 8g Risen Flour's dried instant yeast 200g Risen Flour's Durum Semolina 400g Risen Flour's pizza Milano flour (or strong white bread flour) 480g water 11g Salt METHOD Place yeast, 400g flour, 200g semolina , 450g water and 11g salt in an electric mixer. Beat on medium-high speed until just combined and slowly add more water a little at a time and allow to absorb before adding more water. Check the dough and if its not absorbing any more water discard the balance of the water, otherwise add the rest slowly. Mix until full gluten development has been reached - about 25 min in a domestic mixer scraping it off the hook as it creeps up. The dough will be a wet and sticky. Do the window pane test - with wet hands pull the dough apart and it should stretch and become transparent with a clean smooth membrane. You should be able to stretch the dough for around 10cm before it breaks. (dough will be quite wet). With wet hands transfer to a greased bowl cover with a clean tea towel and set aside at room temperature for 1-1.5hrs during this time do 2 sets of stretch and folds 30min apart. ( a stretch and fold is taking one edge of the dough and lift it up and fold it over to the middle, then repeat with the other sides ), OR until doubled in size ( In warmer tempretures it may take less time so keep an eye on it). It should be wobbly and bubbly. Once its rested place the dough gently on your baking tray that has been heavly floured (you can use baking paper too) - cut into shape sprinkle the top generously with flour on top and allow to proof for 30 - 45min more at room temp covered. Preheat oven to fan forced 240°C. Place a saucepan on the bottom of the oven with a rack above it. Bake for 25-30 minutes until bread is risen, golden and bottom sounds hollow when tapped. Cool on a wire rack for 1 hour. Enjoy - if you have any questions please drop me an email or give us a call. Jan
Ciabatta
By Jan Schluter October 13, 2022
Ciabatta bread using our advanced method. Produces a delightful loaf of your favourite Ciabatta - serve as a sandwich - toasted - topped with your favourite toppings!
gourmet savory crackers
By Jan Schluter October 12, 2022
Gourmet crackers which can be adapted easily to your tastes and imagination. These cost a fortune at the shops but are increadably inexpensive to make at home.
split loaf, fruit bread
By Jan Schluter April 18, 2022
A few explanations on why bread splits during baking
german sunflower loaf
By Jan Schluter November 25, 2021
Ingredients for the dough & method A : For the soaked sunflower seeds 75g water 75g toasted organic sunflower seeds B: For the dough 425g Liquid rye levain, mature (See recipe "levains of various kinds" under Blog section) C: 150g Soaked toasted sunflower seeds 120g Wholemeal Rye flour 100g Wholewheat flour 50g High Gluten Bread Flour the Organic, Premium White or our Artisan Single Origin flour will do well 9g Fine Salt For the topping: Sunflower seeds 1: Prep the sunflower seeds by boiling the water and adding the toasted sunflower seeds – leave to soak for 8 – 10hrs 2. Mix (by hand) section B in a bowl and stir to dissolve yeast. Add C and mix with one hand using a squeeze and release motion, until fully incorporated. Transfer to a lightly greased bowl, cover and leave for around 10min. If you use a machine, in the bowl combine B in the mixers bowl and stir to dissolve yeast. Add C and mix on medium speed until fully incorporated, then cover and leave to stand for 7 min. Bulk Ferment: For 30min, no folds and keep covered throughout. For a large loaf – don’t divide For a small loaf divide Shape the dough directly into the loaf pan(s) with wet hands, push dough into the pans and smooth the surface, top with sunflower seeds. Final proof @ 27DegC and 65% relative humidity for a large or small loaf 1 – 2 hours. Or for final proof at 21dec C proof for 2 – 3 hours Baking times and temps For a large 1kg loaf using a convection oven steam after closing the oven ( you can pour boiling water into a pan at the base of the oven). Bake at 245degC for 25-30min on the lowest fan setting for a 1kg loaf. Or if you are baking in a loaf pan ( as opposed to proofing in banneton and tipping onto board) on a baking stone bake at 250degC for 15min, drop temp to 180degC and bake for 30min For a small 500g loaf – as above for the steam process and bake at 245degC for 20min. Or if you are baking in a loaf pan ( as opposed to proofing in banneton and tipping onto board) in a bake loaf pan on a baking stone, bake at 250degC for 15min, drop temp to 180degC and bake for 10min. Tips Make sure your work surface is well covered with rye flour when dividing & shaping the dough (if you divide it). When dough is fully proofed the top of the loaf will dome and crack a bit. Remember that baking times can vary. The best way to ensure the bread is baked is to check its core/inside temp which should read between 98 – 100degC. After baking allow the bread to rest in the pan for 5 min before unmolding it, this will help the bread keep its shape. Unmold onto a wire rack and allow to cool. Even though you may be baking in a pan it is suggested you place the pan on top of a baking stone (like a pizza stone) which will help speed up the baking process and get better results. Enjoy - if you have any questions please drop me an email or give us a call. Jan
sourdough starter
By Jan Schluter November 25, 2021
Levains of different kinds, an explanation
Breadcrumb artisan loaf
By Jan Schluter November 8, 2021
Artisan Loaf incorporating breadcrumbs from a variety of leftover breads.
chocolate chip cookies
By Jan Schluter September 22, 2021
Our favourite Chocolate Chip cookie recipe baked many times throughout our children's childhood. So versatile . Change it up to suit your family and create wonderful memories for you, your family and your community
Ancient Grains Spelt, Emmer, Rye, Khorasan, Sourdough loaf
By Jan Schluter August 7, 2021
A wonderful ancient grain sourdough bread using Emmer, Spelt, Khorasan flours
By Helium Marketing May 24, 2021
All the other ingredients including salt is already added – you do not need to add additional ingredients ( other than whats listed above) to our RISEN FLOUR bread mix. Baking by hand or Mixer (If you are using your bread machine, it is recommended that you use the basic setting and follow their instructions further for bread mix quantities, although it is recommended that you always put the water in 1st then the flours and dry ingredients). Results can vary depending on seasonal changes and temperatures / storage of product, so it may be necessary to adjust the water and flour ratio. Check the dough in the first 10 min of kneading. If the dough is too dry add 1-2 teaspoons of water extra, if too sticky add 1-2 tbsp of dry bread mix. The dough should be forming a smooth round ball.
Soft and spongy Gluten Free Bread Mix
By Jan May 24, 2021
This bread mix is flying out our door - it makes the most devine soft spongy loaf of bread. Add nuts and seeds to your hearts content!
ORGANIC WHOLEMEAL BREAD MIX
By Jan October 24, 2020
BREAD MAKING INSTRUCTIONS for organic wholemeal bread mix
Spelt Wholemeal, gentle gluten bread
By Jan October 7, 2020
Superior quality Spelt Bread Mix. The Ancient grain contains gentle easily digestible gluten ideal for those that suffer with digesting gluten.
Share by: