Blog

rolling pin, flour, spices and whisk on table

find your next project

what you NEED TO knead

find your

next project

brush stroke

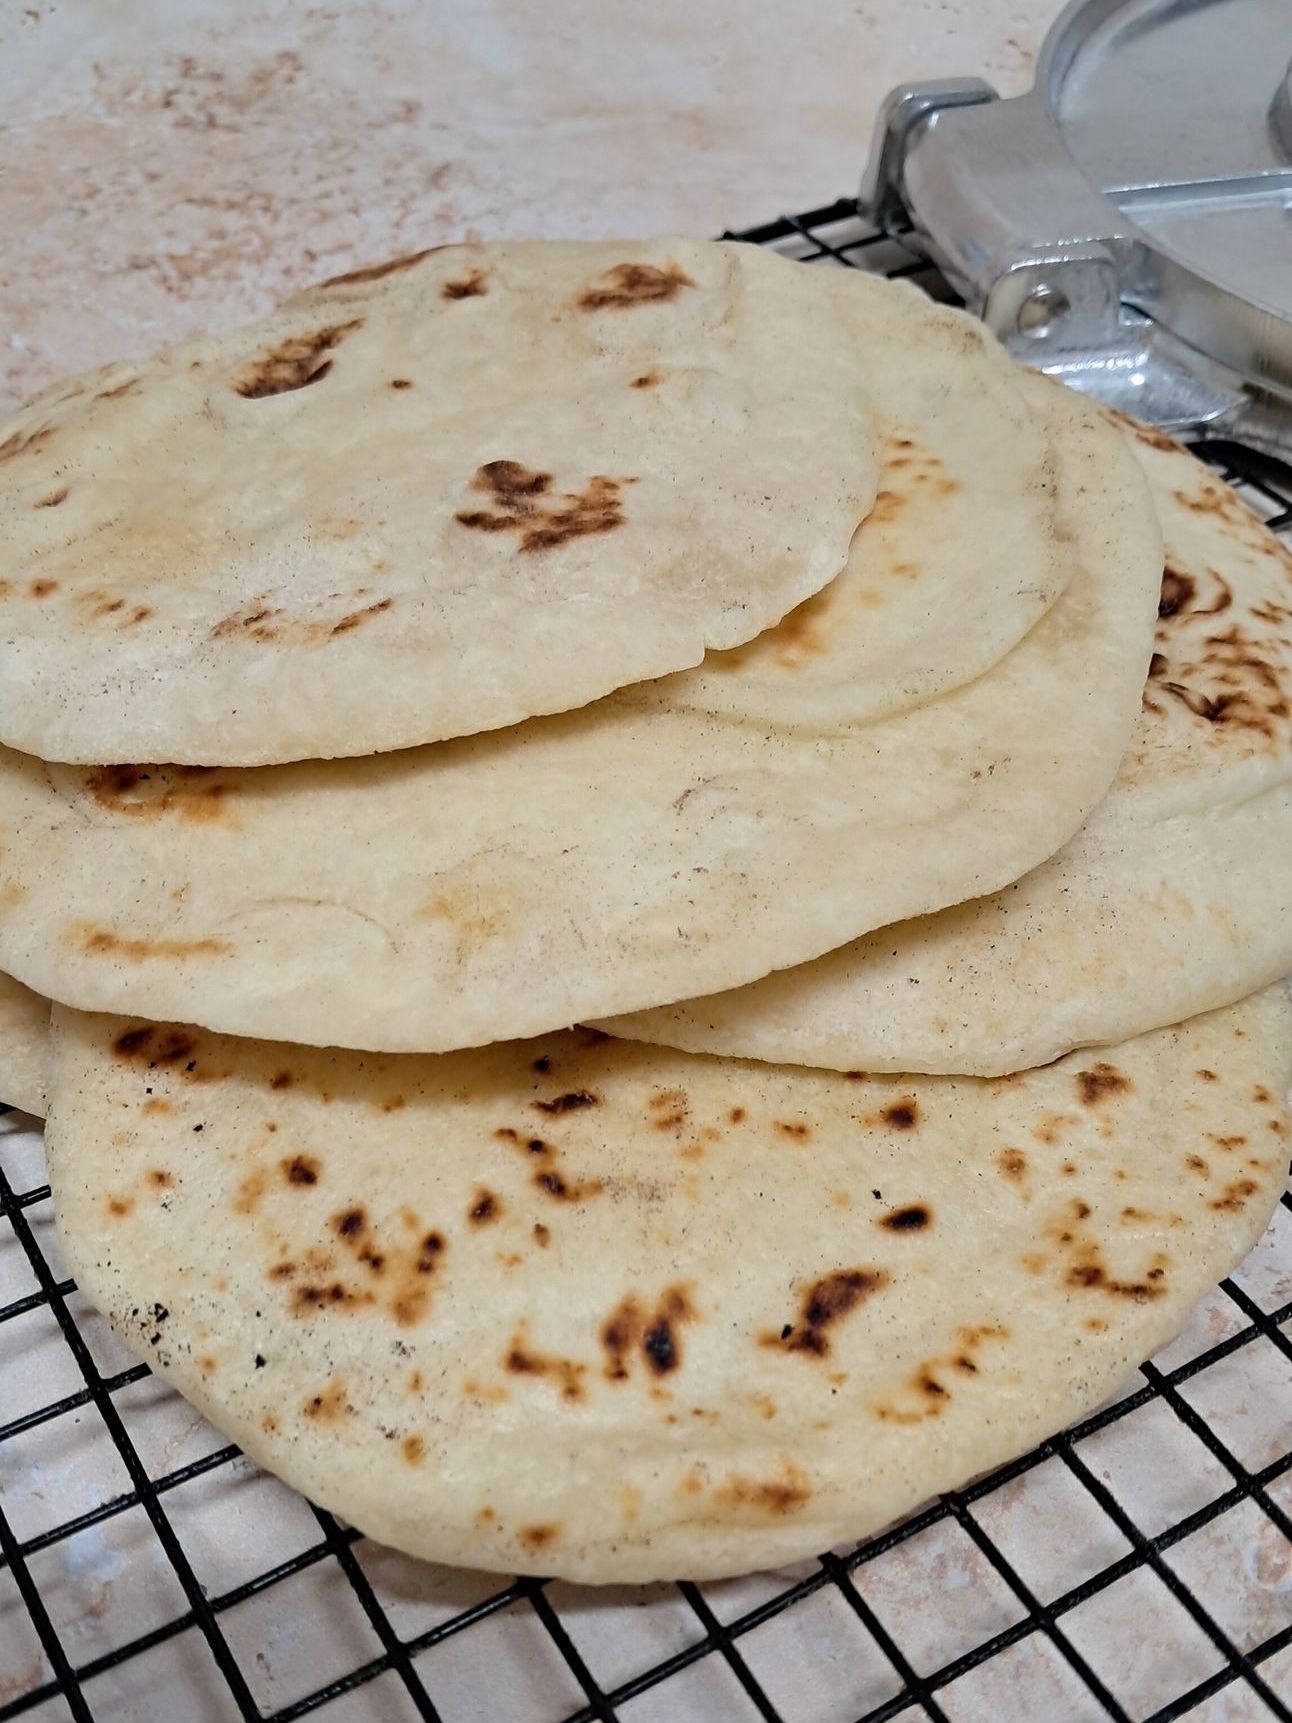
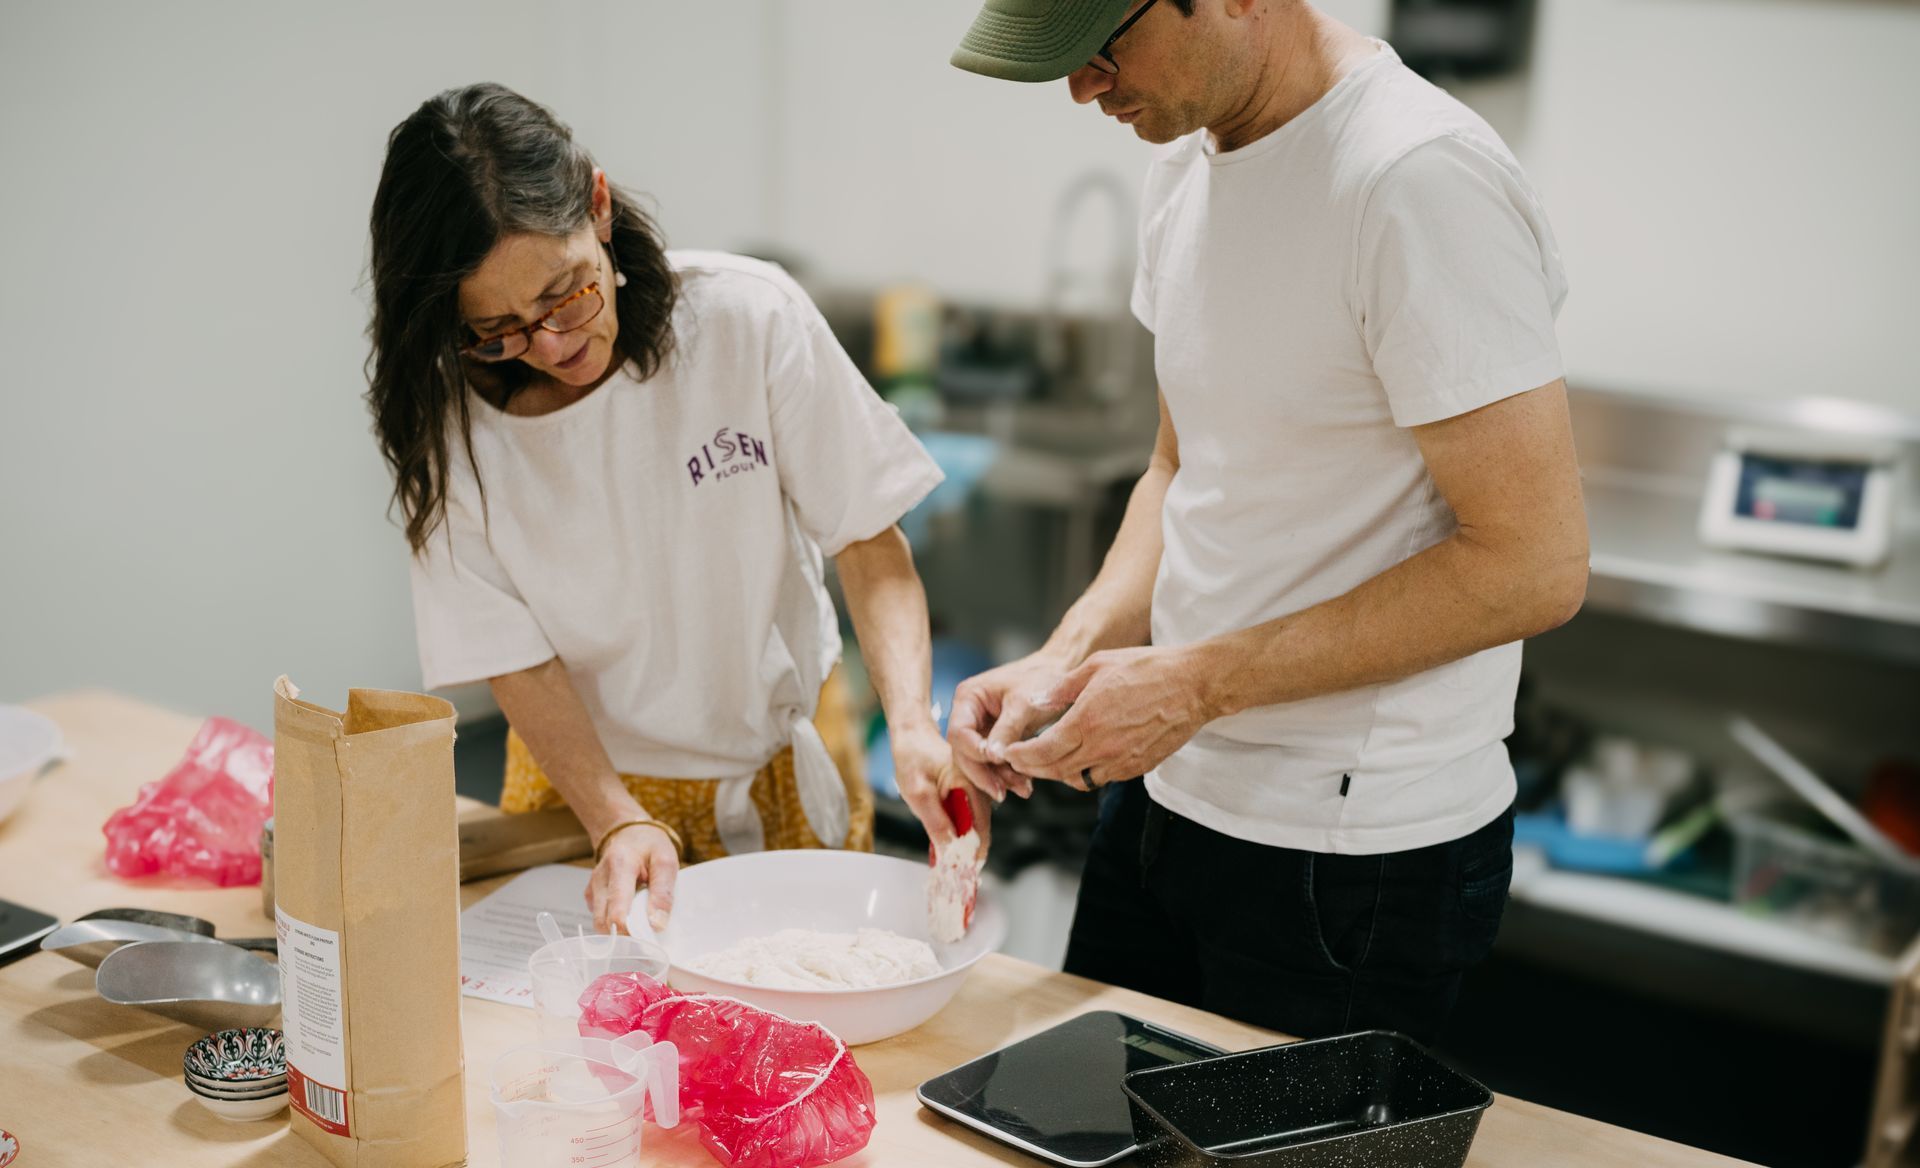
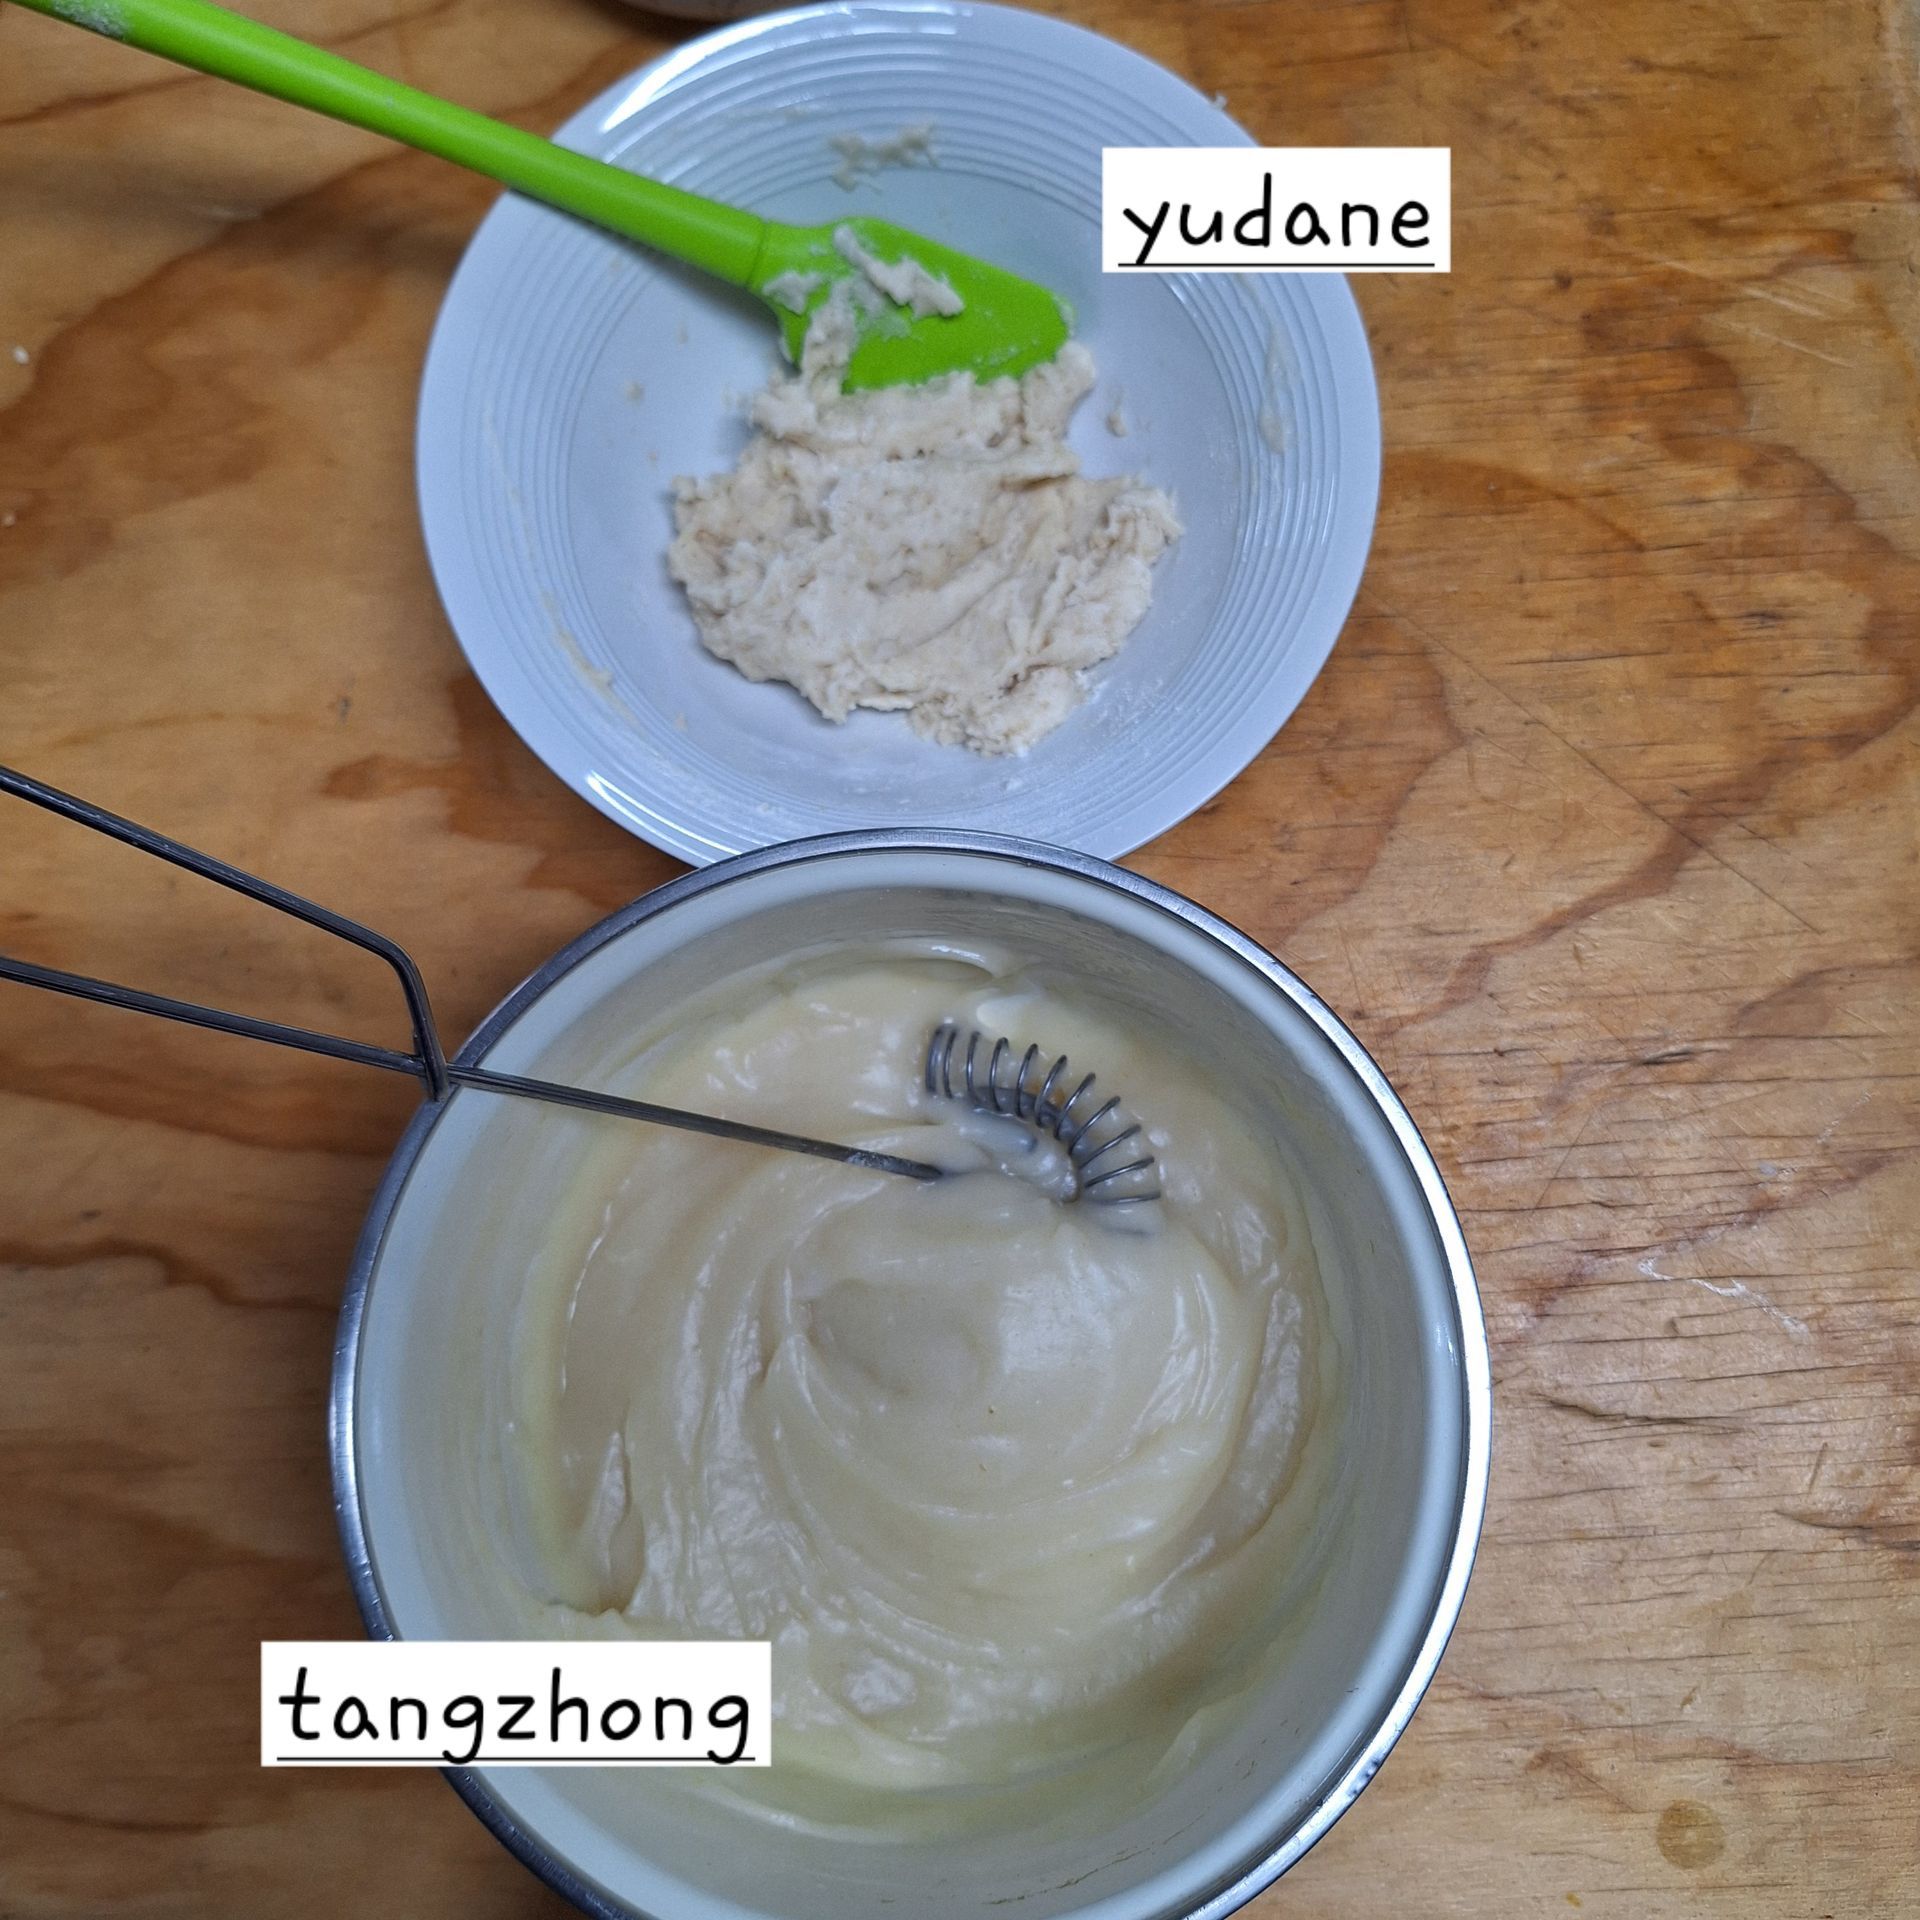
Chat with a community of enthusiastic bakers 

sourdough bread basic bread
By Jan Schluter December 17, 2024
Sourdough and Basic Bread making workshops
dough in tin
By Jan Schluter May 21, 2024
the most frustrating part of sourdough baking.... when is bulk fermentation complete?
photo showing the difference between a  tangzhong and Yudane
By Jan Schluter May 21, 2024
A bowl of tangzhong is like a roux, thick paste. A Yudane is a stiff ball of scorched flour
weighing tin with water to calculate loaf tin capacity for dough
By Jan Schluter March 8, 2024
How to calculate the loaf tin capacity for bread dough
Stacked Sourdough loaves
By Jan Schluter October 16, 2023
Explaining what diastatic Malt is and how to use it in your bread making process, to use or not to use.
split loaf, fruit bread
By Jan Schluter April 18, 2022
A few explanations on why bread splits during baking
sourdough starter
By Jan Schluter November 25, 2021
Levains of different kinds, an explanation
Sourdough Bread
By Jan September 6, 2020
The Sourdough process from Start (er) to Finish
By Jan August 18, 2020
You will notice that most of our recipes are in grams - this is because the most accurate way of measuring your ingredients for bakers is in grams / kilograms. We have put the gram measurements next to the bakers percentage to make it easier for you as we really want you to enjoy this process of baking bread and not scare you away! Measuring in cups is less accurate because as you scoop your flour into your cup measure you are compressing the flour, therefore you are actually using more flour than what the recipe calls for and hence your results will not be as they are supposed to be. Bakers % is based on the flour portion being 100%, which means that everything is measured against the flour. You will see in our recipes 500g flour = 100% water = 60% (330g) salt = 1.2% (6g) yeast = 2% (10g) Therefore 500g flour bread recipe - to calculate the water required at 60% you do the following 500g x .66 (%) = 330g, therefore you would use 330g water in the recipe. Tare you scale with your bowl on, and pour the water in until the weight measures 330g; tare it to 0 again and add your 500g flour; tare it again and add the salt, (500g x 0.012 = 6g) and the yeast would be 500g x 0.02 = 10g
By Jan August 5, 2020
Doesn't the smell of baking bread evoke memories for you? - It does for me and is always such a welcoming feeling to come home to the smell of baking bread, or better still, waking up to it! When you break bread together you creating community and friendships, ones that could last a lifetime. My family often mention how they loved coming home after work and school to the smell of baking bread. Remember that bread doesn't have to be complex or difficult to make. It takes only 4 basic ingredients, a good quality bread flour, water, yeast and salt. The reason you should use a good quality high protein flour is because a higher protein flour contains more gluten which helps give the bread rise and elasticity, the lower the gluten content the denser the bread will be (rye breads are denser as the flour has a lower gluten content.) Let me stop digressing, to make the bread all you need to do is measure out your flour, mix in the salt and then mix in the instant yeast. Don't let the yeast and salt mix together in when you put them in the flour as a blob as the salt can kill the yeast. I like to add the salt first, mix it into the flour then add the yeast and mix again. Make a well in the centre and then add the tepid water. You use tepid water as yeast prefers warmth to being cold, much like me! It activates faster if it is warmer. Once you have a shaggy dough cover it with plastic wrap or a tea towel and leave to rest for 10 min, this helps the gluten develop. Now all you need is elbow grease and a benchtop to do the kneading... this is both the hardest and most theraputic part of the process. There are a few ways to knead, by folding the dough and pushing it away from you with the palm of your hand, see this video https://www.youtube.com/watch?v=l9avZp3xFNU or there is another method called slap and fold - this has been my favourite form of kneading, take a look here https://www.youtube.com/watch?v=cbBO4XyL3iM Now all you have to do is put the dough into a bowl in a warm spot for around 1hr to rise. Make sure you cover the dough so it doesn't dry out. Once it has risen all you do is knock it back, don't be too rough though. Then mould into the shape you want. You can also divide the dough into equal size balls, roll them up and place them tightly packed into a greased baking tin. Again leave the dough to rise for around 30min and put it in the oven to bake. Bread is always cooked at high temps
By Helium Marketing July 3, 2020
If it is a really cold day or your kitchen is on the colder side, to proof the dough all you need to do is put your oven light on and place the covered bowl in your oven to proof.

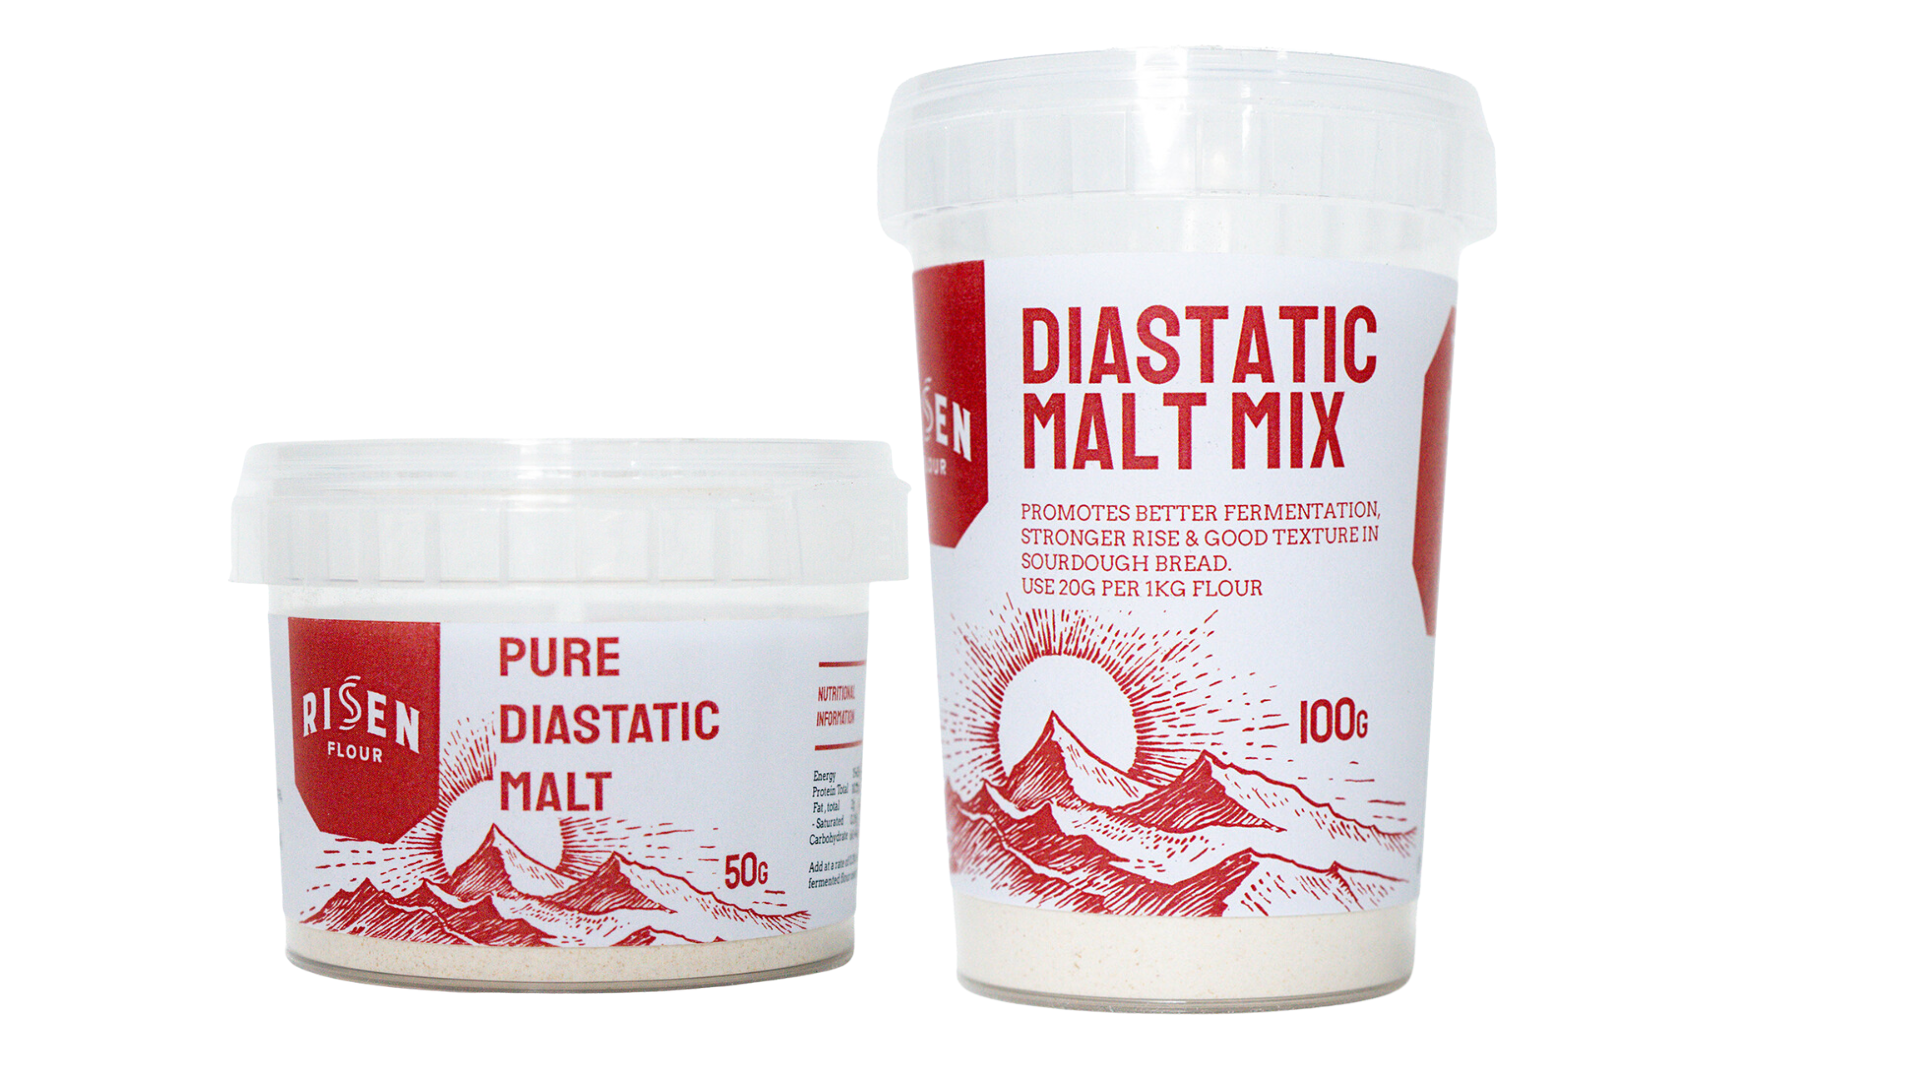
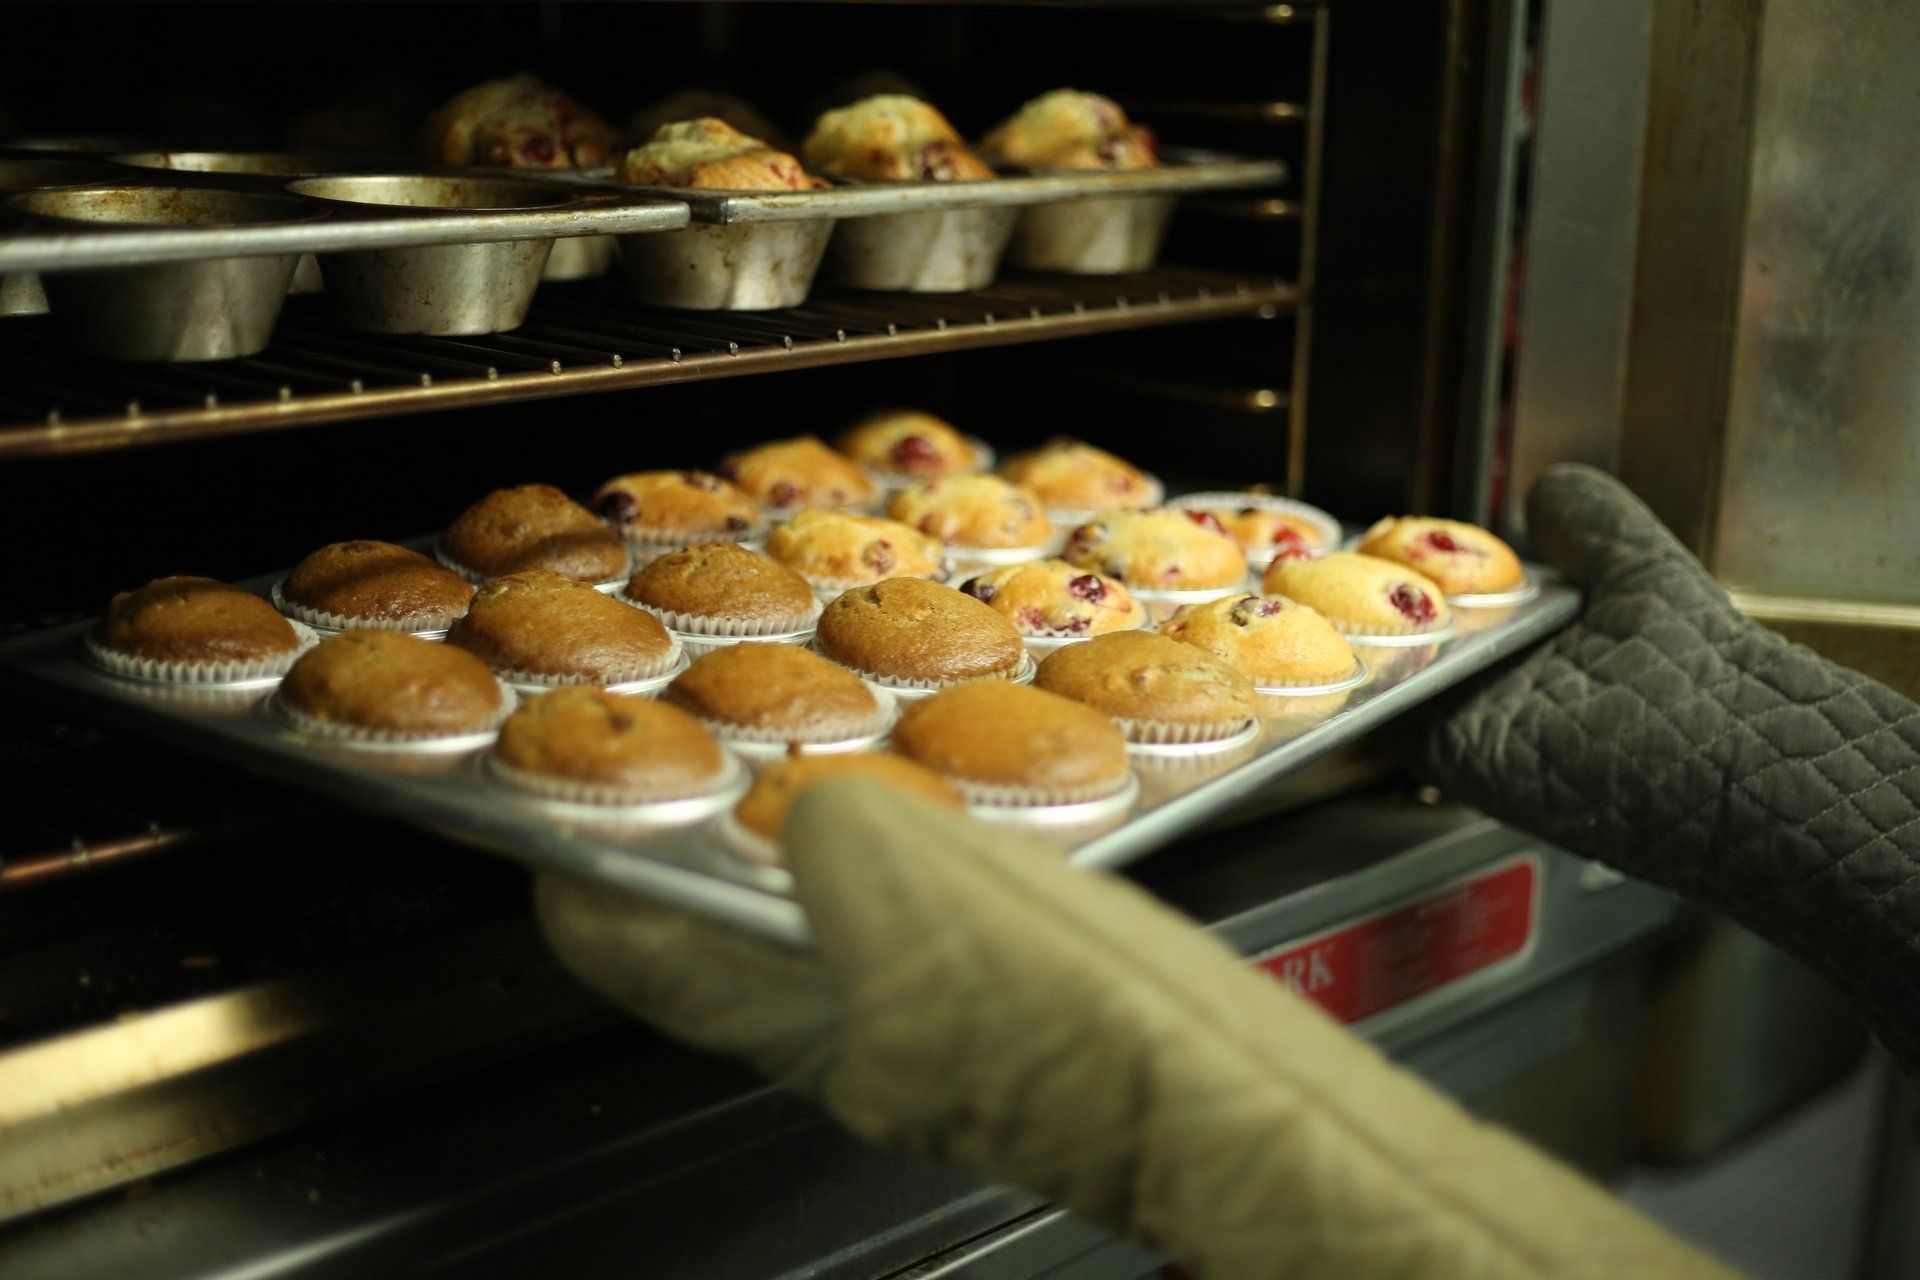
There’s always something new to try with our mix of competitions, classes, and discussions, available through our blog and social pages.


Swap ideas with other bakers, pick up some handy kitchen tips, and get involved in our active and welcoming online community of bread-heads through our social pages.


Share by: