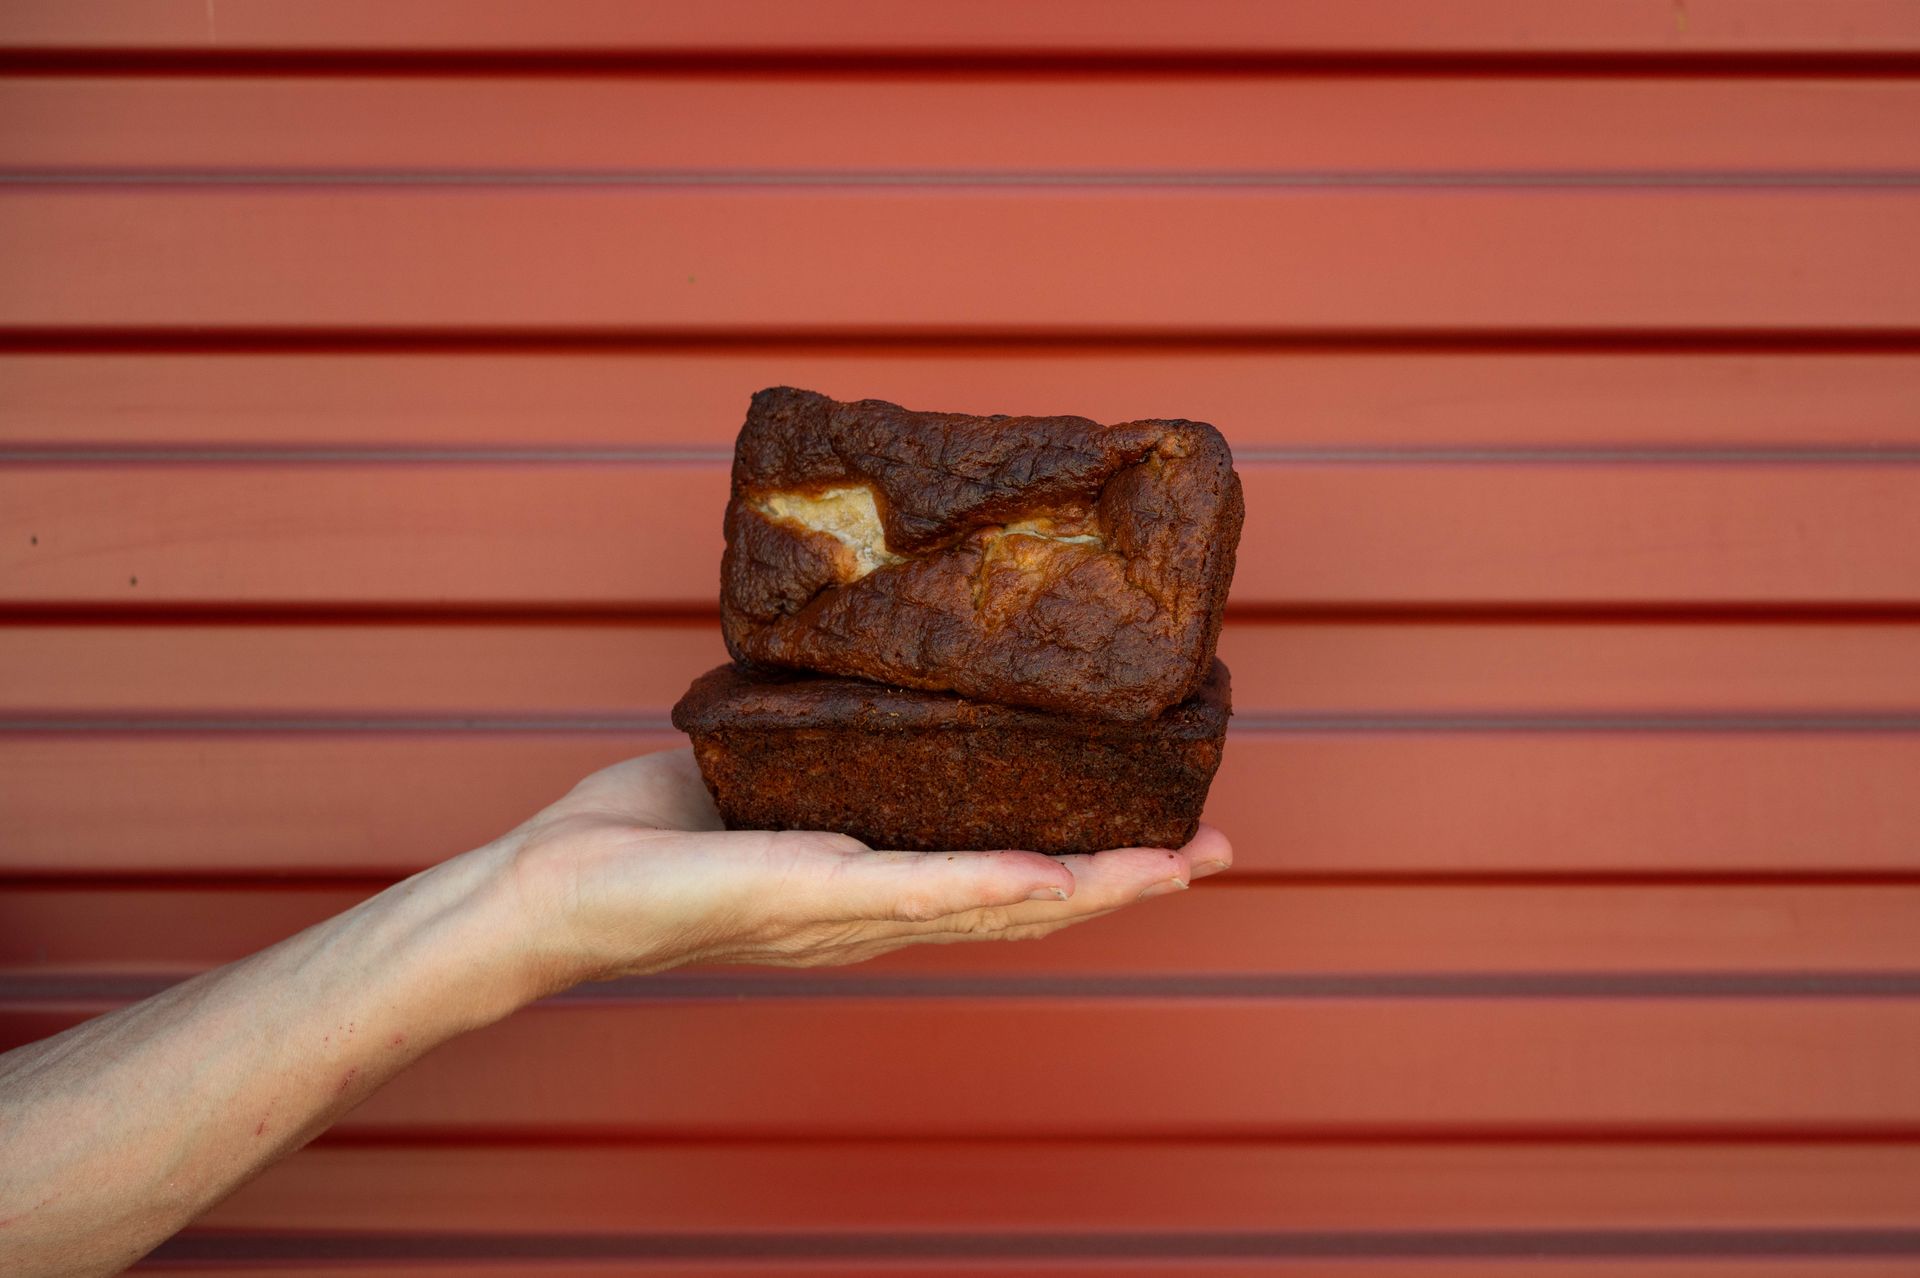
Baguettes

3 day baguettes
This Baguette recipe takes 3 days to make but don’t be daunted or loose interest – the processes for the 1st two days is not time consuming so its not as if you are going to be making bread for the entire 3 days.
The recipe is an adaptation from Patrick Ryan and has amazing flavour.
It uses a pre-fermented dough which you make on the 1st day and put in the fridge to ferment – it adds an amazing flavour to your baguettes, like a curry always tastes better the day after making it, the same applies here. The prefermented dough is allowed to sit for about 24 hours prior to using in your recipe. It develops deeper flavours. You can use either fresh yeast or instant yeast – When using fresh yeast, use double the amount you would use for instant yeast – if the recipe calls for 7g instant yeast, use 14g fresh yeast.
This recipe makes 8 baguettes but you can leave the dough in the fridge for up to 36 hours and calve off bits as you need them and bake fresh baguettes daily! The dough once shaped will be ready 2 hours after taking it out of the fridge. So take the dough out, shape and leave to rise for around 1.5hrs – 2 hours this depends on the ambient tempreture
Pre-fermented Dough
- 450g *Risen Flour’s (RF) Strong White Flour/ Organic White or Artisan White Flour
- 7g Salt
- 290g Water
- 5g Fresh Yeast (we do stock Fresh Yeast when we can – phone to see if we have any when you need some(or 2.5g/ generous pinch instant yeast).
Main Dough Ingredients
· 500g Strong White Flour
· 10g Salt
· 300ml Water
· 10g Fresh Yeast (or 5g dried yeast)
· Pre-fermented dough
Day 1 – Prefermended dough
- Combine the flour and salt together in a clean bowl and give it a mix.
- Crumble the fresh yeast into the water and stir together to help the yeast dissolve. If you are using instant yeast mix it in with the flour, no need to mix it with the water first.
- Pour the yeasted water into the flour (for the fresh yeast only)
- Combine all the ingredients to form a shaggy mass/dough.
- Turn the dough out onto a clean work surface and knead for 3 to 4 minutes or alternatively use your Kitchen Aide or Kenwood Food Processor on slow speed for 2 min - please watch your machine doesn’t bounce off the benchtop.
Do not worry if your dough is slightly sticky or wet and resist the temptation to add any extra flour. This dough is kneaded less than usual doughs. What we are looking for is the dough to roughly come together into a shaggy mass. - Place the dough into an oiled bowl. Cover with cling film or one of our cotton food covers and place into the fridge for 12-24 hours.
Day 2
- In the morning of the following day, remove the pre-fermented dough from the fridge.
- In a large clean bowl combine the strong white flour and salt, give it a mix and then add the instant yeast, or alternatively crumble the fresh yeast into the water and stir together to help the yeast dissolve. Pour the yeasted water into the flour.
- Break the pre-fermented dough into small pieces and add it to the flour and water mix. (By breaking the dough into smaller pieces it will be easier to incorporate this dough into the final dough mix. )
- Begin to knead by hand for about 12 min until you get a good window pane test. Or use your Kenwood / Kitchen Aide to mix your dough with the dough hook for around 8 min until you achieve the window pane stage.
- As you knead the dough you may find it to be a little wet and sticky, don’t worry, it is meant to be this way, try the slap and fold method of kneading, it works well with sticky doughs. Resist the temptation to add any extra flour, the dough will come together.
- Once the window pane affect has been achieved place the dough into a large clean bowl that has been oiled. Cover with cling film and place the dough into the fridge for 18-24 hours.
If you don’t have the time once you have kneaded the dough it can be cooked on the same day, leave it to proof and ferment at room temp for around 2 hours, but by leaving this overnight in the fridge you are going to produce a far superior baguette both in flavour and texture. - The dough will be just fine in the fridge for between 12 to 36 hours.
Day 3
- Remove the dough from the fridge and turn out onto a clean work surface then knock back.
- Divide the dough into even portions approximately 250g each.
- Shape each portion of dough into a ball and allow the dough to rest on the work surface for 5 minutes.
• This period of resting allows the gluten within the dough to relax which will help when it comes to the final shaping of the dough. Instead of trying to roll a baguette from start to finish in one go we do it in series of stages letting the dough rest and relax between each stage. - Working with one portion of dough at a time begin to form a baguette. Flatten out the dough evenly into a rough rectangle. Taking the edge closest to you, fold the dough over about an 2cm then crimp the edges together as you roll. Fold the dough over again, and again, crimping the seams together each time.
- Repeat one more time so that the dough resembles a sausage about 15cm in length.
- Place the dough to one side leaving it to rest while you start to shape the next portion of dough. By the time each portion of dough has been pre-shaped, the first portion of dough is ready to undergo its final shaping.
- Using the palms of your hands, start in the middle and roll the dough out, moving from the middle to outside as you roll. Roll the dough out to about 30 – 35cm in length.
• Traditionally baguettes are shaped and placed to proof in a couche which is a thick piece of cotton which is used to support the baguette shape while proofing. I didn’t have one so used a thick tea towel dusted with flour or a greased baguette baking tray. - Arrange the baguettes seam side up and side by side using the tea towel as a barrier between each. Leave the baguettes to prove for about 50 to 60 minutes. If you are using the baguette baking tray to proof the baguette, put the dough seam side down as you won’t be removing it from the tray before baking.
- Preheat the oven to 240°C fan assisted or its highest setting if your oven does not go that high. Place a baking tray into the base of the oven.
• The dough is ready to bake when pushed lightly with your finger and it quickly springs back. - Score the loaves at a slight angle overlapping each other with a lame, blade or very sharp knife using quick short strokes.
- . Gently roll each baguette out of the tea towel and lift on to a baking tray, placing the baguettes seam side down. (ignore this step if you have proofed your baguette on the baguette baking tray).
- Place in the oven and then pour some water into the hot tray at the bottom of the oven for a burst of steam. (Please be careful as steam can burst out of the oven and burn you.)
- After 6 min open the door and remove the tray with water in it and continue to bake the loaf. Bake in total for around 20 - 25 min.
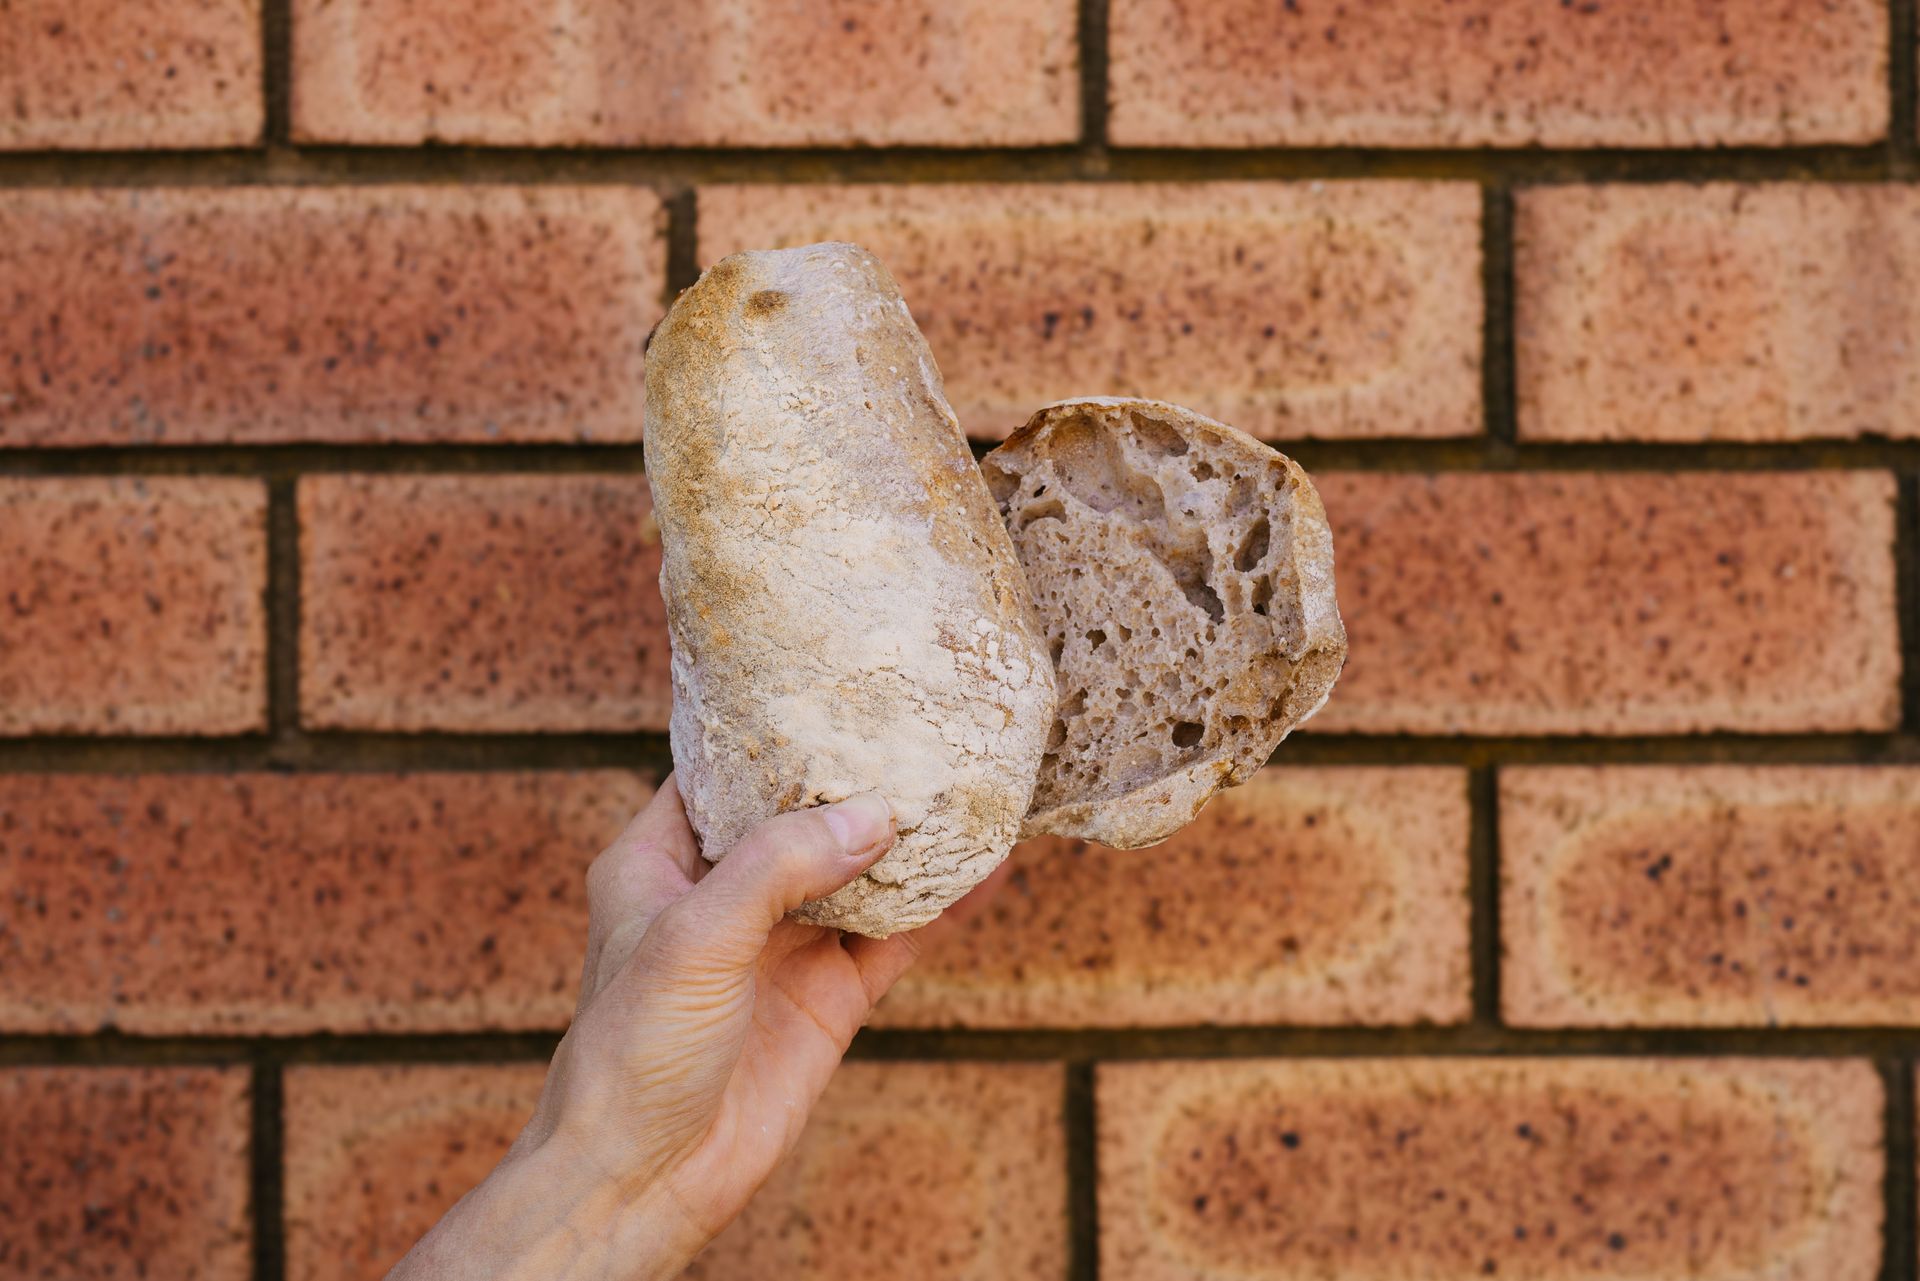
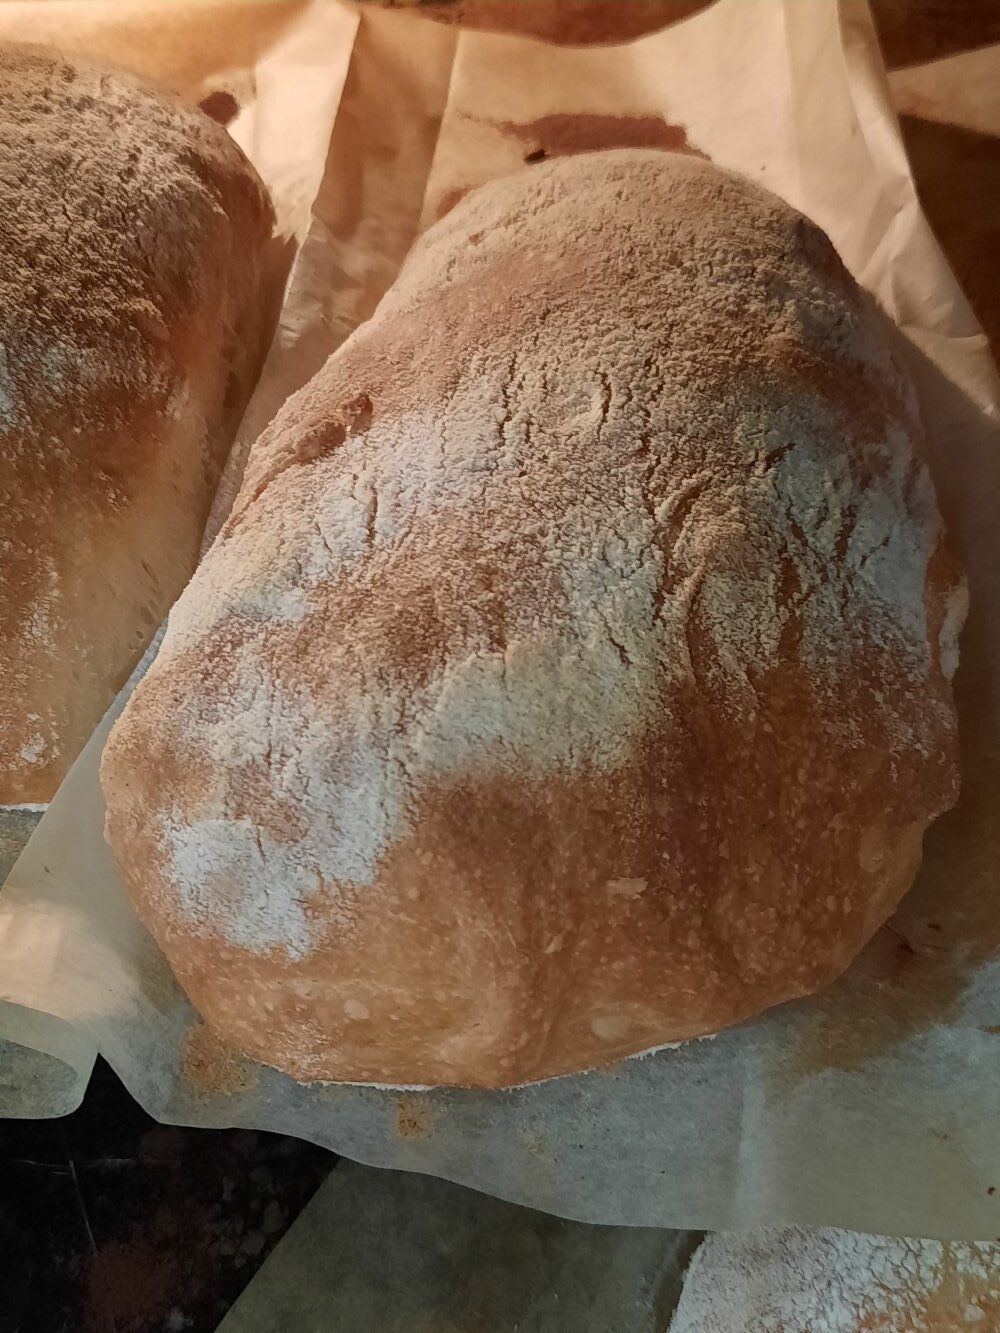
- Once the baguettes are golden in colour and sound hollow they are baked and can be removed from the oven. Place on a cooling wrack to cool down before tucking in and and enjoying.!