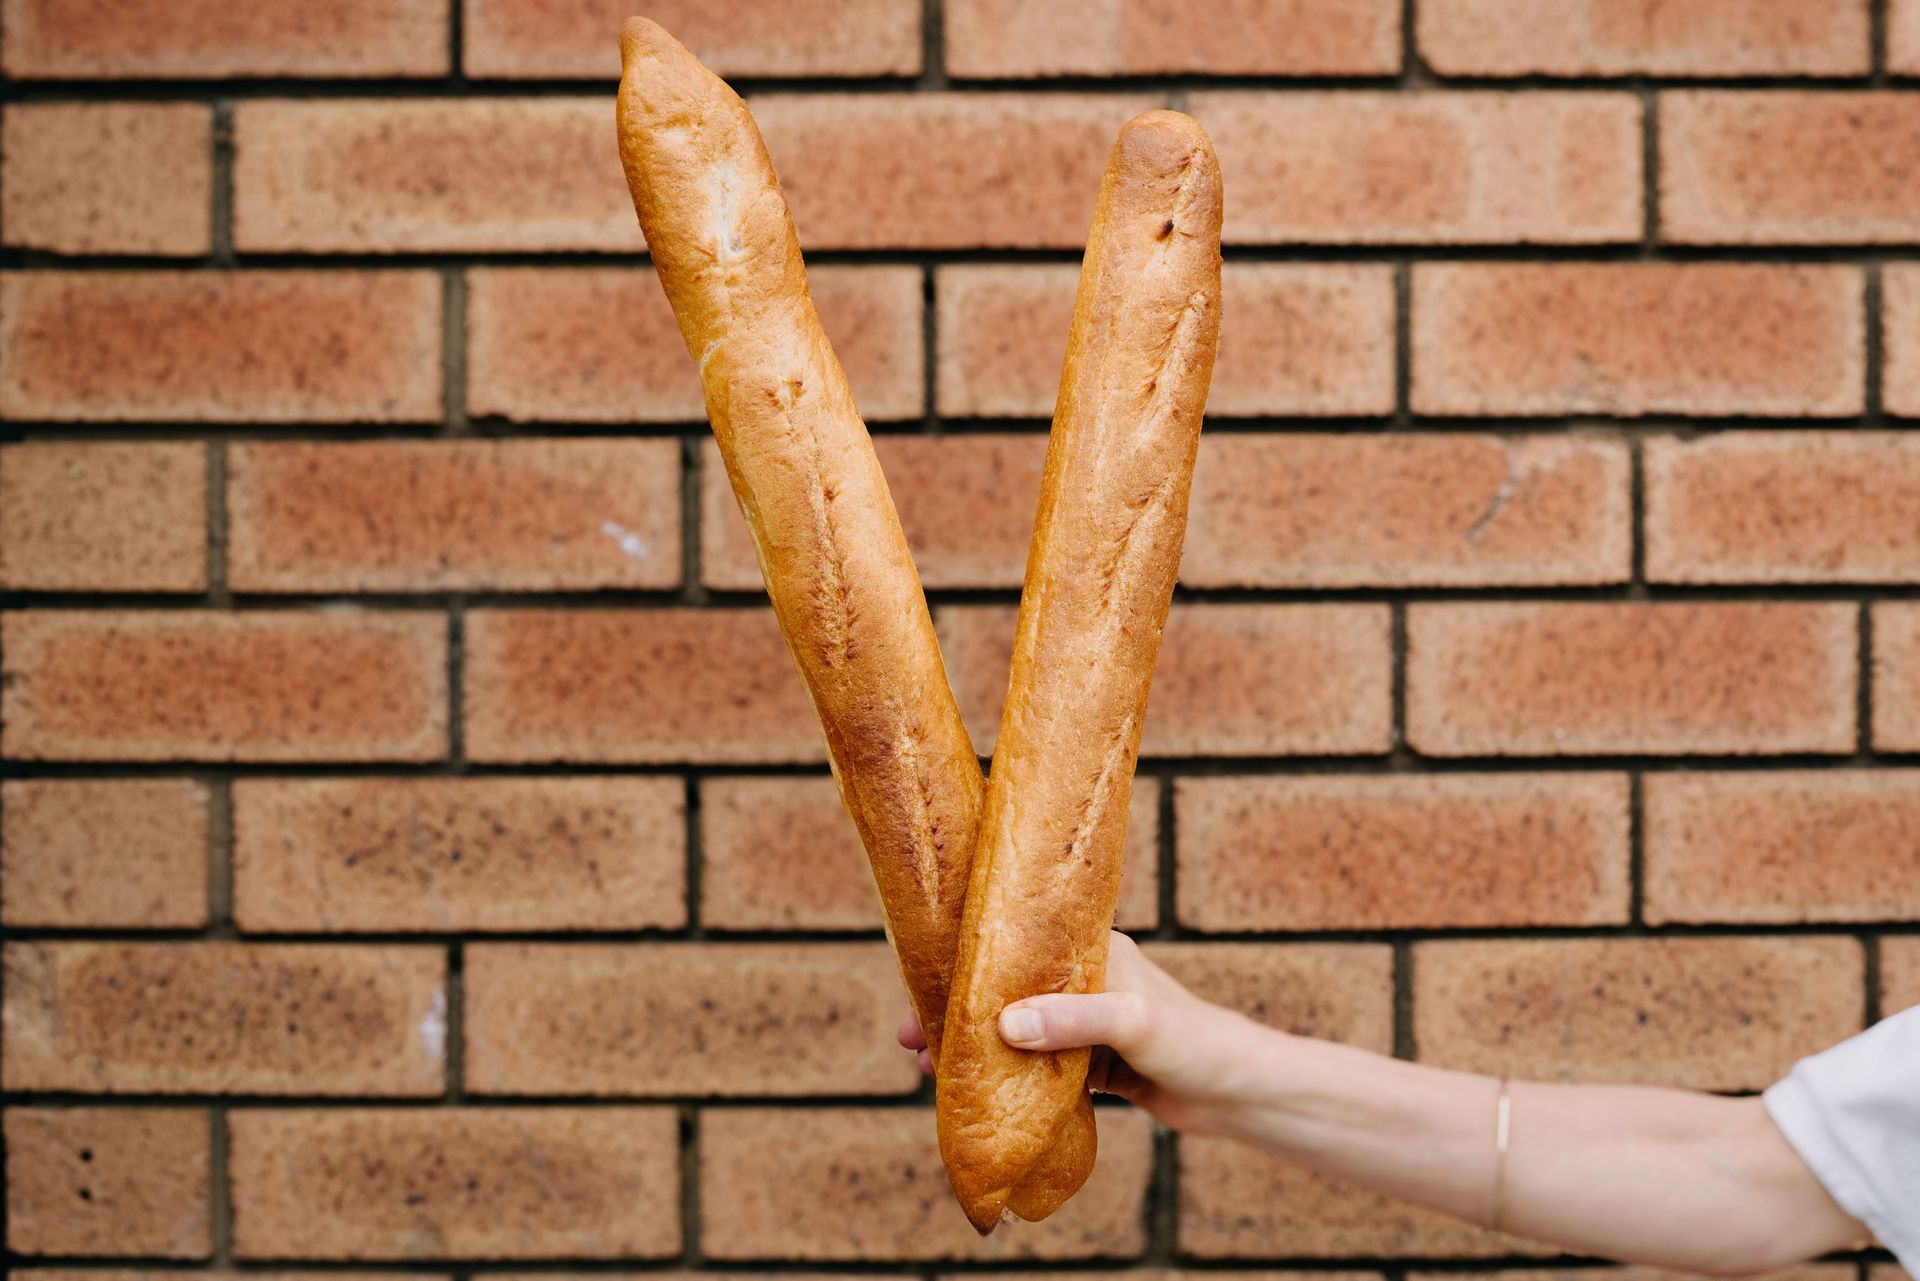
WHY DOES MY BREAD SPLIT?
cAUSES FOR BREAD SPLITTING
Baking can sometimes be challenging but that is half the fun. How boring it would be if we didn’t keep it interesting by having something knock us from the left field!
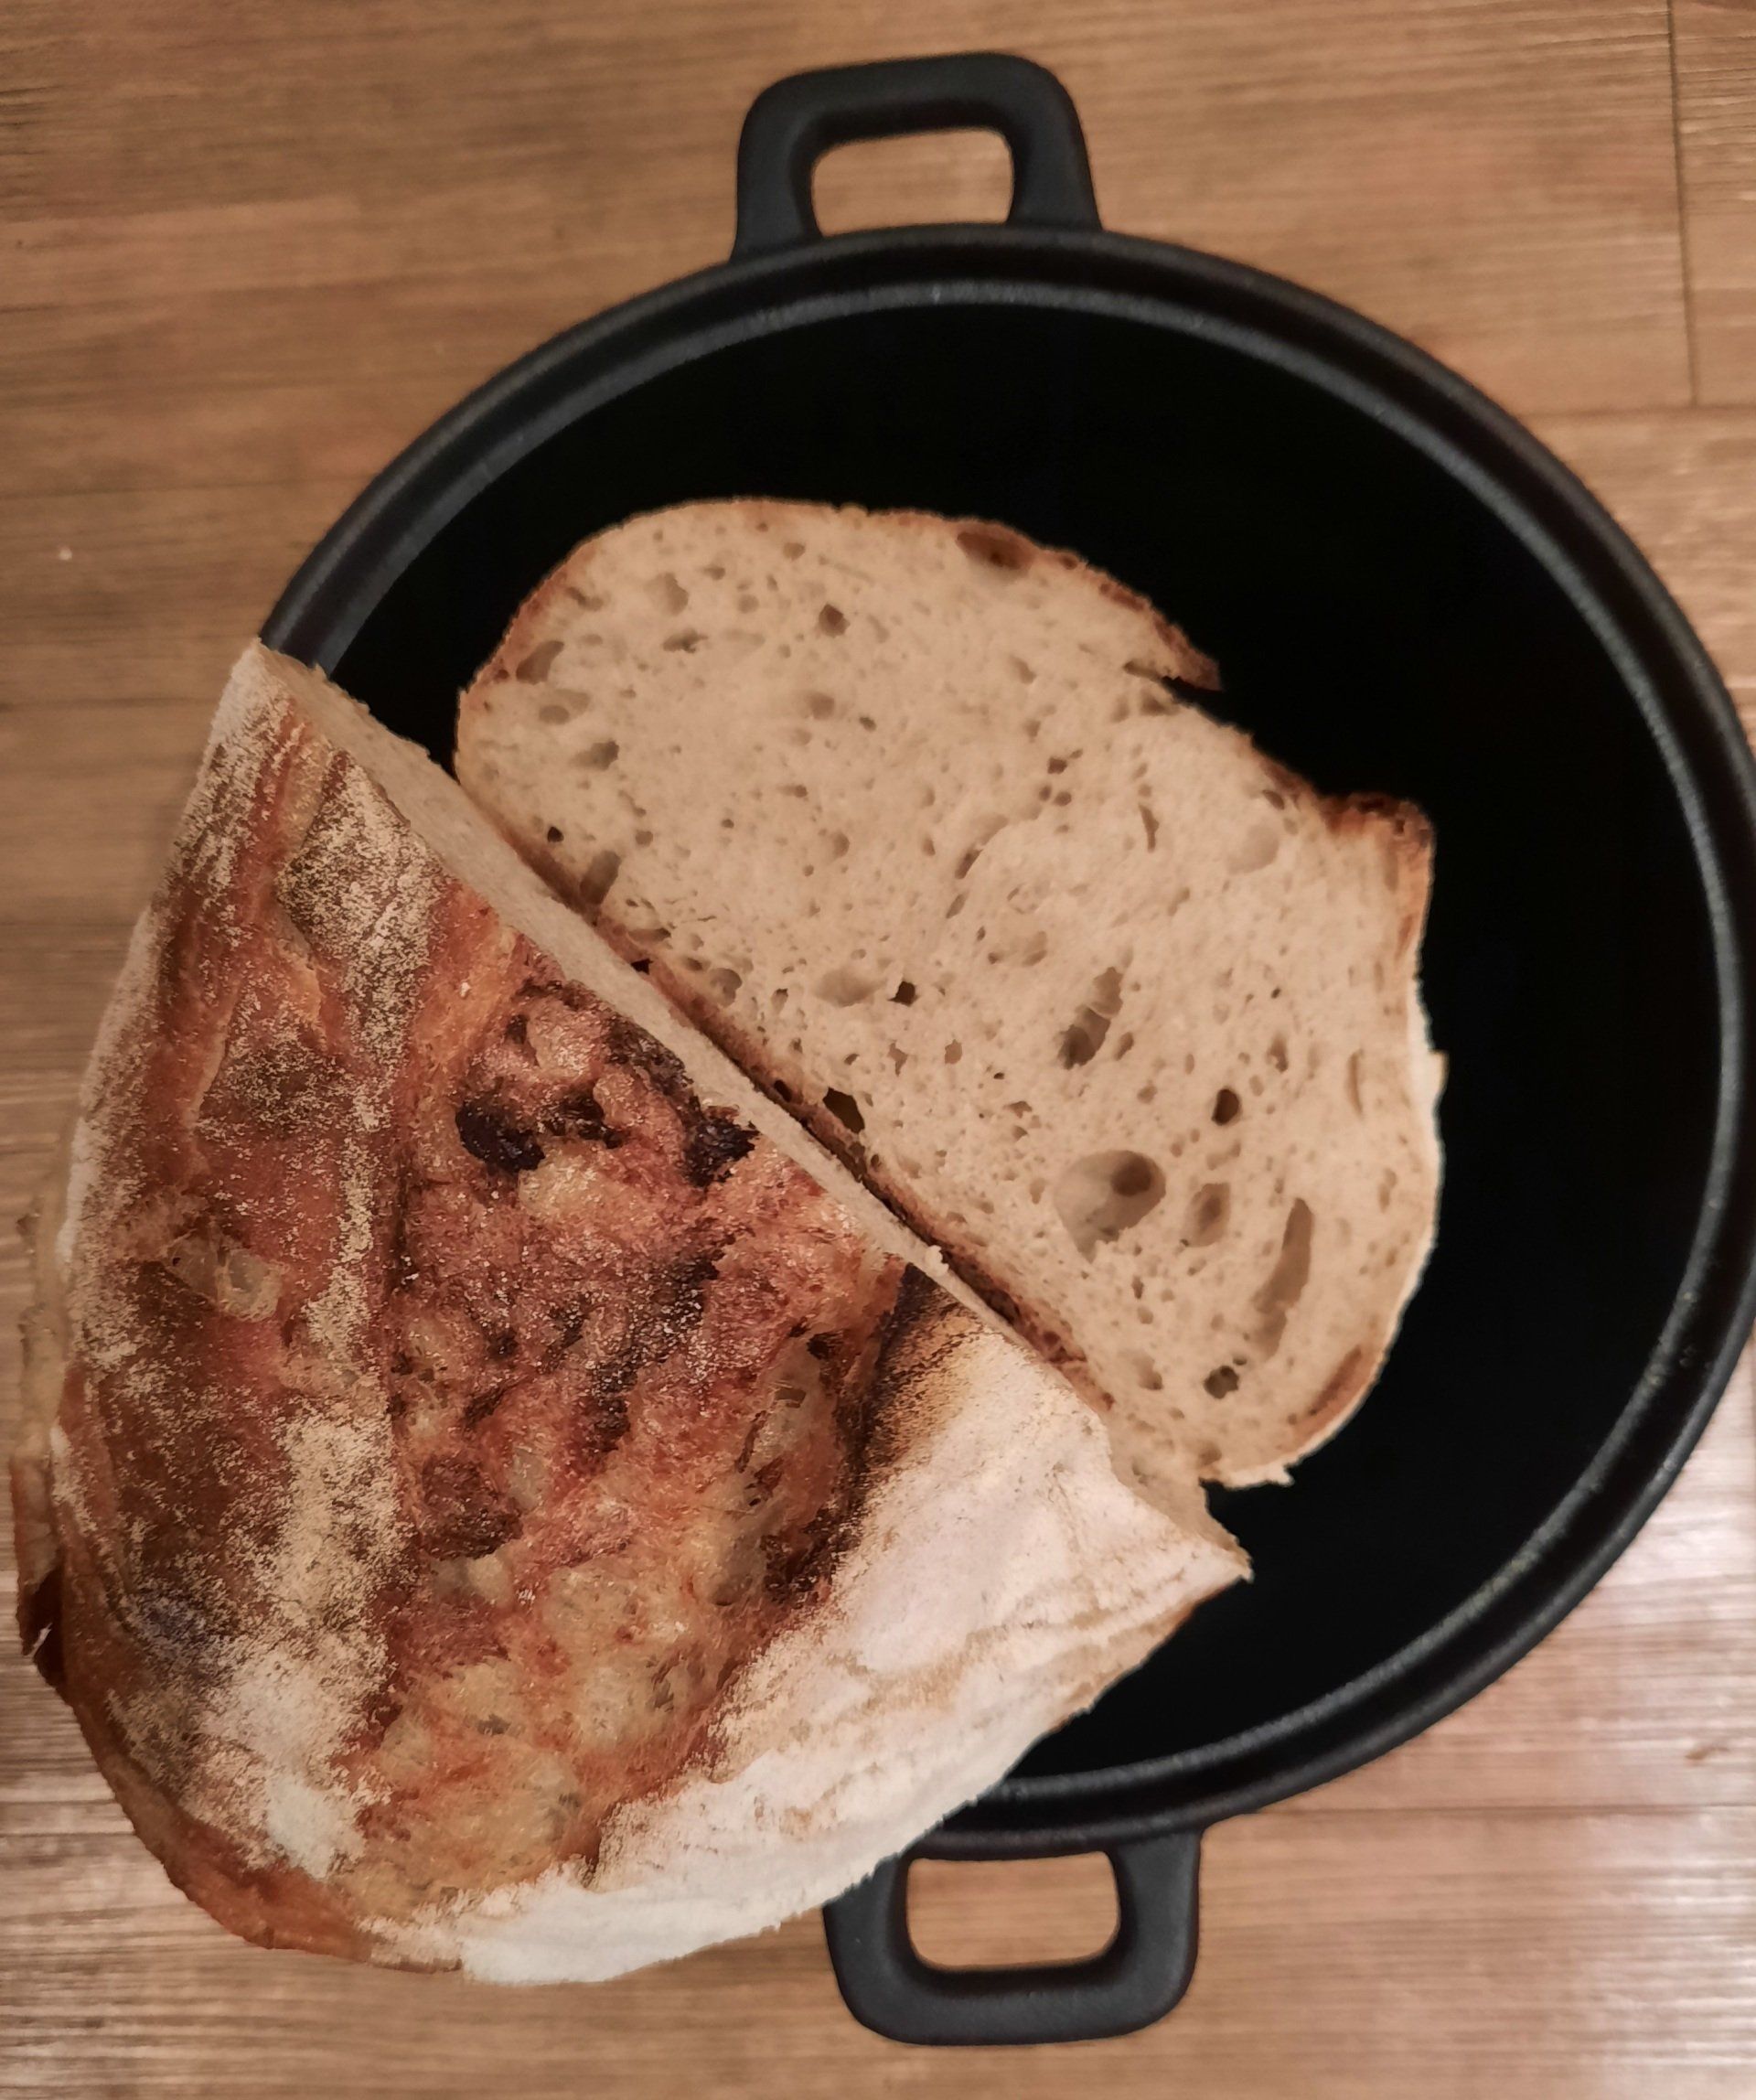
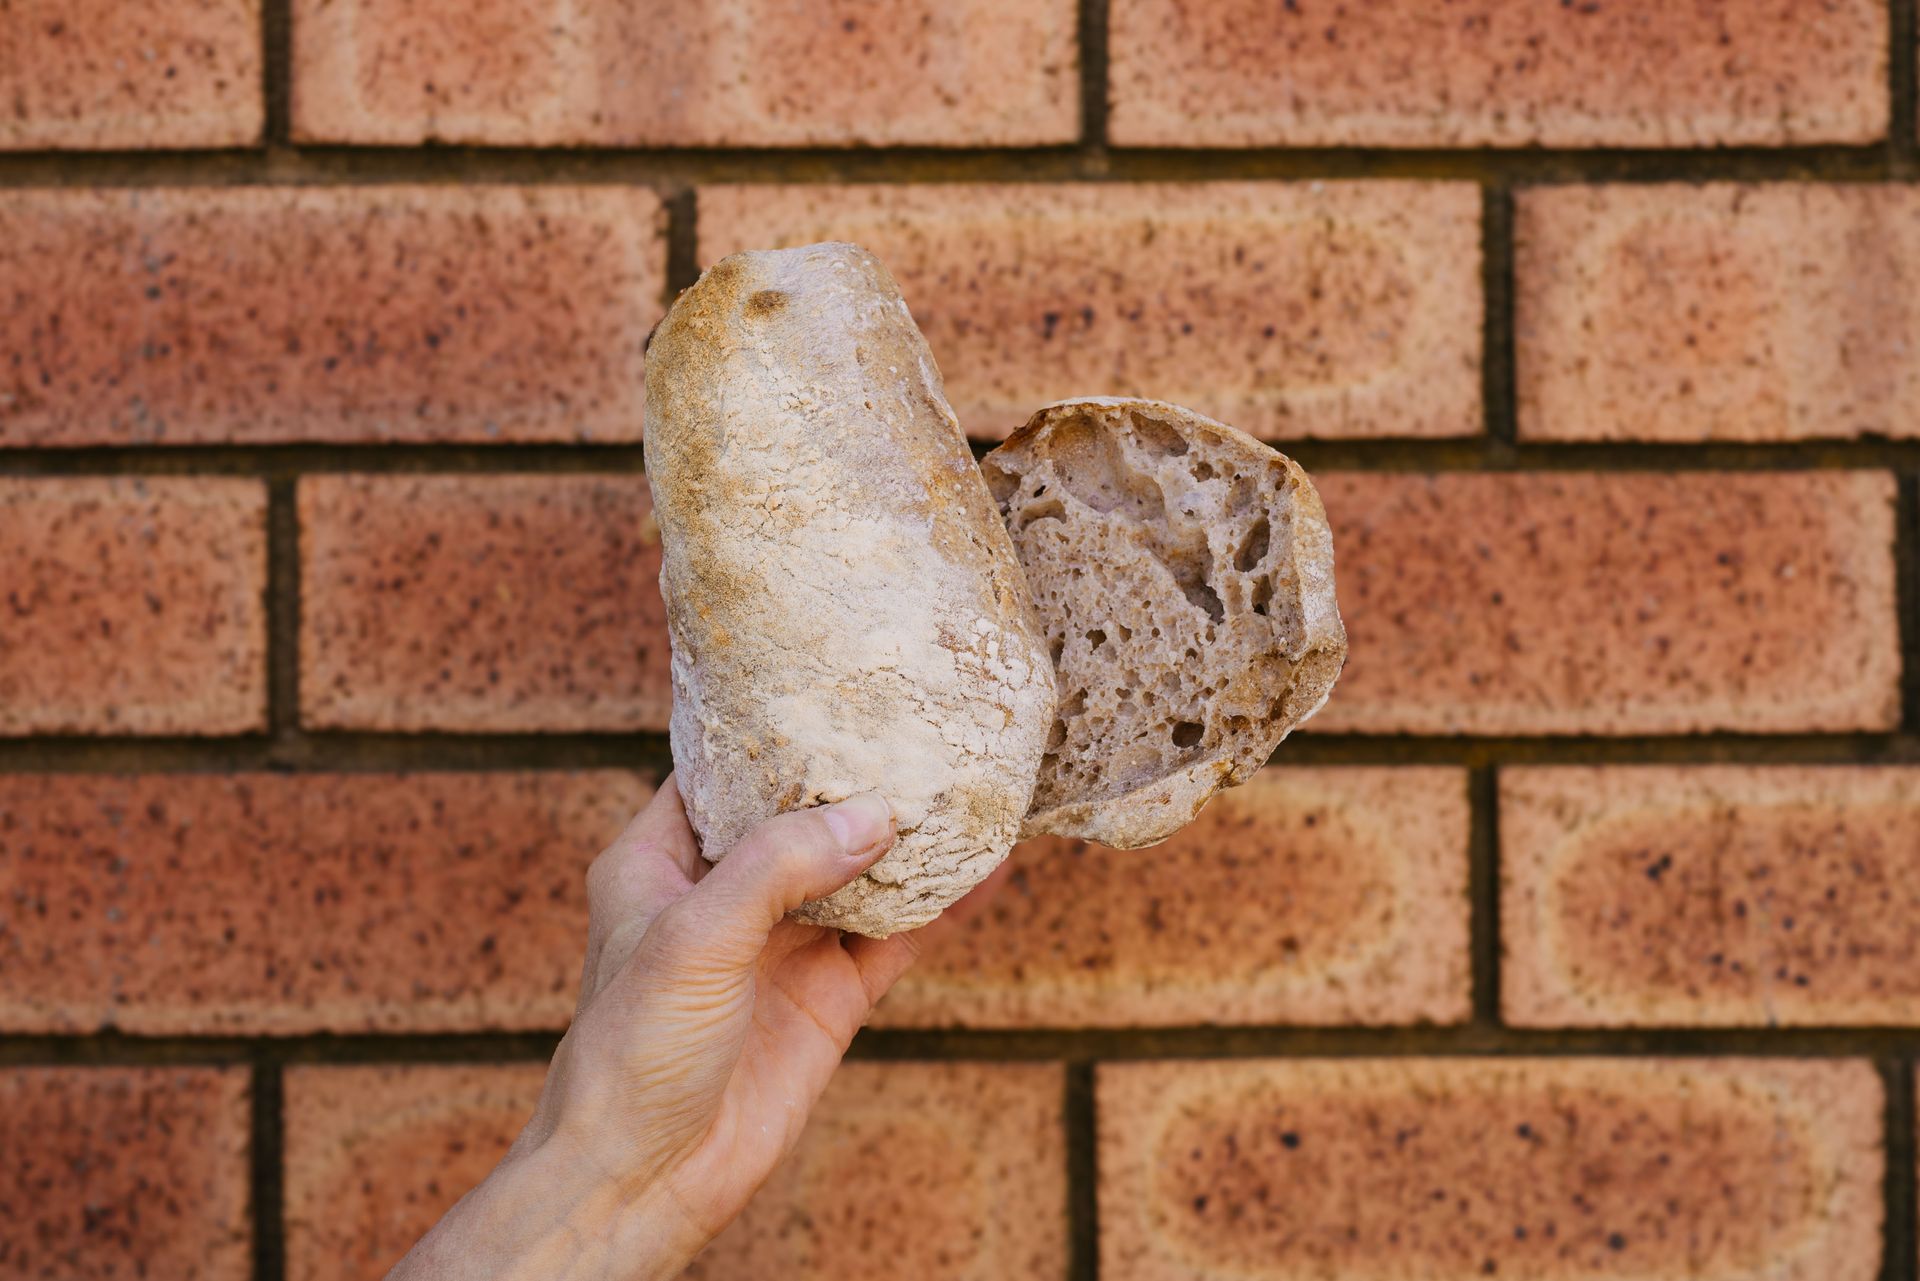
Bread splitting and bursting in the wrong places can happen to all of us, and probably have over the course of our baking, even experienced bakers can have this issue. There are numerous factors that can cause this.
Some of the reasons are listed below:
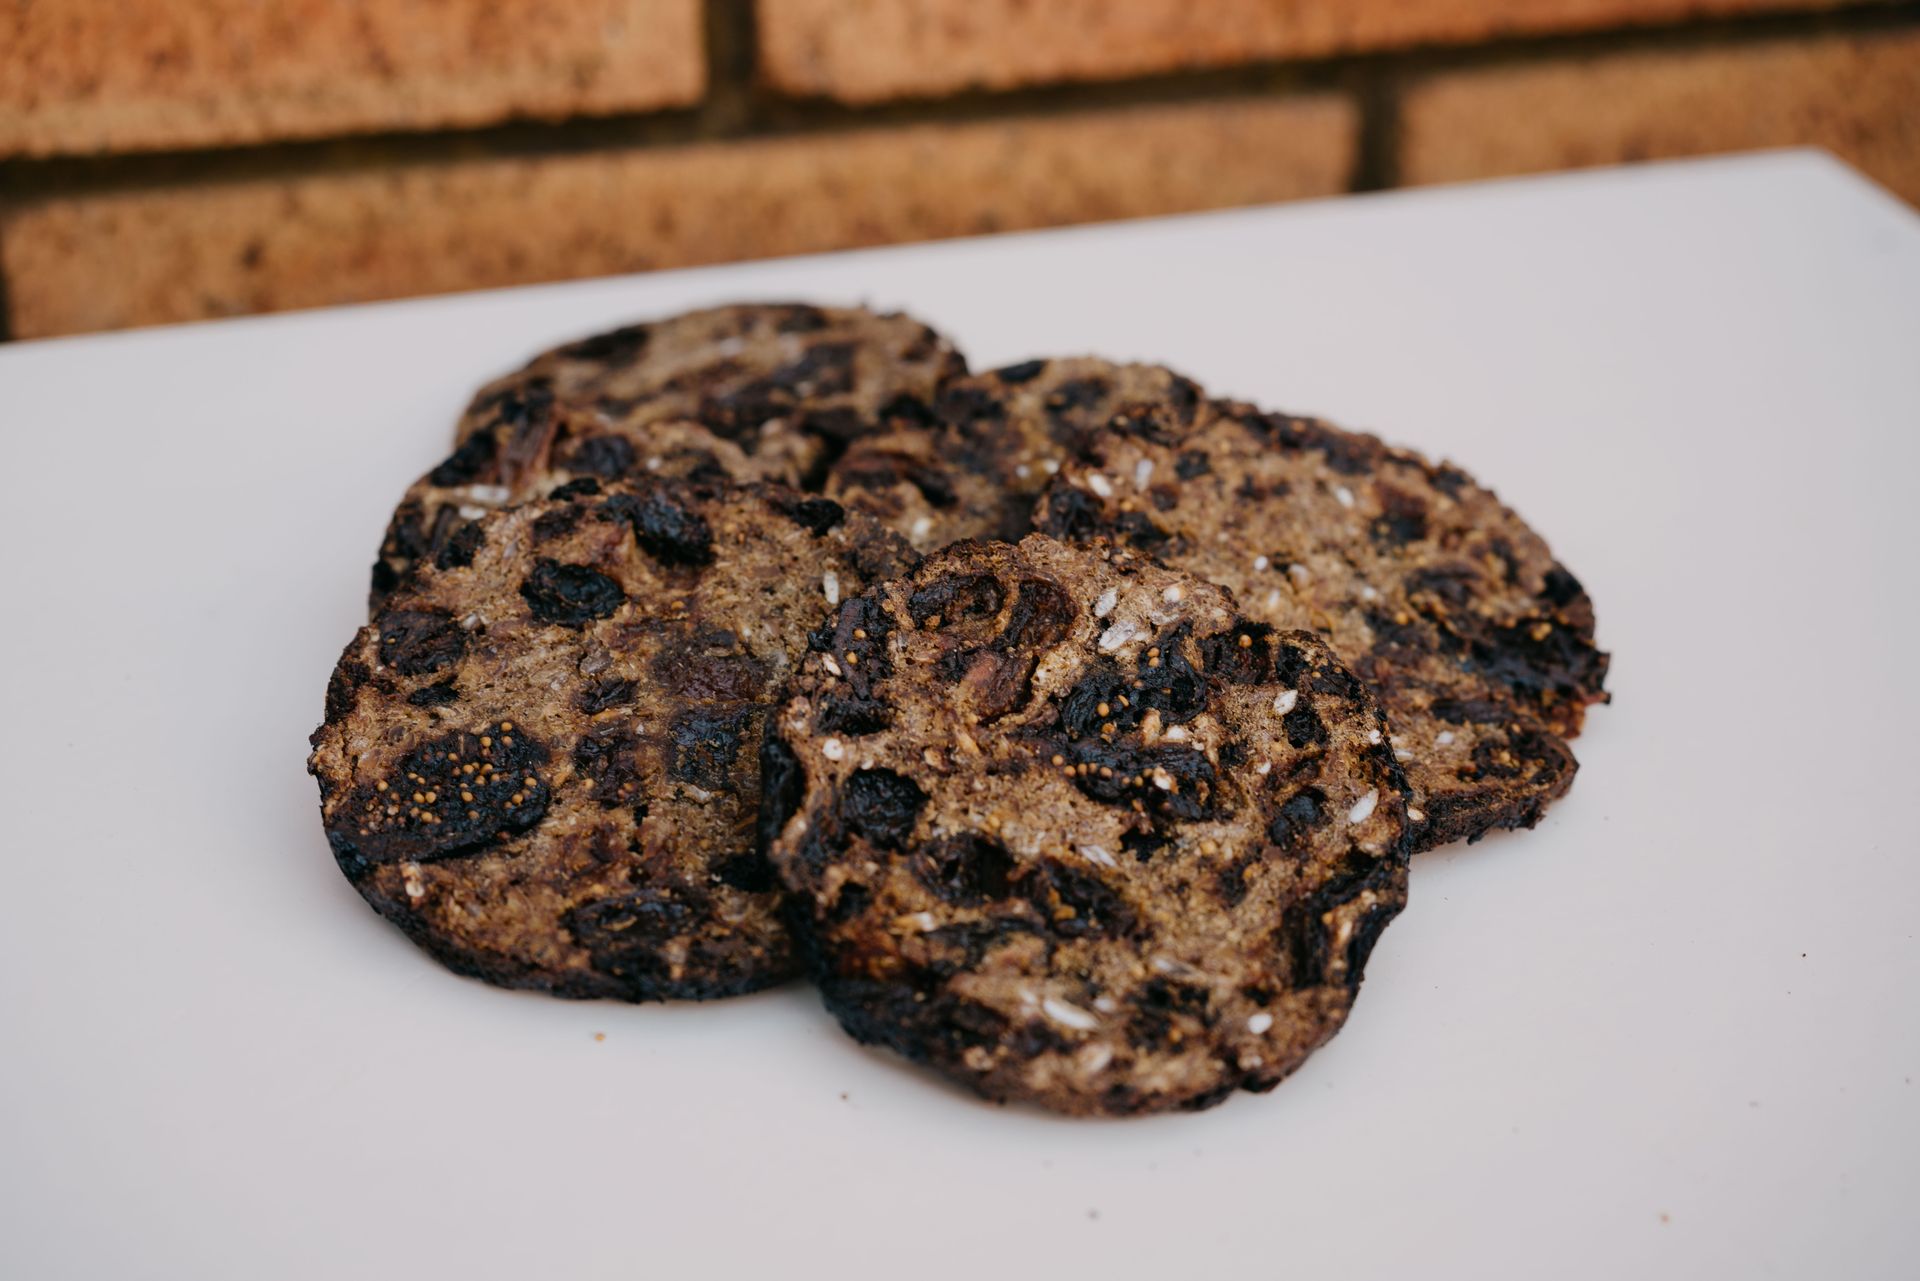
- Dry or Wet Dough
- The crust has formed and gone hard too soon, or:
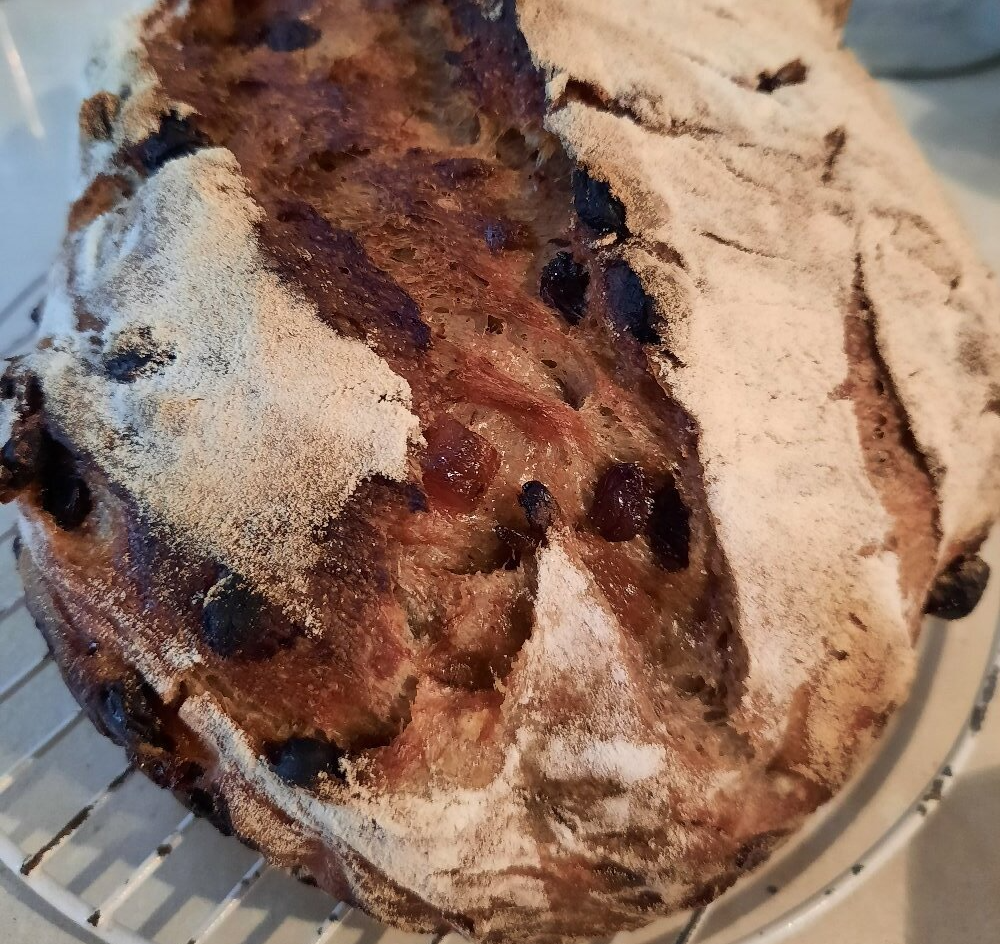
- Too much pressure has built up in the dough;
- The dough was either too wet or too dry,
- The slashing of the dough wasn’t sufficient or you didn’t do it,
- Under proofing,
- Shaping and the skin tension.
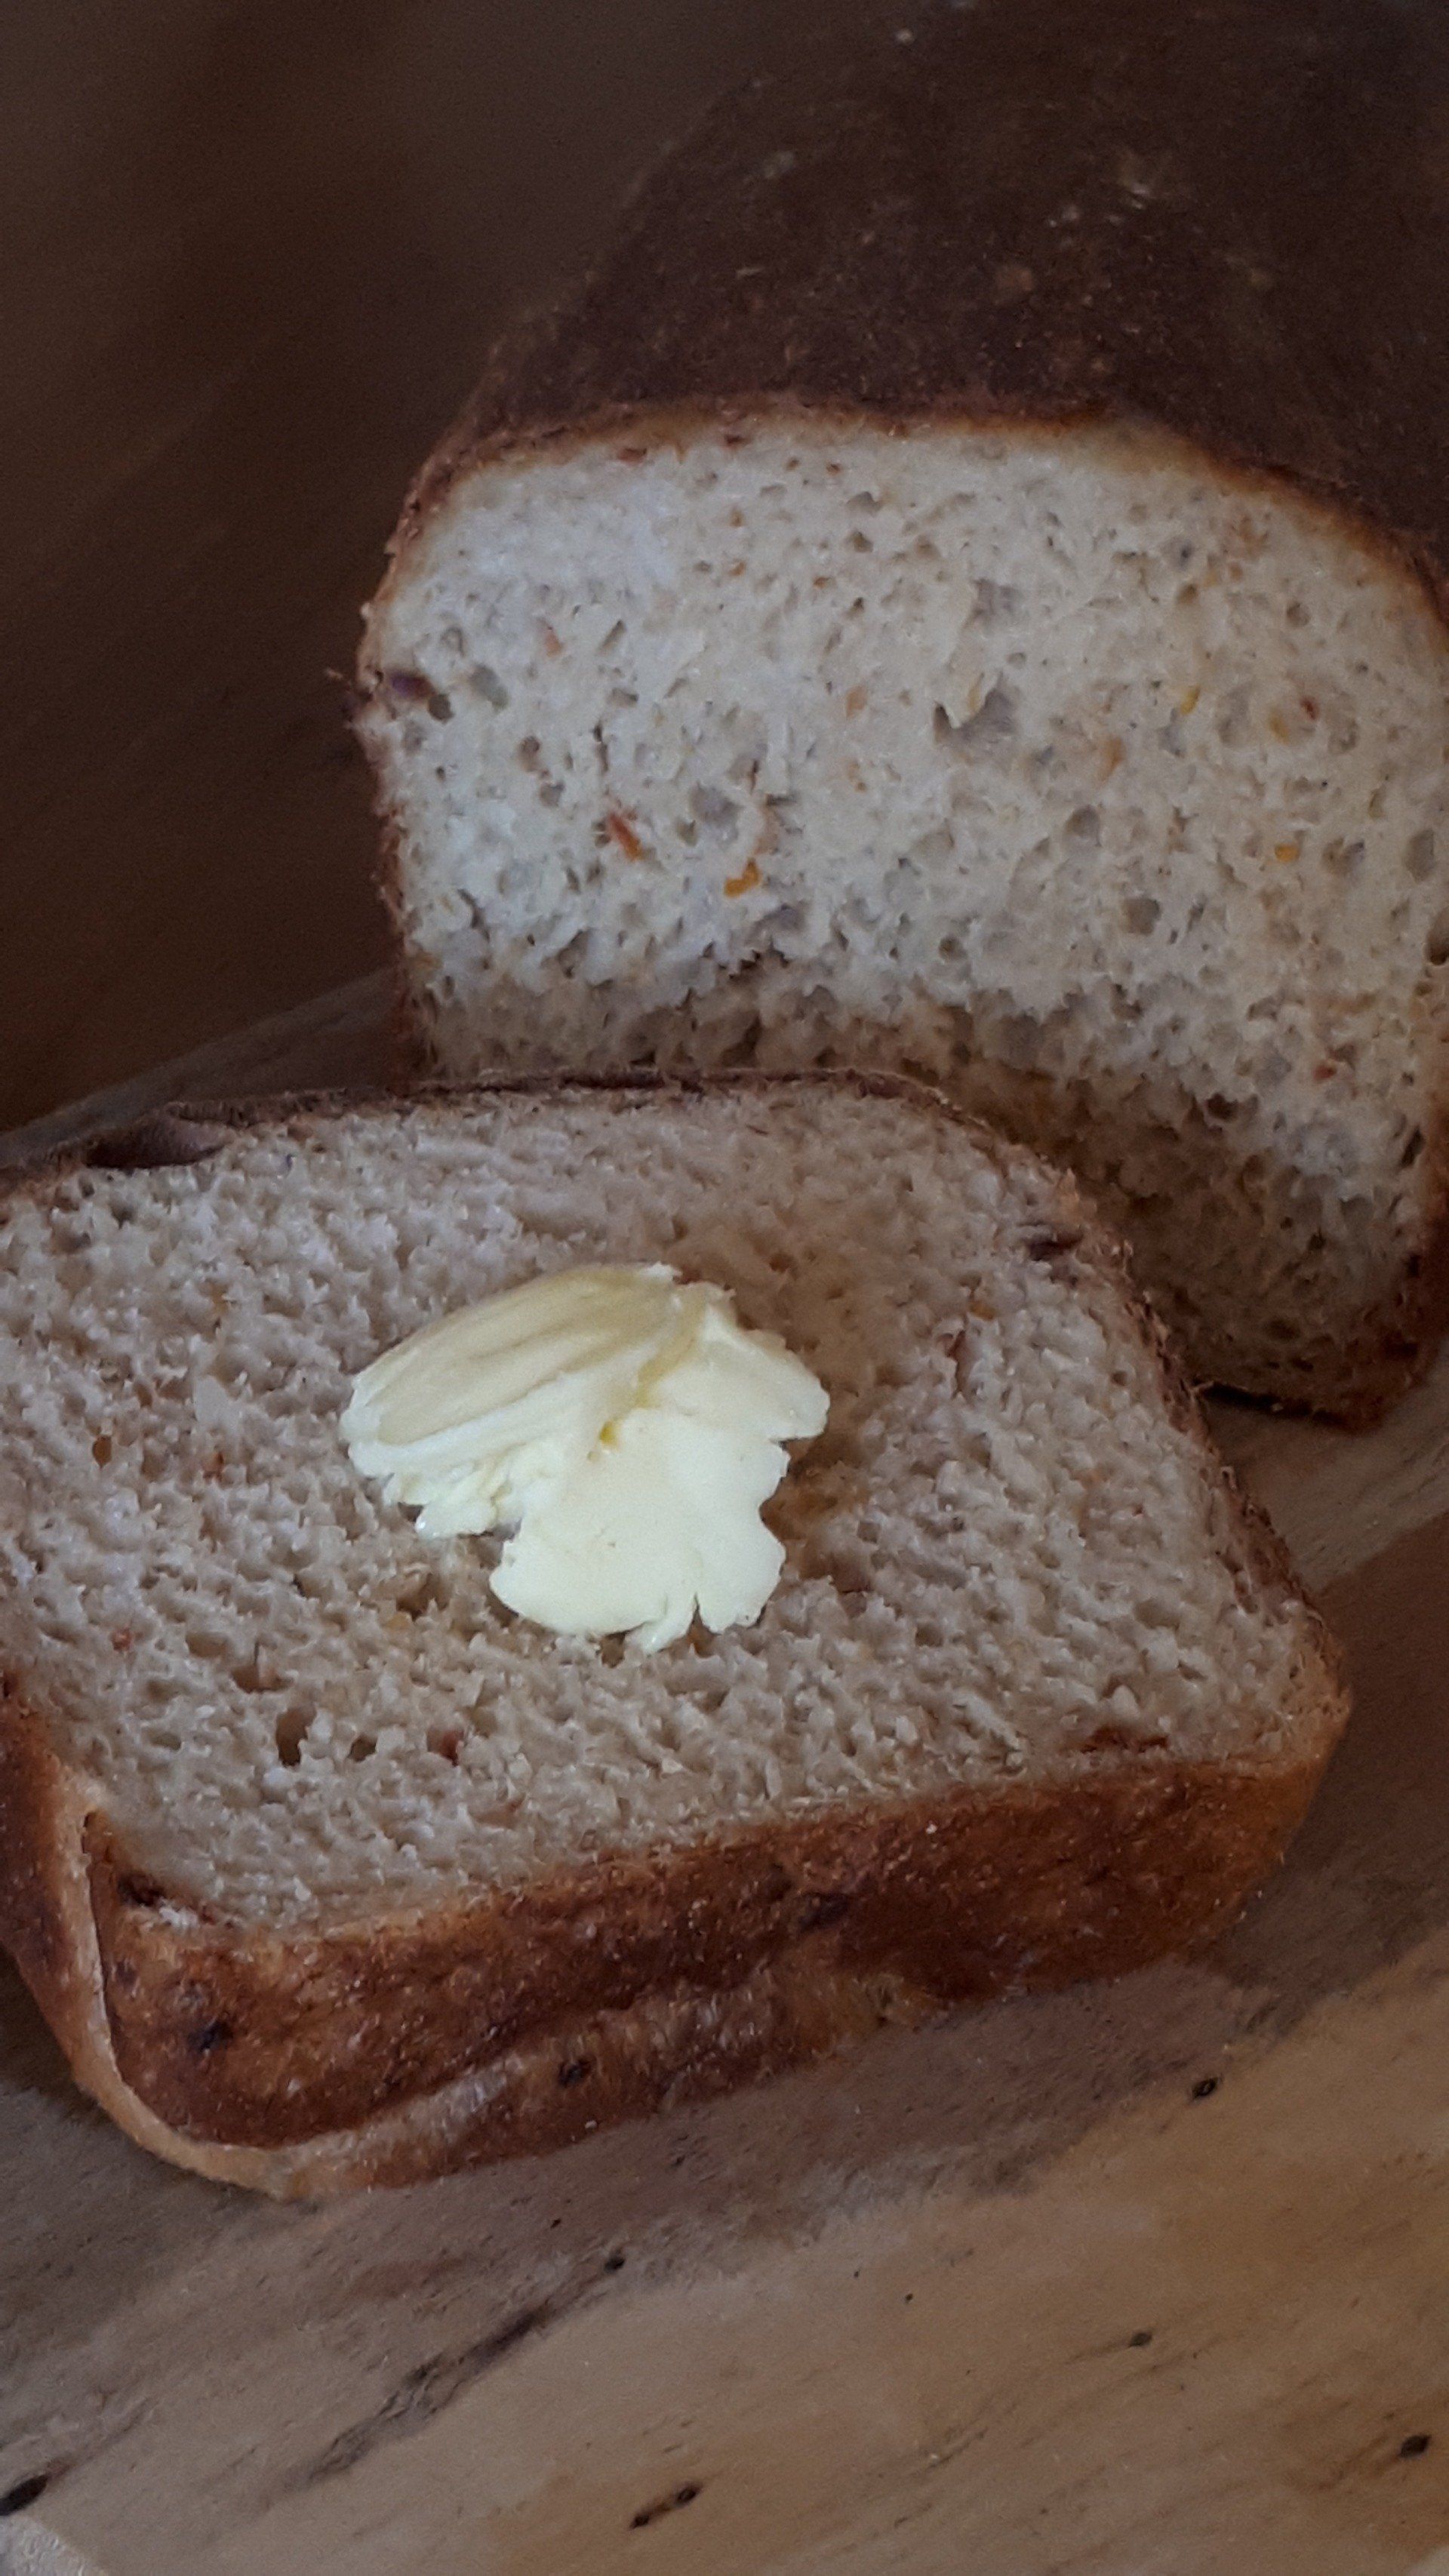
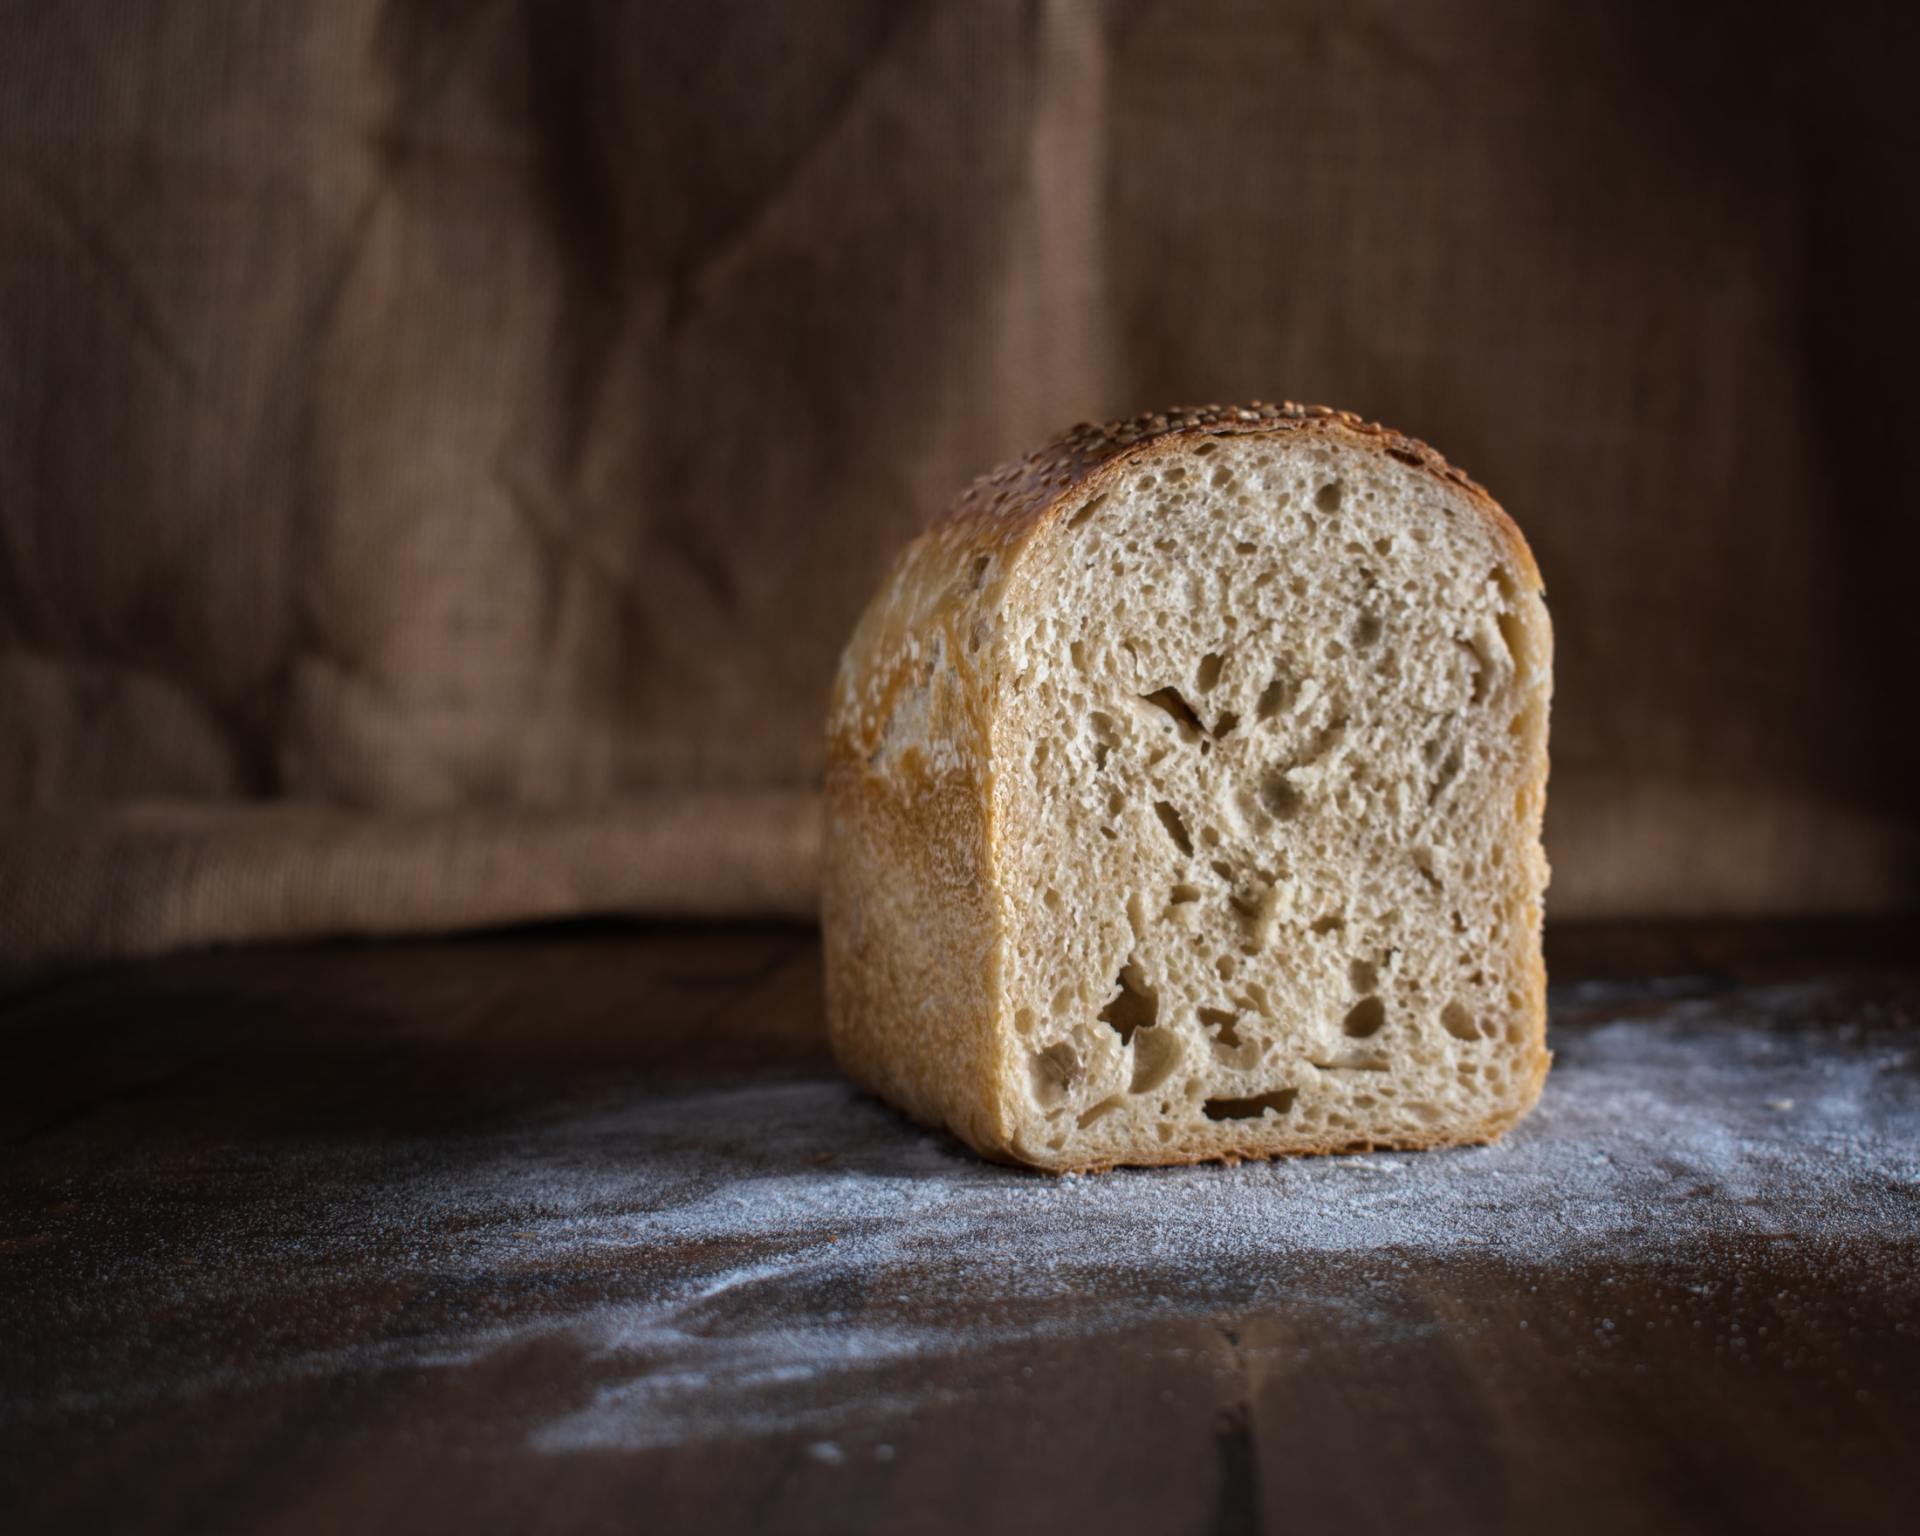
DRY DOUGH
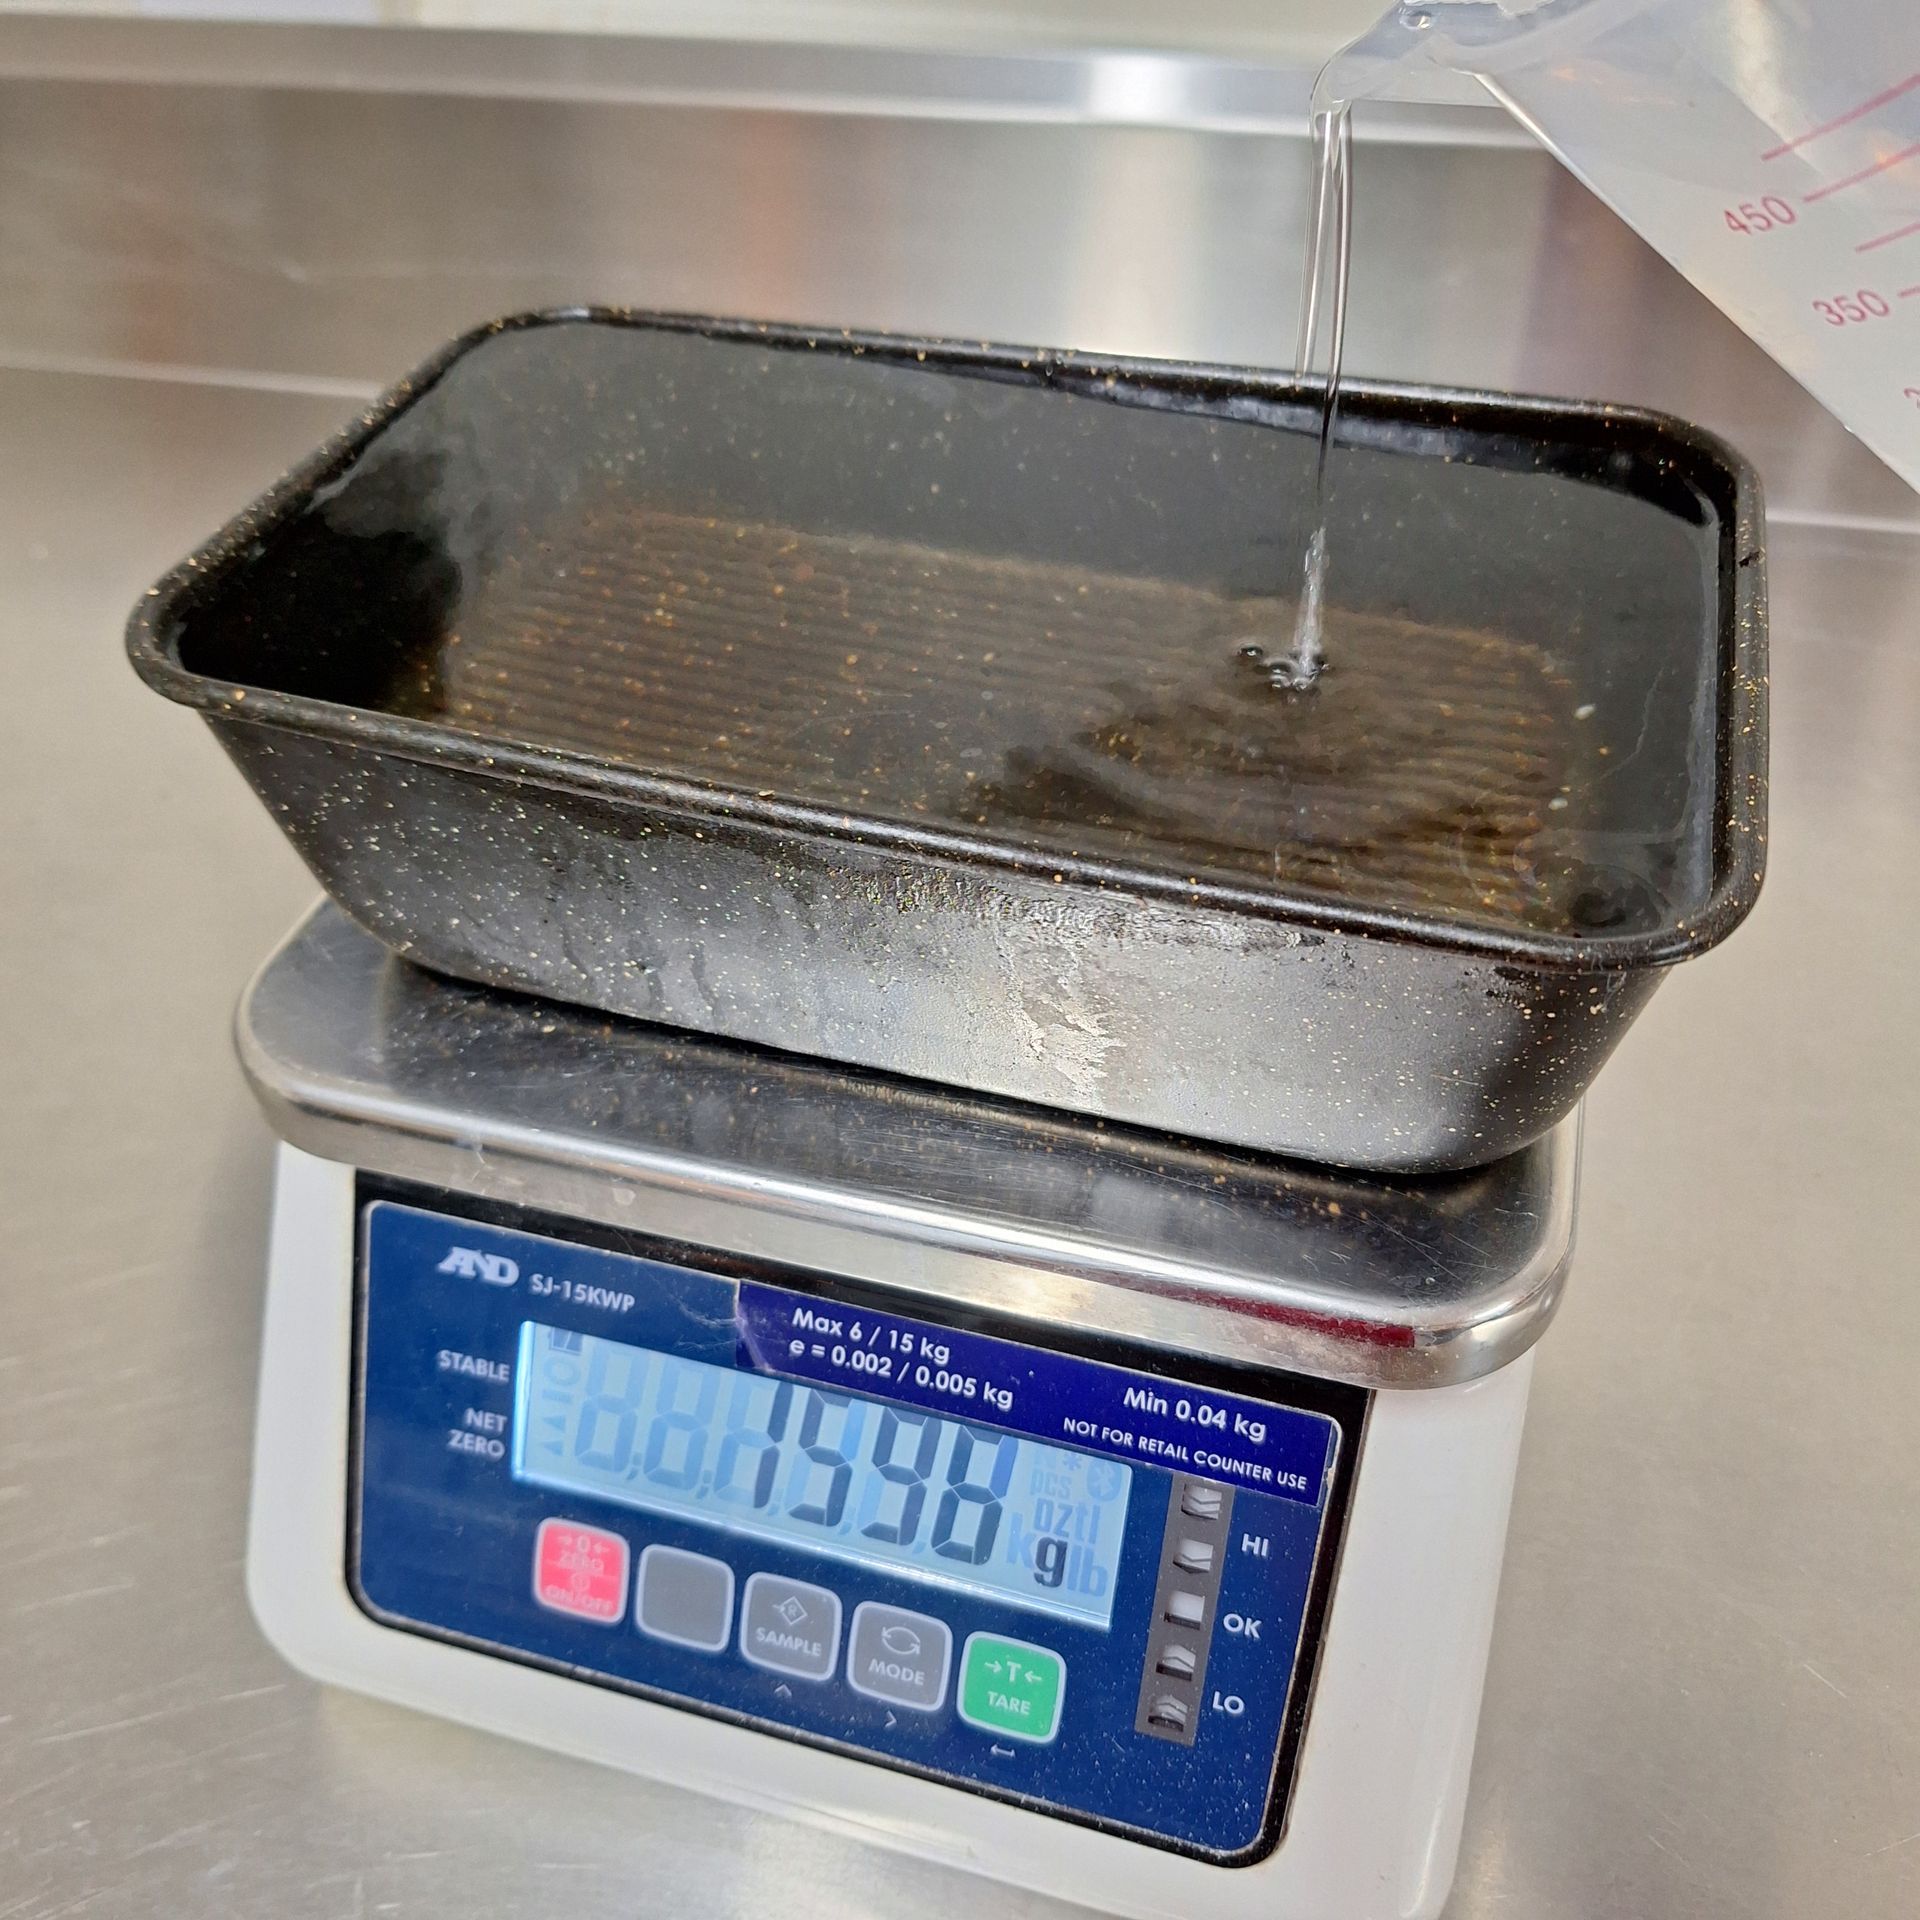
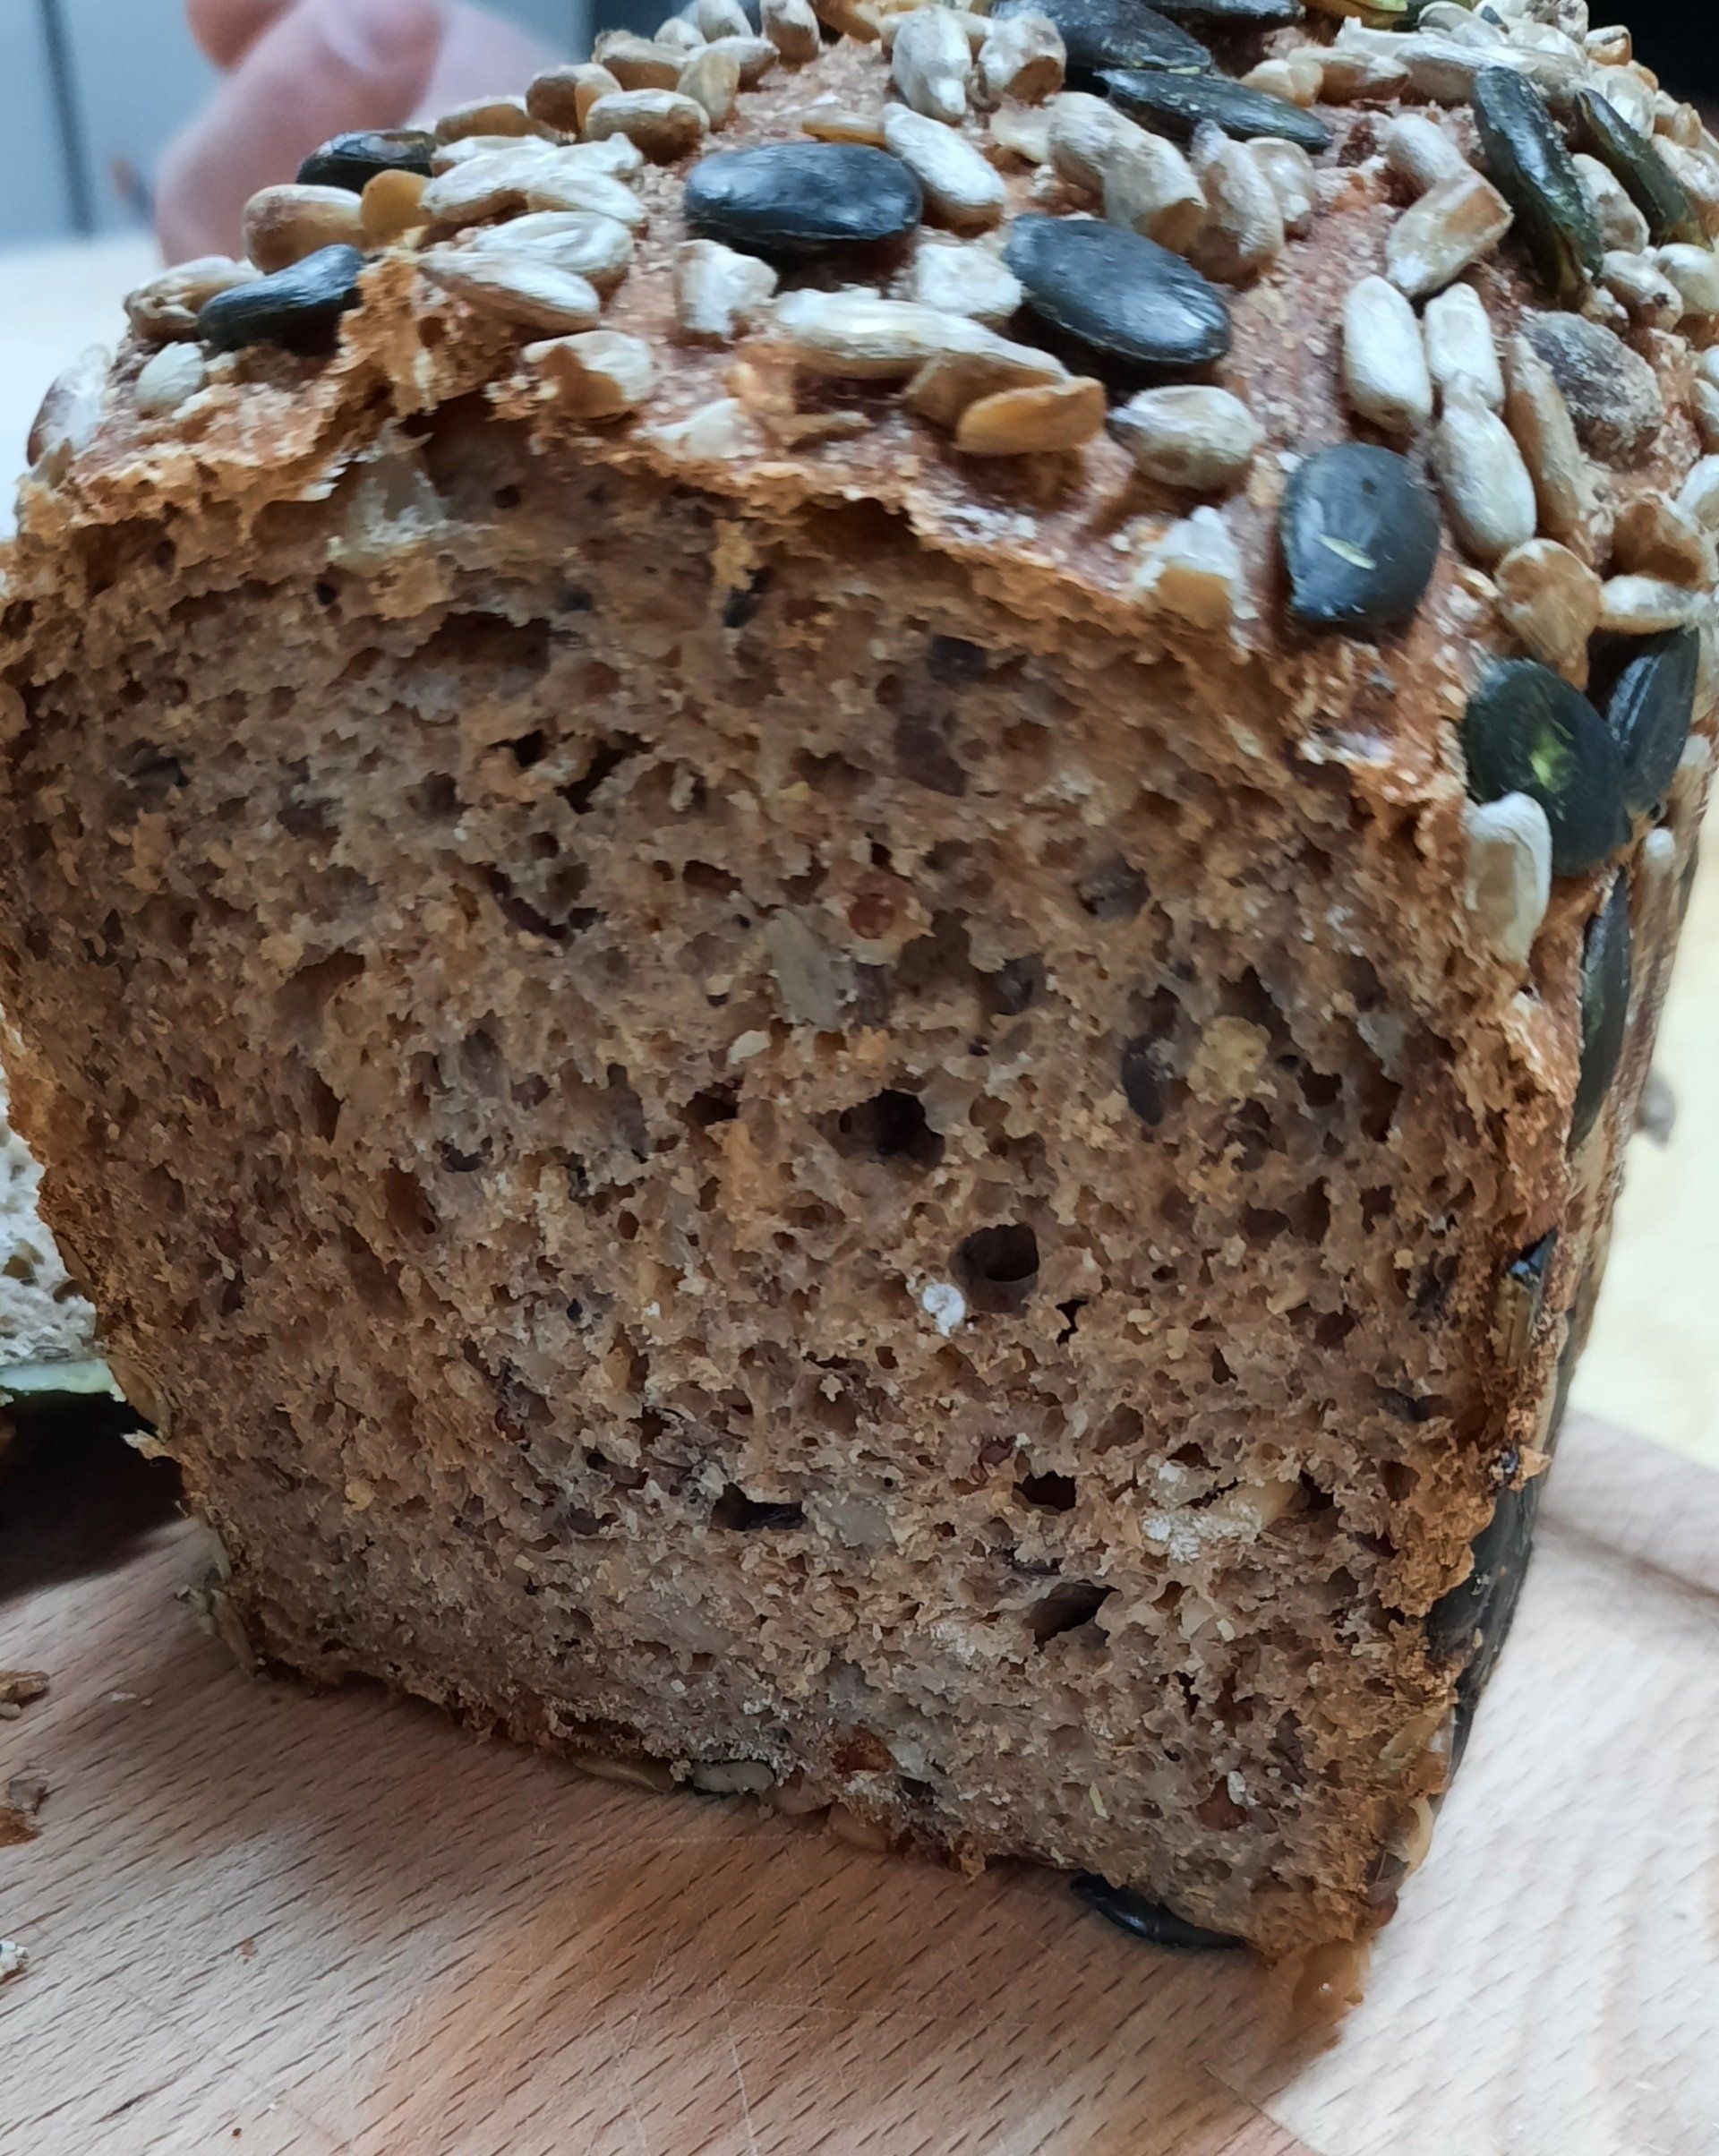
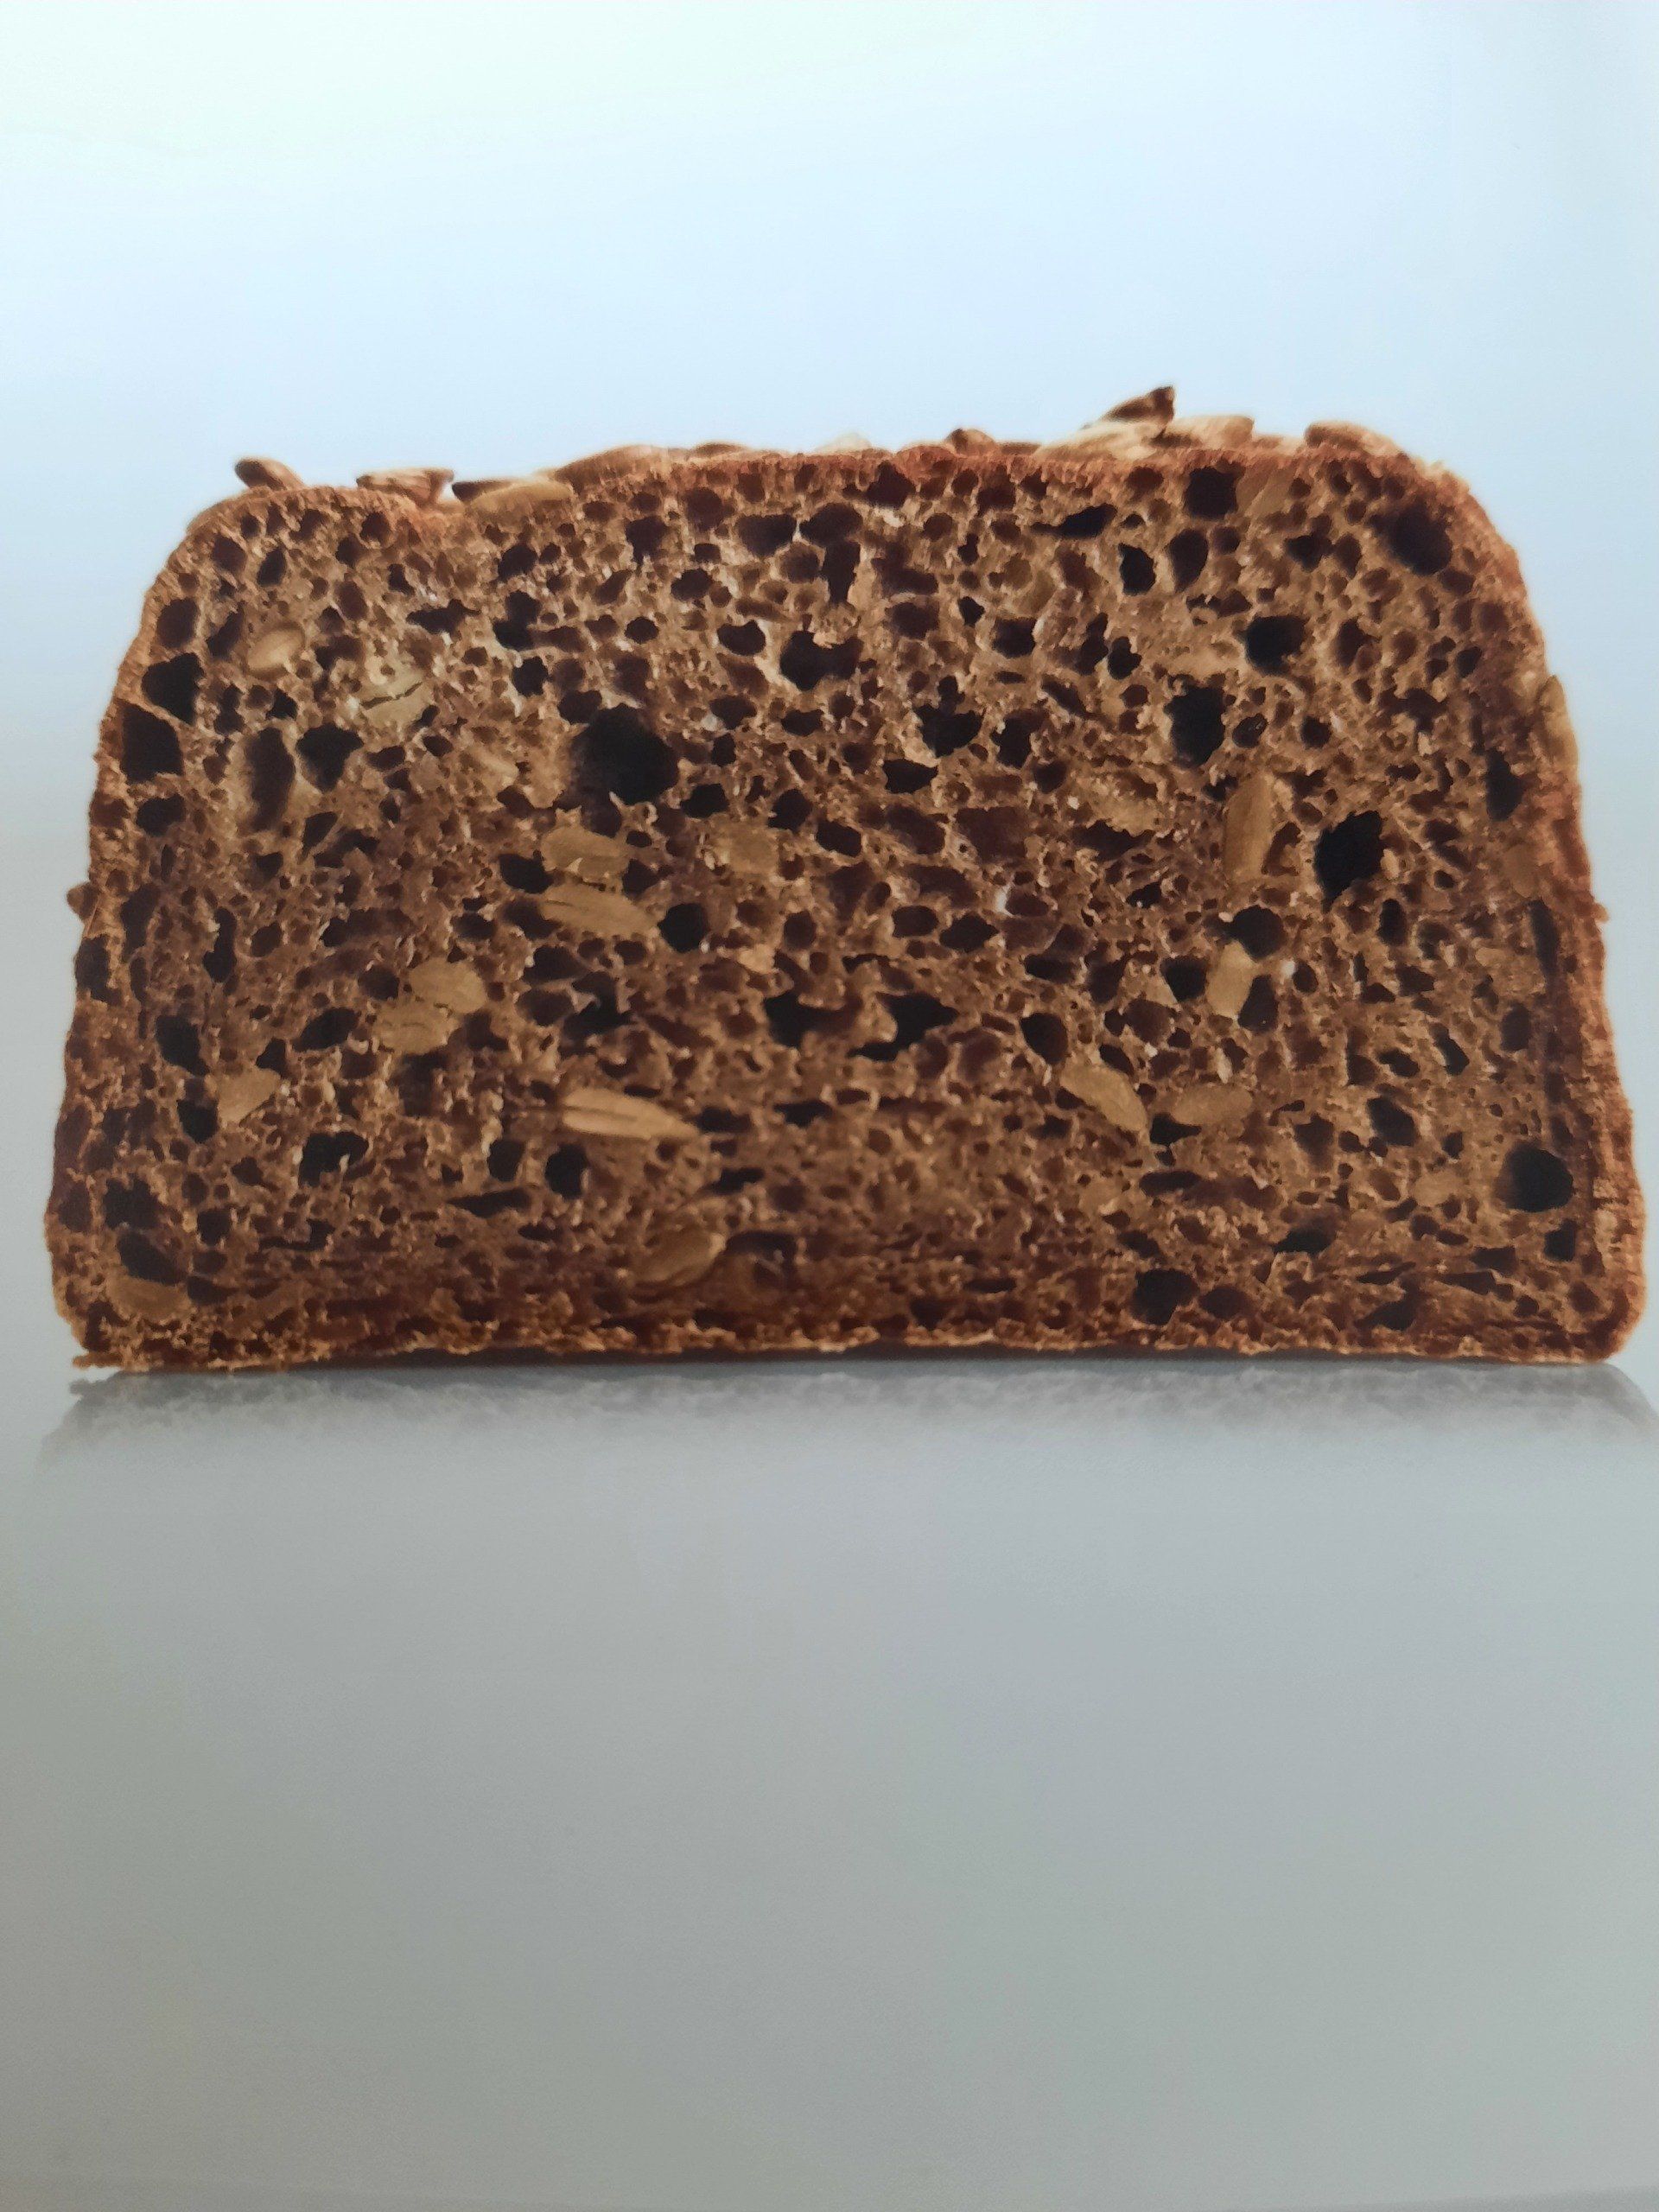
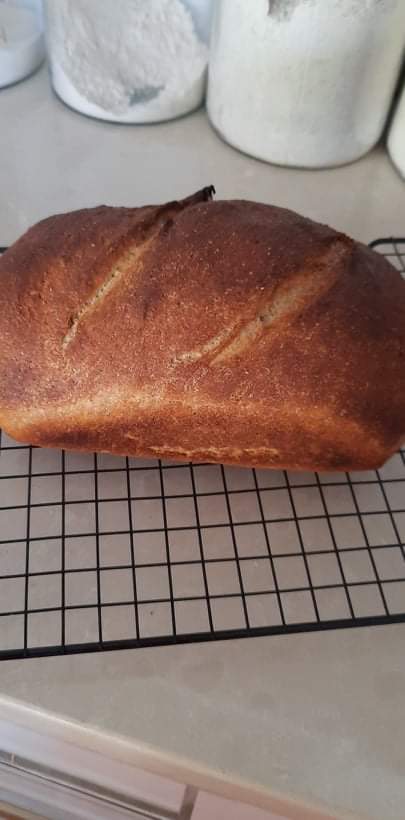
If the dough was too dry it can form a crust too early before it’s had time to rise, then when it begins to rise it forms cracks which then burst in odd places when the pressure builds up. Steam is important in this stage of baking of some breads like sourdoughs so it’s a good thing to try and use steam.
There are numerous ways to incorporate steam in your baking. If you are lucky enough to have an oven with a steam function then use that during the 1st 10min of baking, then let the steam out and bake dry.
If you are like the rest of us and not have the steam function, when you turn your oven on to heat up put a pan of hot water in the oven to heat up together with the oven so when you load your bread there is steam in the oven.
You can also pour a bit of hot water into the base of your oven when you load your bread but BE CAREFUL OF THE STEAM IT PRODUCES -IT CAN SPLASH BACK AND BURN.
If you bake your bread in a Dutch oven, once you have loaded your dough on the baking paper & into the Dutch oven place a couple of blocks of ice between the paper and the pot, quickly close the lid and bake as normal.
WET DOUGH
If the dough is too wet it can create extra steam in the bread and add to the pressure that is already building up in the bread by the gases produced by yeast. This will cause your bread to burst in odd spots and not where you have slashed it. Try reducing the hydration of your bread dough.
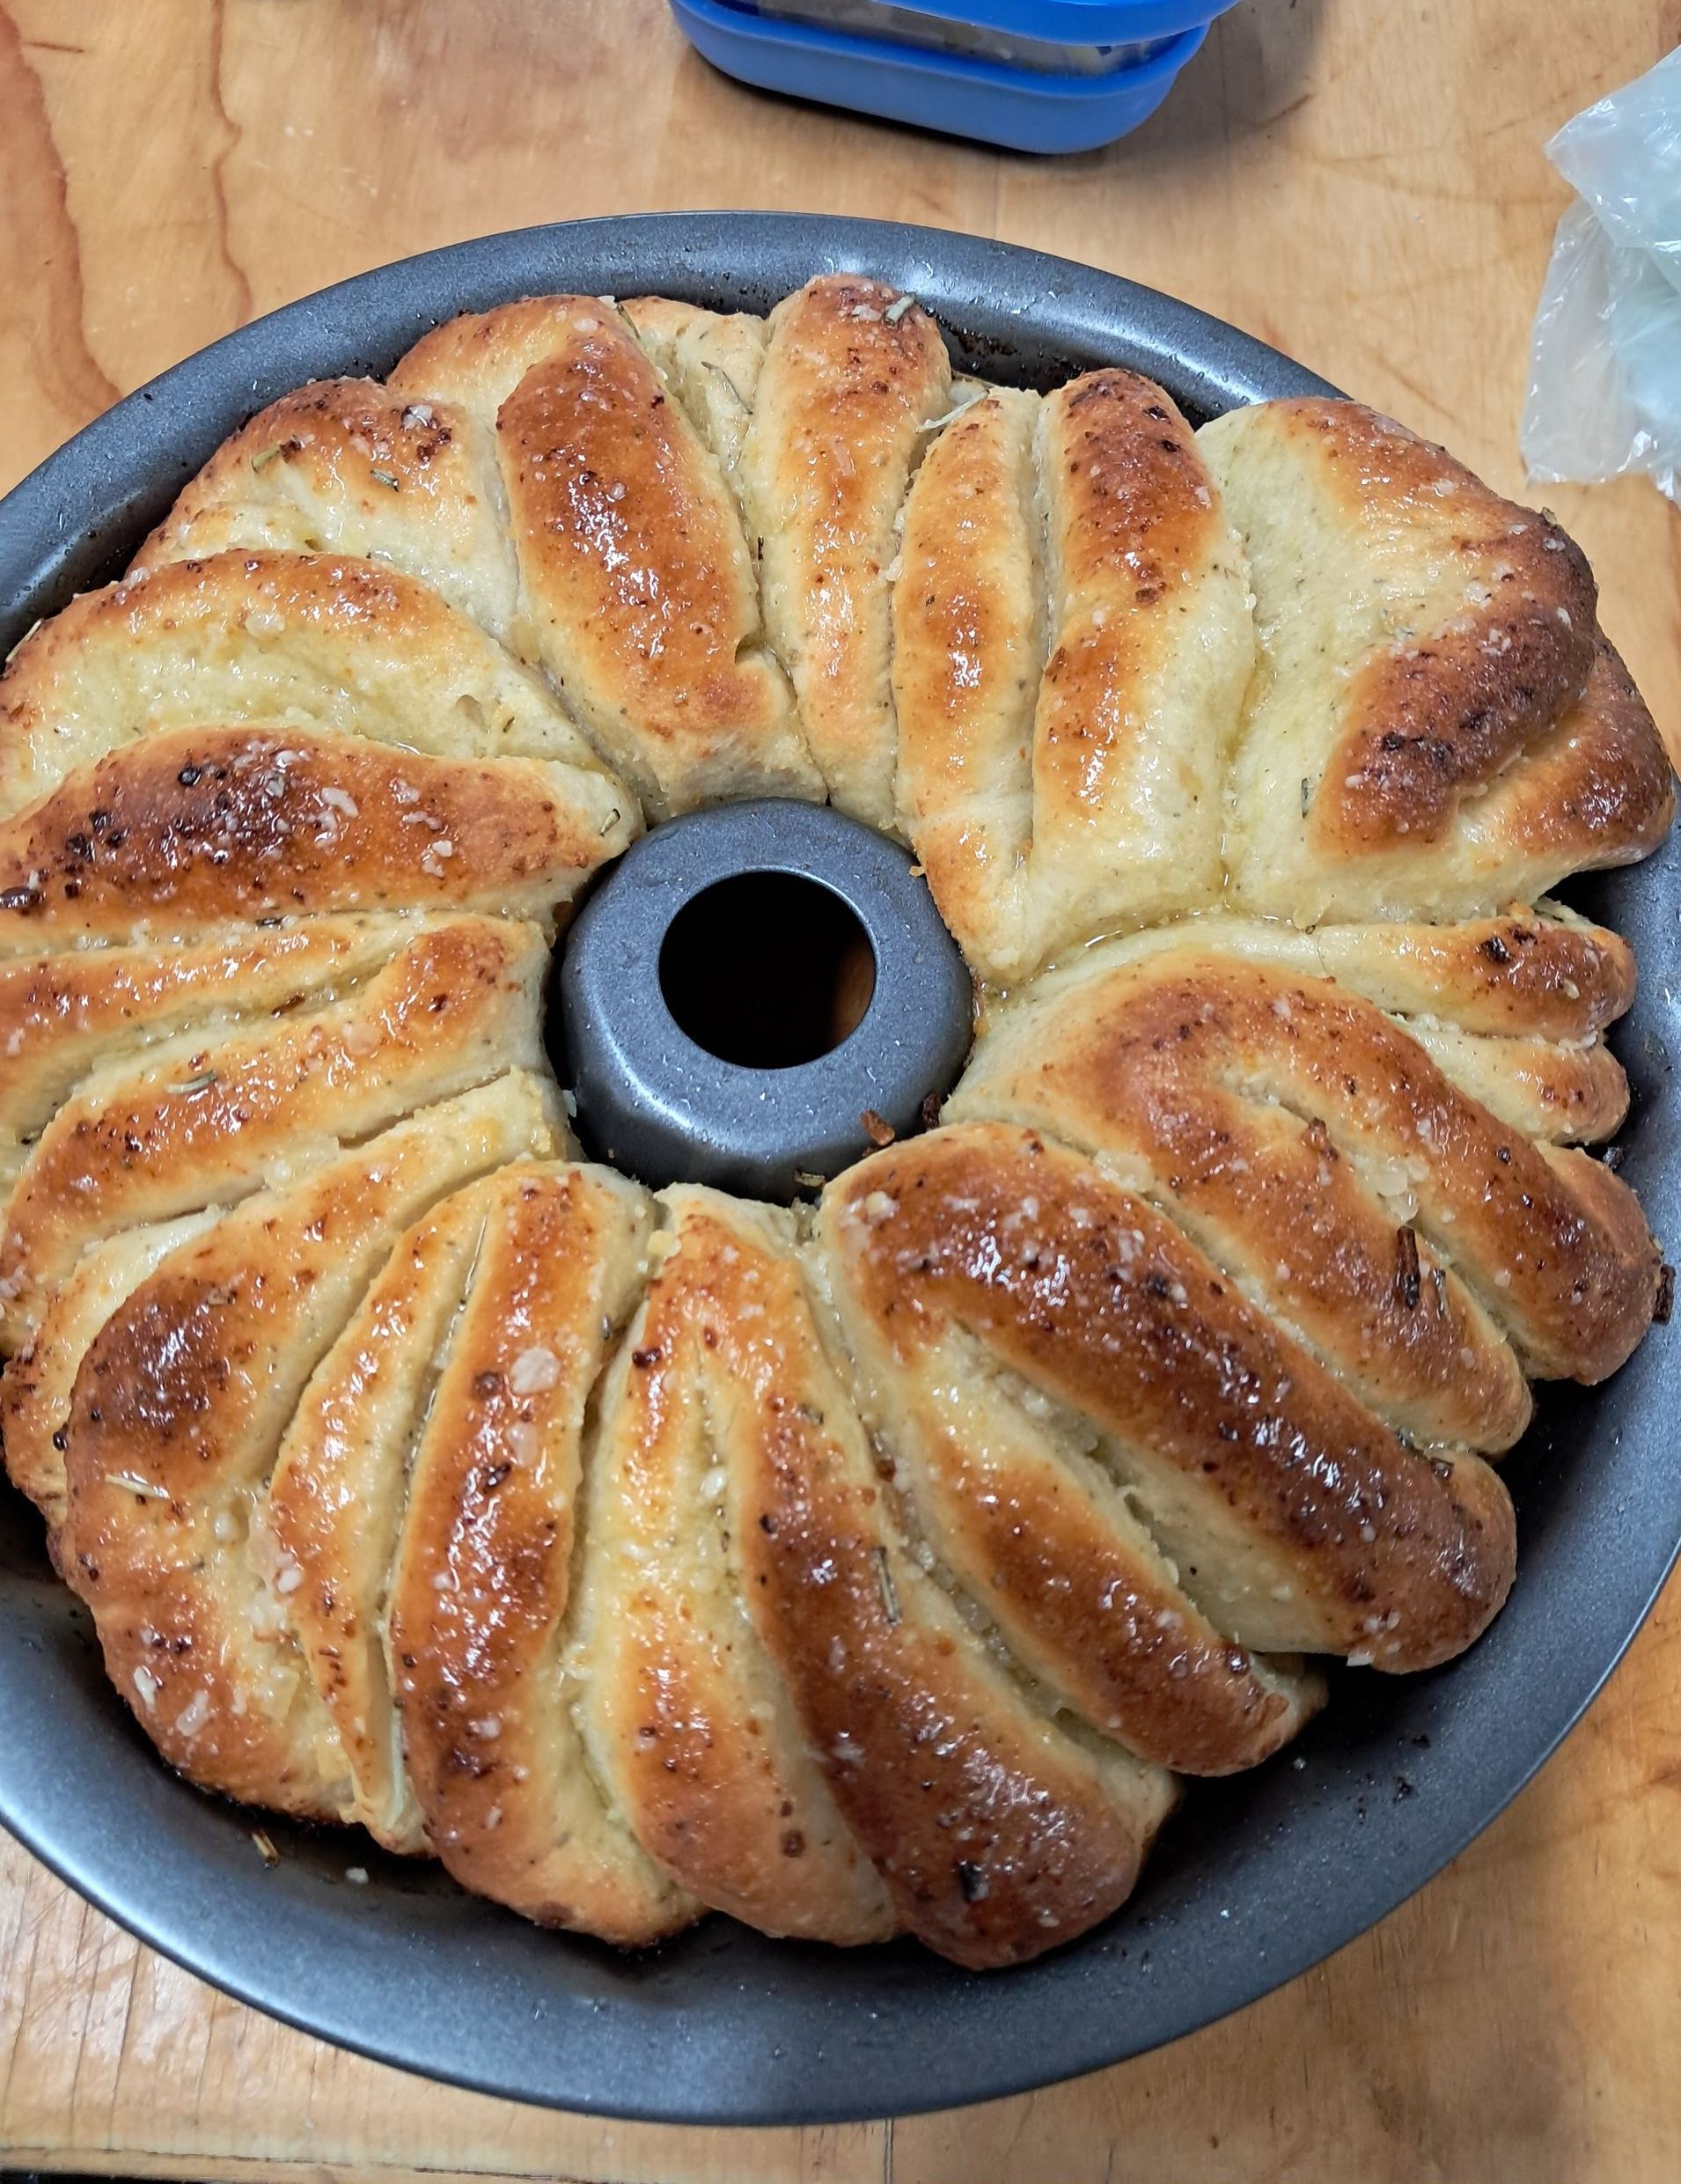
SHAPING AND TENSION
This can have an effect on your bread too, now don’t get this confused with sourdough. When you are shaping a yeasted (not sourdough) bread you need to make sure you don’t leave air pockets in it. What you are doing is creating an outer skin of dough around the mass when you shape your bread and if you leave air pockets these will push their way to the surface of the bread upon baking and create bursts and splits in the bread.
On the other hand, you also need to make sure you don’t make the skin too thin and too tight because if you do that when the bread rises the skin won’t be thick or strong enough and it will rip If this happens then it means your tension was too tight, so there is a fine balance.
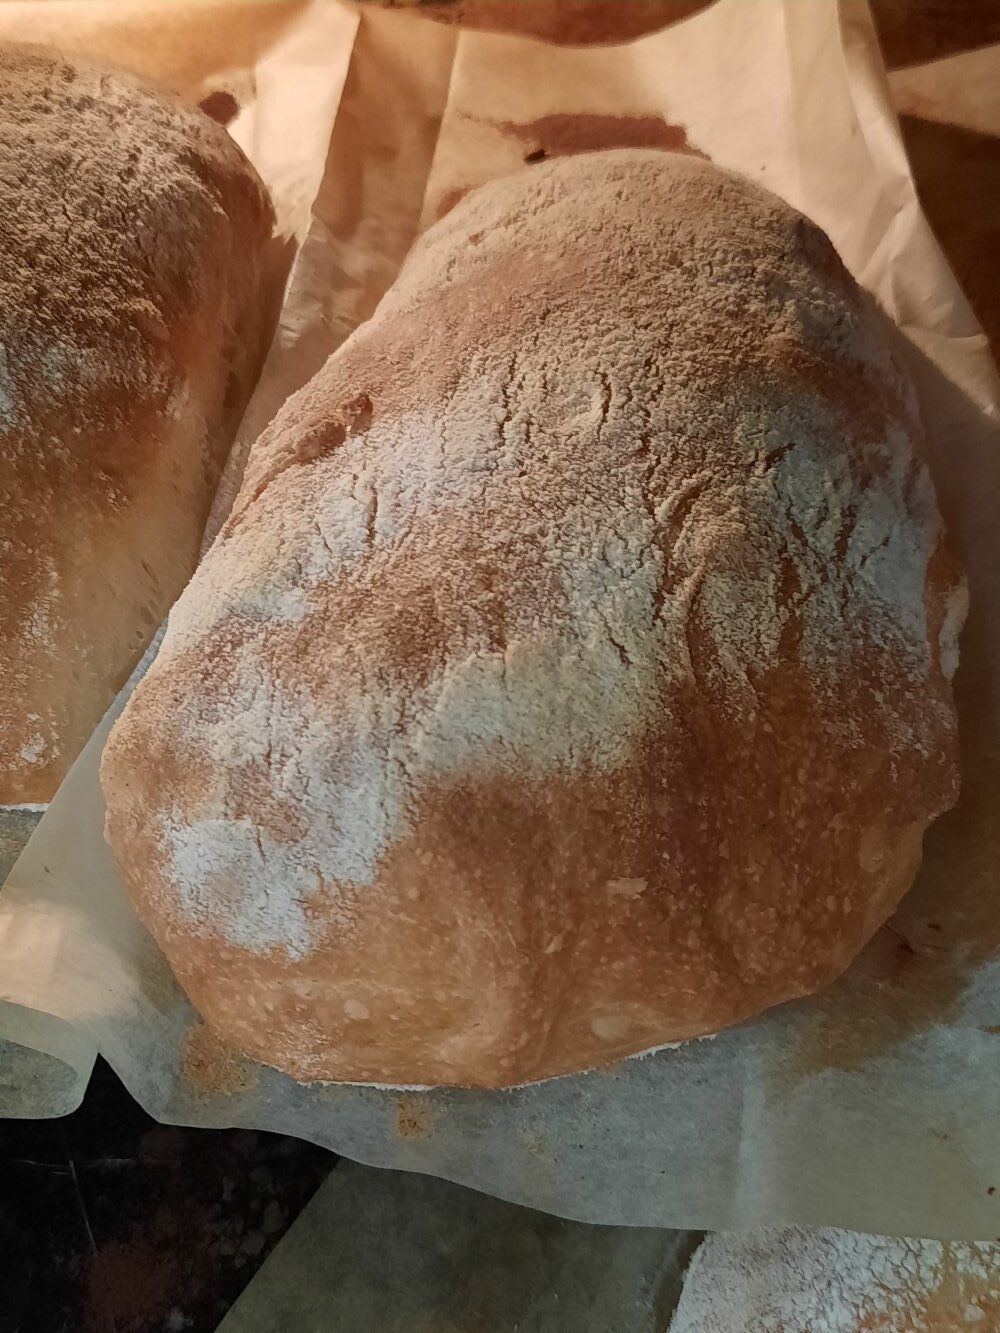
The seams of your bread need to be hidden so make sure they are at the bottom of the bread when you put them in the loaf pan to do the final proof (although for sourdough’s in a banneton the seam needs to be on the top so when you tip it out the seam is then on the bottom.)
To create a good seam in a round loaf once you have gathered the dough into the centre of the round with a combination of the side of your hand by your baby finger edge and your bench scraper, move your hand under the loaf creating tension on the opposite side and move it 90deg, do this a few times until you have created some tension.
When creating tension in a rectangular loaf once you have folded the edges in do the same thing as above but instead of turning the dough by 90 deg pull it towards you to create the tension. Then pinch the edges closed or even roll them with your fingers to close the edge. Lift the dough up and place it in the greased loaf tin seam side down.
PROOFING
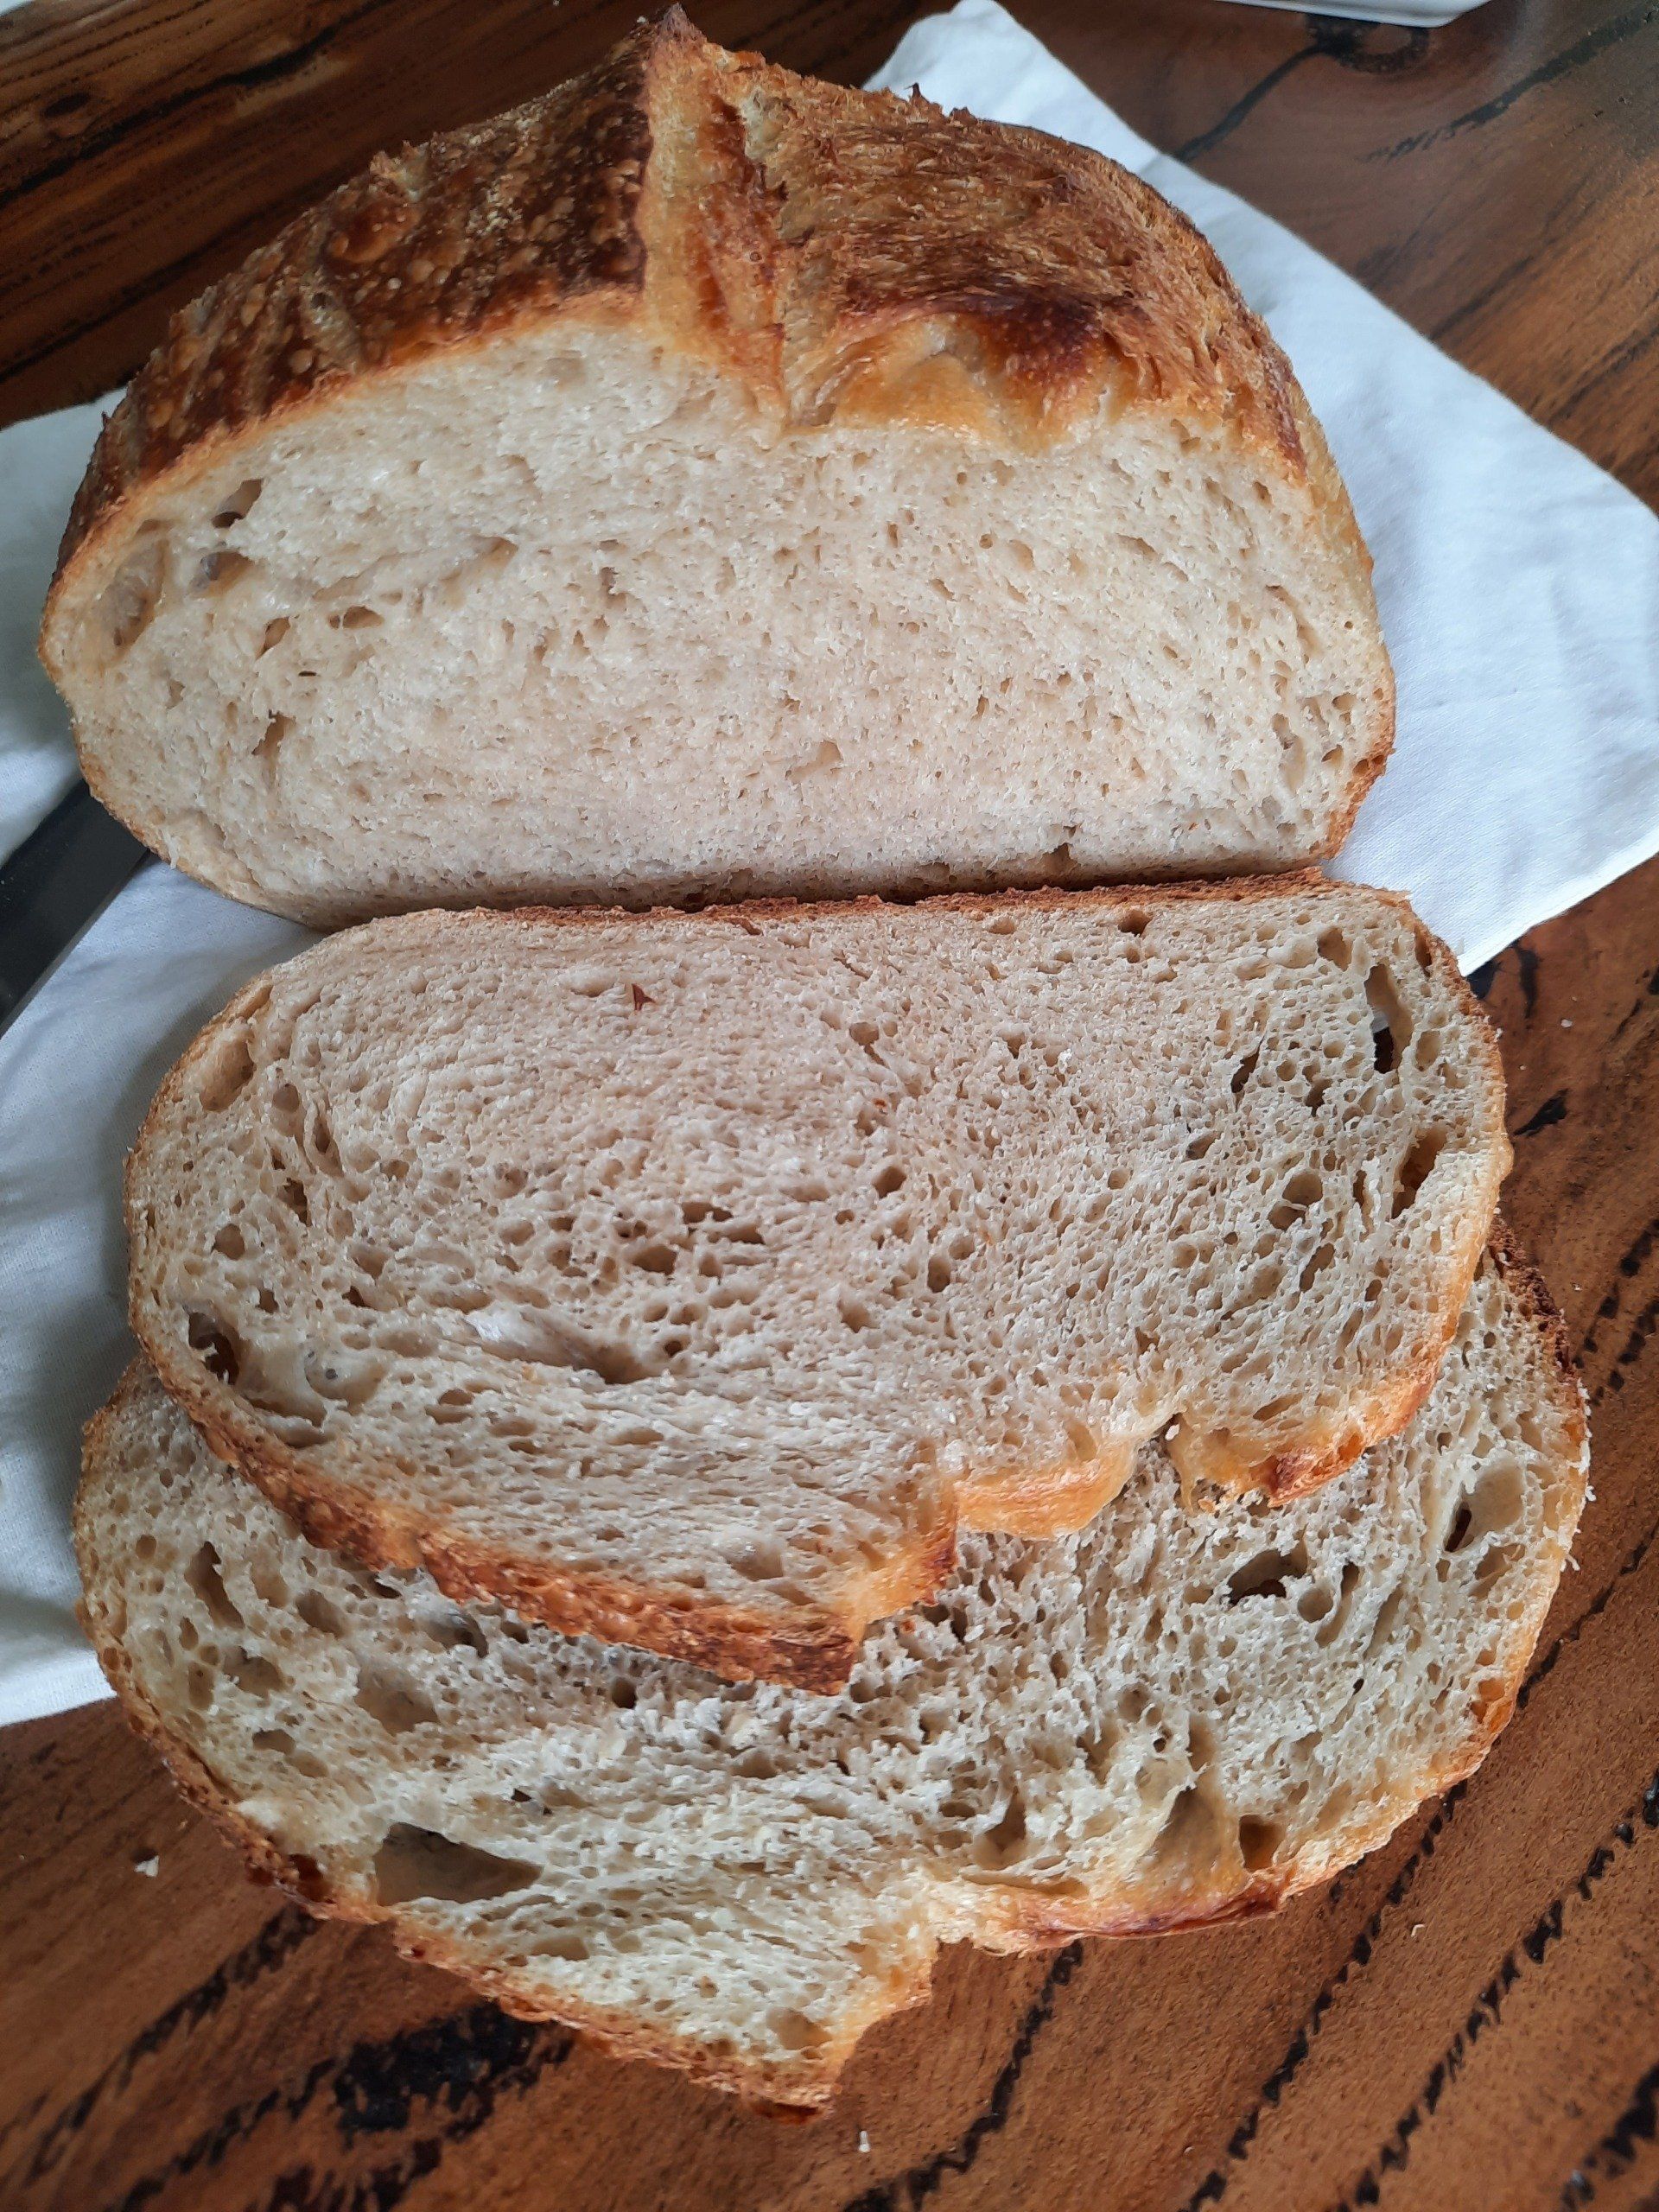
What does proofing have anything to do with your dough splitting? – well if it is under proofed it will do more proofing in the oven and behave like a volcano and the gasses will build up and burst out anywhere they can find space to.
How do you know if your bread is over proofed, under proofed or just right?
If you poke your bread and it doesn’t bounce back and the whole remains its over proofed and won’t have much rise - its exhausted!
On the other hand if you poke the loaf and it springs back like a tramp then it has way too much energy still and is under proofed and can be left a little longer.
Now, if you poke your bread and it springs back a bit but leaves a pock mark (indentation) then its just perfect! So quickly put it in the oven to bake. (hopefully by this stage you have already had your oven on heating up.
How long does it take to proof a loaf? – well that will vary according to where you live, how hot it is or cold it is or how humid it is so I can’t actually answer that question categorically, but a loaf can take anything from 30min to 1 hour at room temp to proof – a fridge will slow it down a bit and is excellent for sourdough breads.
For standard yeasted breads it will still proof rather faster than sourdough so don’t think you can set and forget unless you are doing a slow rise and have used a teeny amount of yeast – but then remember to follow your recipe.
I hope this has helped you a little, please feel free to get in touch with me if you have any other questions.